Create a Fantastic Fall Floral Arrangement
Does arranging flowers make you crazy?
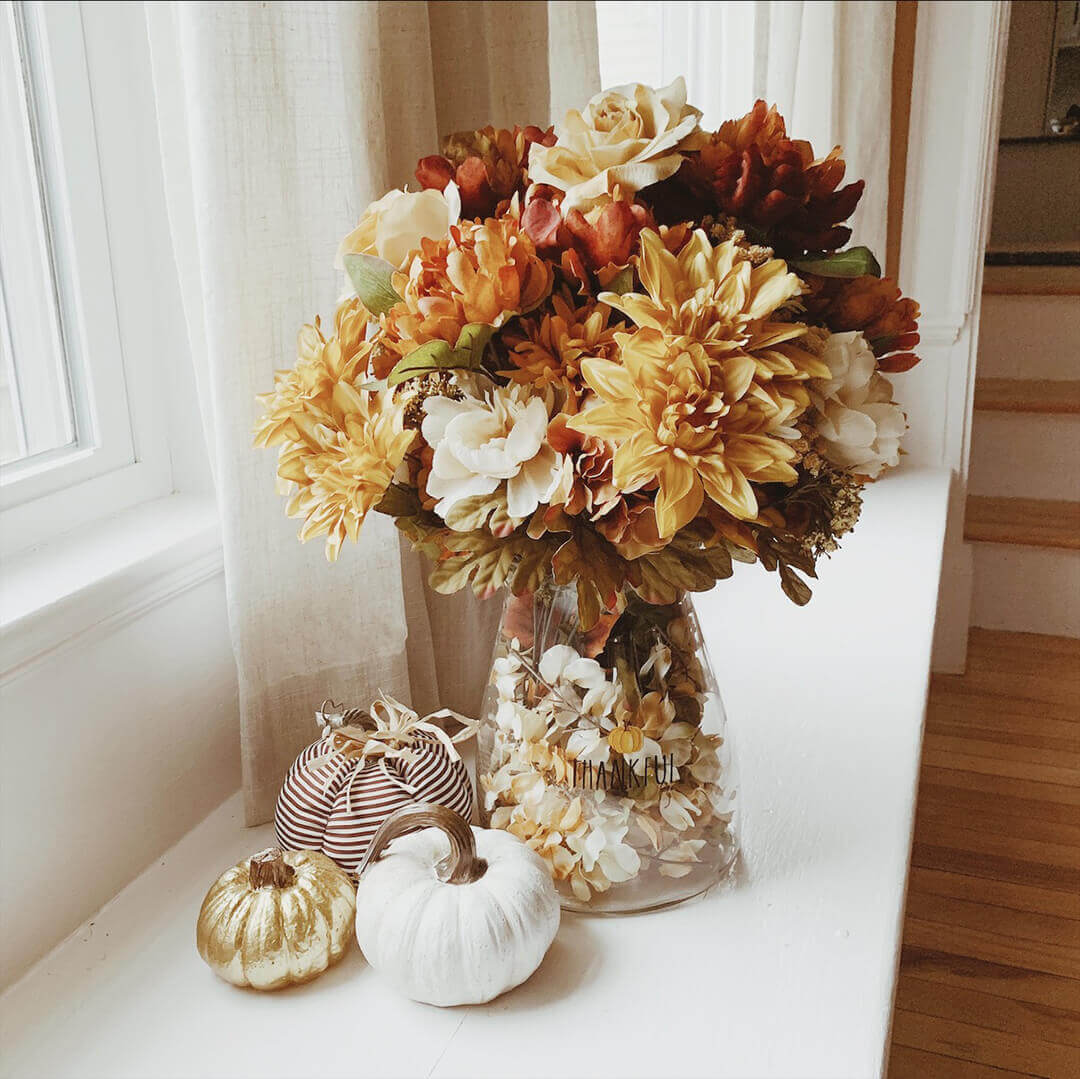
Do you find it impossible to get the look that you want? Here’s how you can create a very easy Fall floral arrangement & you don’t need to be a florist to get great results.
I have two secrets:
- I shamelessly copy ideas that I find in my local Hobby Lobby. They always have a few sample arrangements, made with the flowers that are surrounding the display. I snap a picture and then look for the flowers I need right there in the store. When I get home, I work off the sample picture. They never look quite the same, but I can get close! FYI, I included the sample picture that I snapped at the store at the very end of the article, so keep reading…
- I always purchase, as my ‘anchor’ pieces, pre-formed mini arrangements. Alone they aren’t quite enough. But, put a few of them together (and some other pieces) and you can have a masterpiece!
Follow along and I’ll clue you in on exactly what I did to create the above arrangement. Everyone thinks I know what I’m doing but shhh, don’t tell anyone that I kind of cheat. You can too! Here we go…
Materials
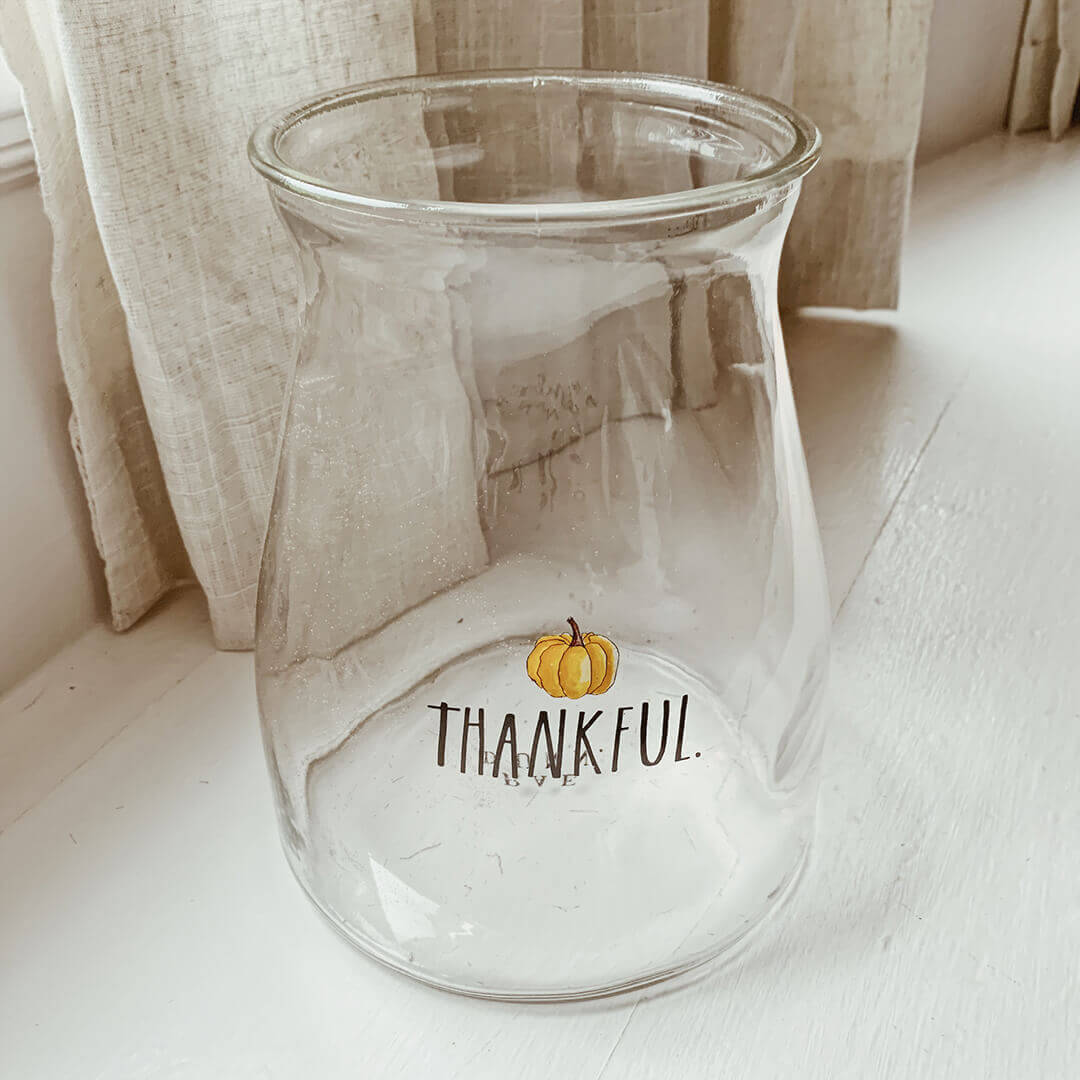
Next, head to your local Hobby Lobby or other craft store. I mention Hobby Lobby because they are very good at displaying an arrangement and then placing all the flowers in the arrangement around it. If you don’t have a sample to work off, look for the color family that you want to focus on. Almost all craft stores group flowers by color.
You are going to want to purchase a number of ‘mini arrangements’ and some other pieces. Here’s what I bought:
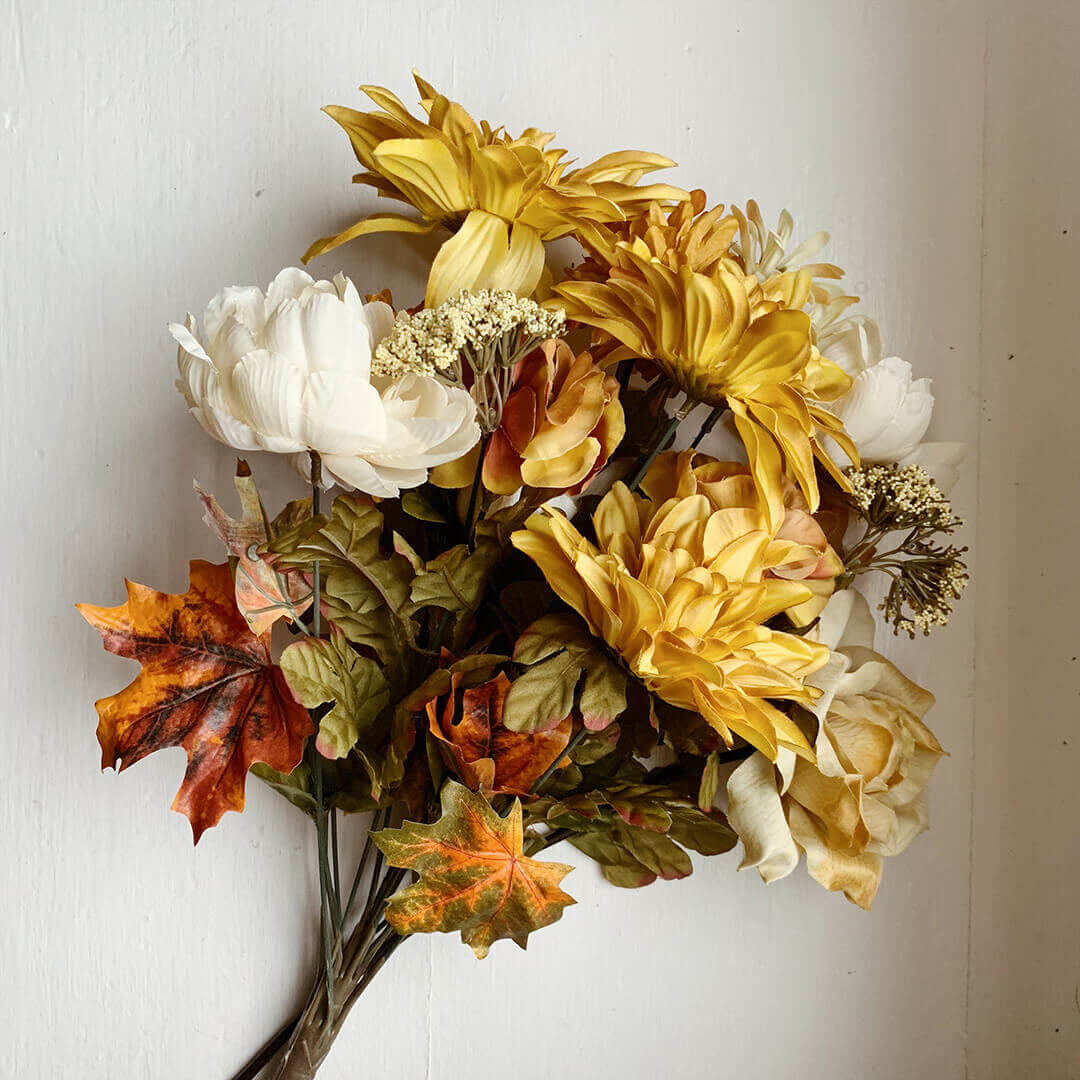 (A) 3 of these groupings
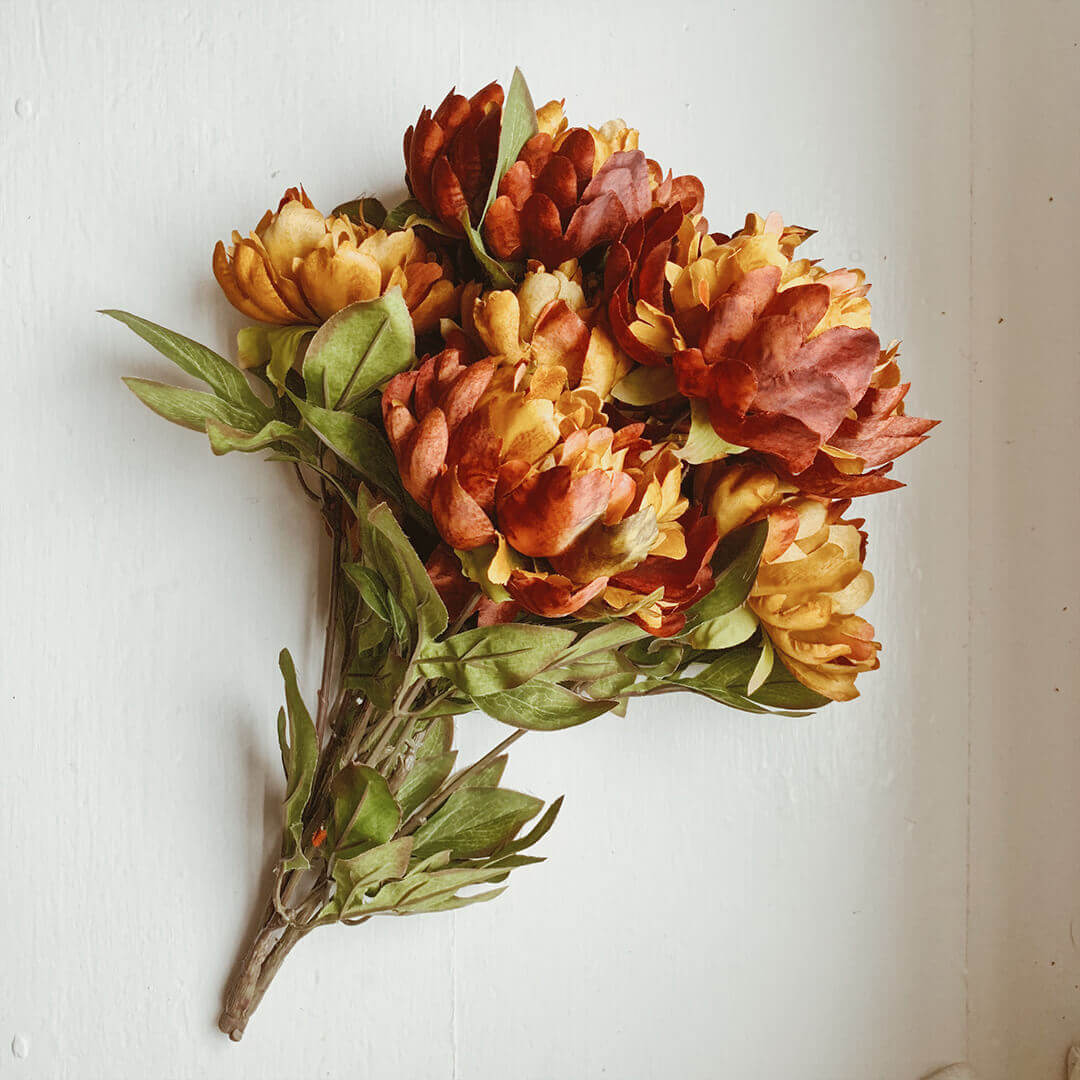 (B) 1 of these groupings
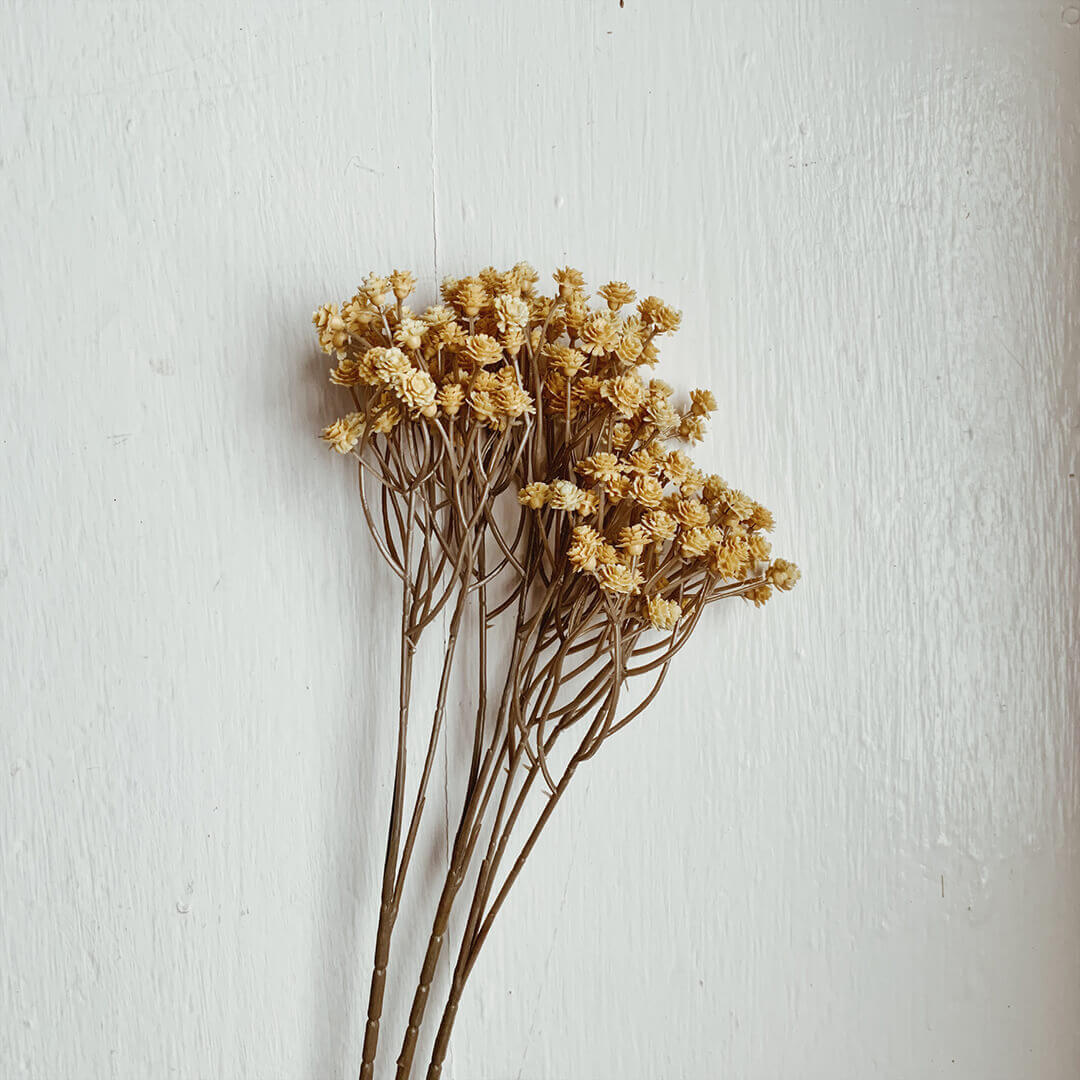 (C) 3 of these (3 are pictured here, they are single bunches)
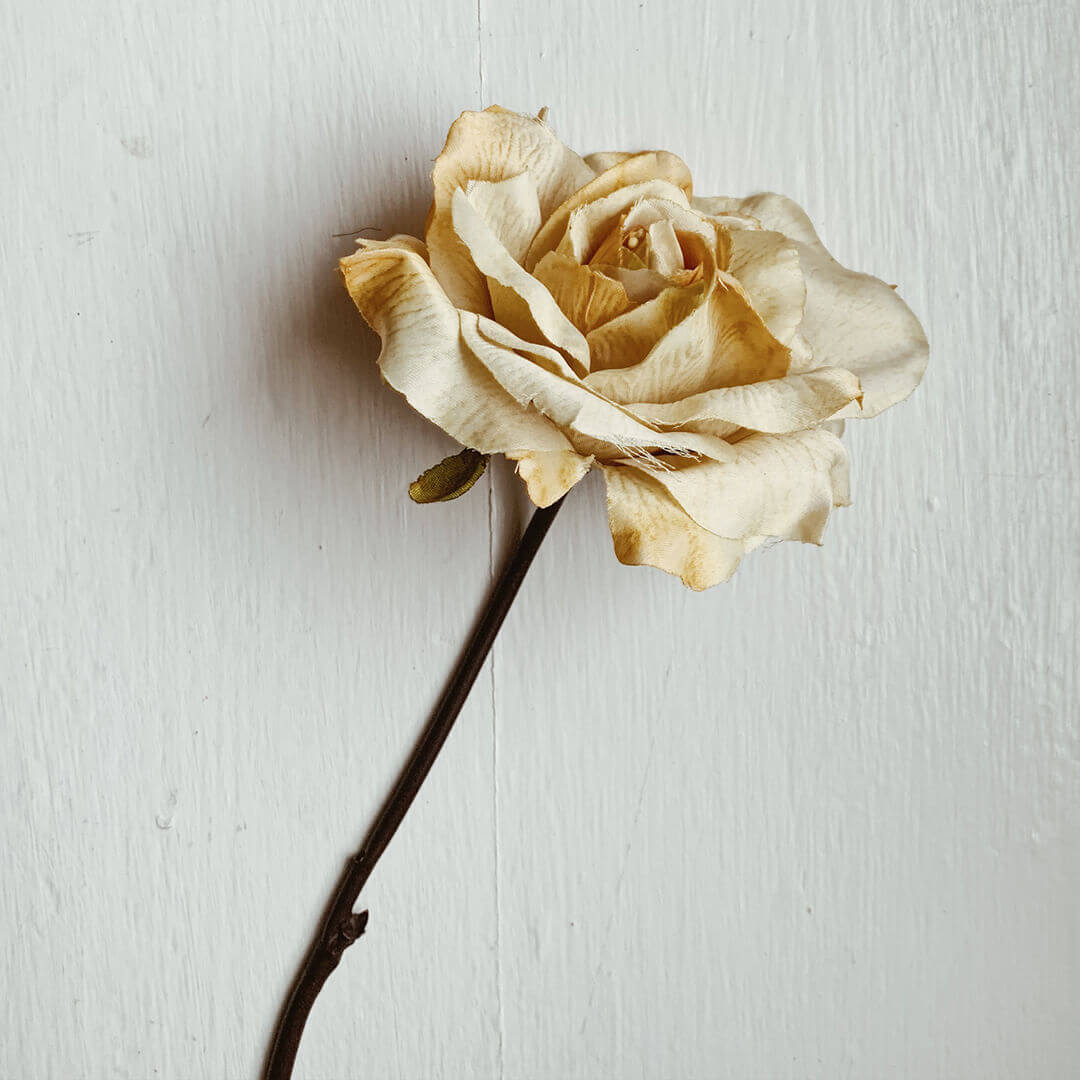 (D) 3 of these (they are single flowers)
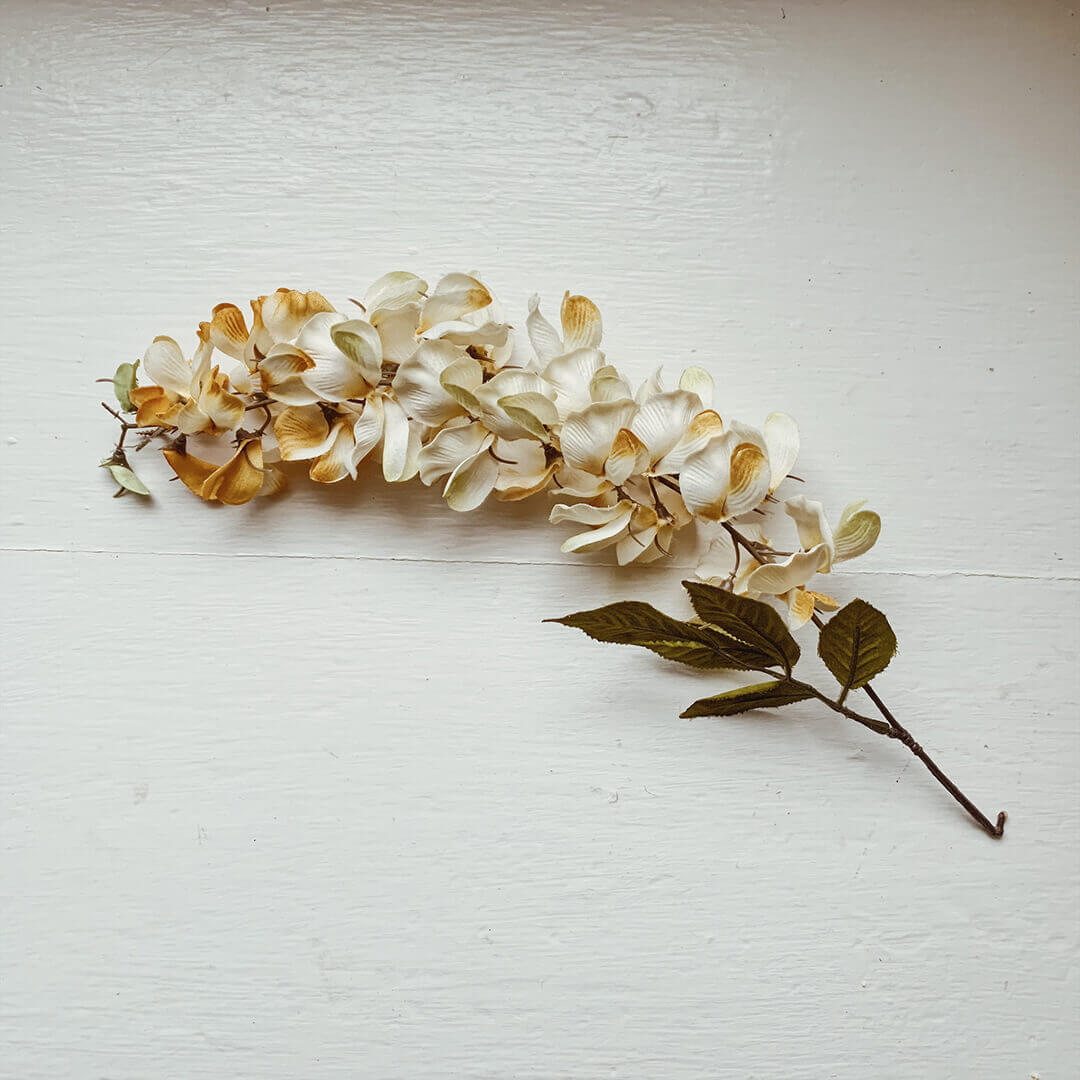 (E) 3 branches of these flowers, they come 4-5 to a branch so I had 12-15 flowers
Steps 1-5
STEP 1
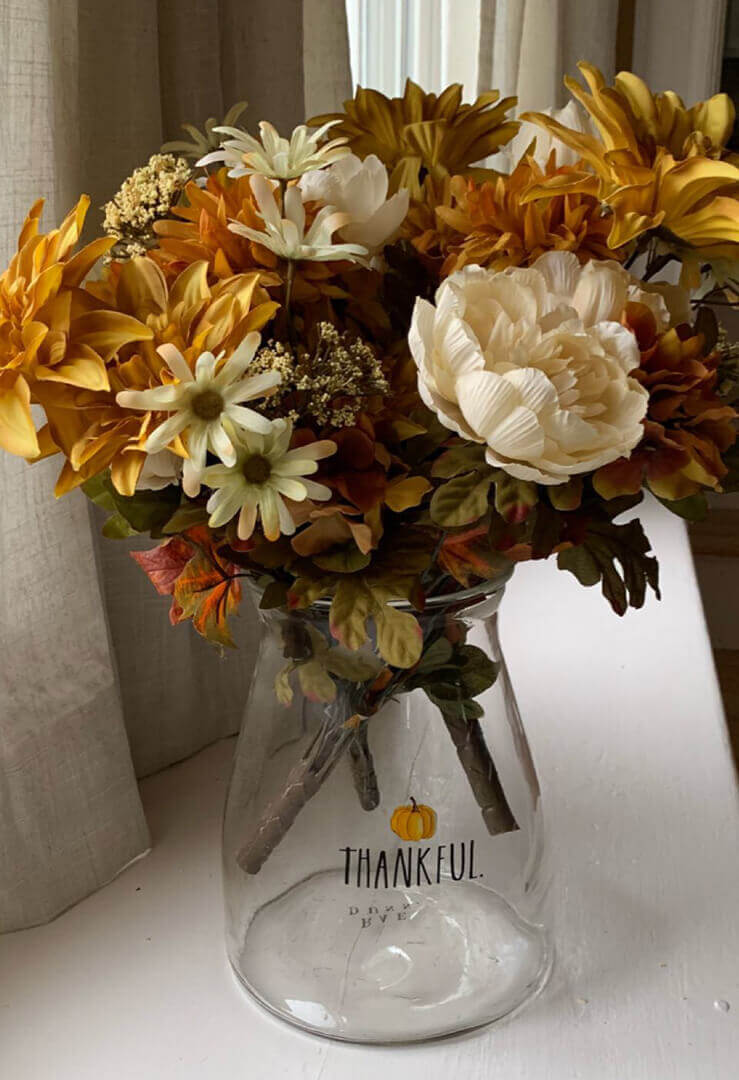
Take the 3 main groupings (A) and arrange them in your jar, one to each ‘side’ and one in the ‘back.’
STEP 2
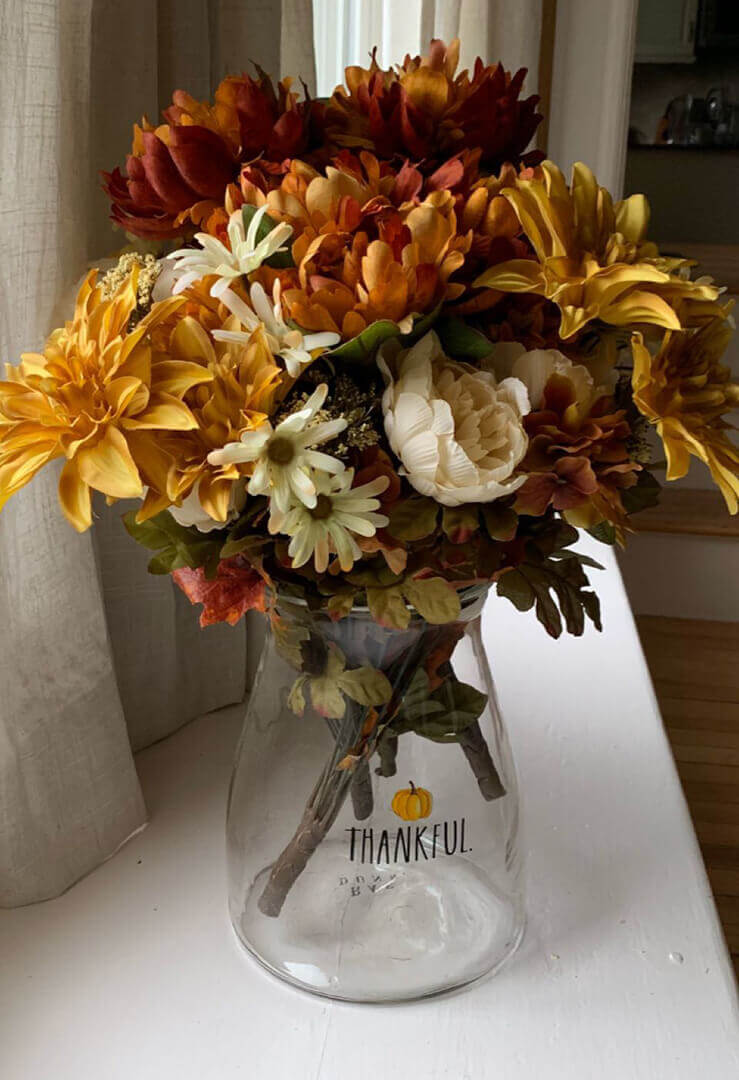
Take the single grouping (B) and add that bunch to the top center of the jar. Things might not be symmetrical, but we’ll fix that…
STEP 3
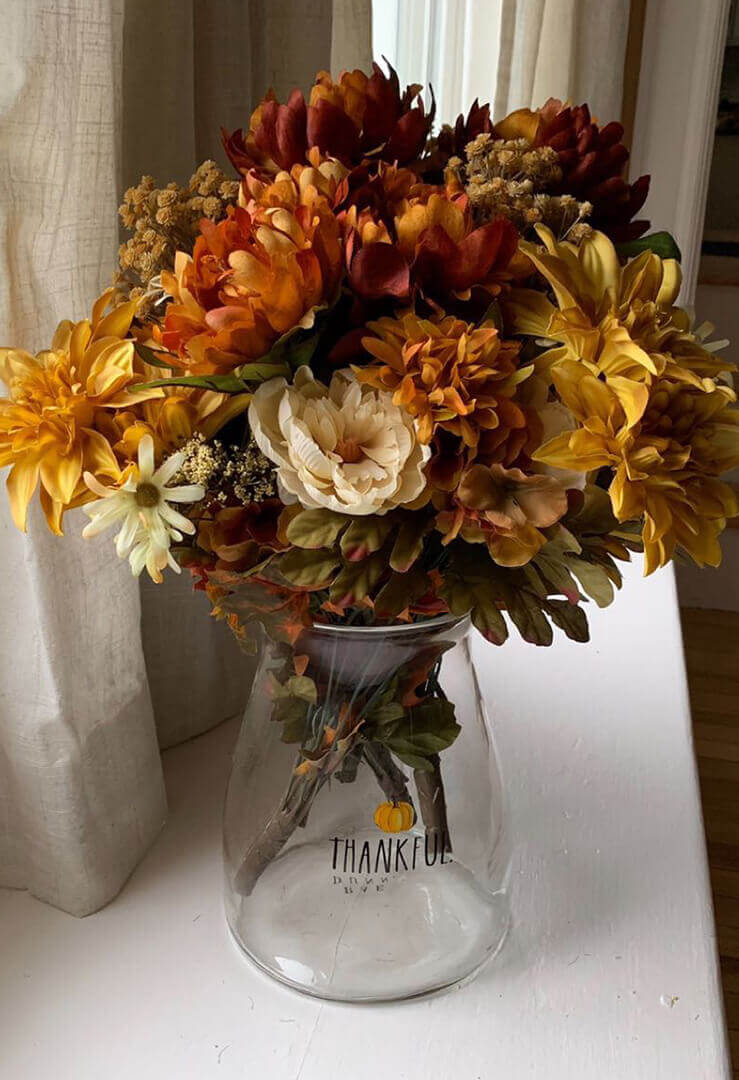
Take all the filler flowers (C & D) and insert them one at a time in your arrangement where there are holes. Be careful to space them apart enough so they aren’t all in the same place.
STEP 4
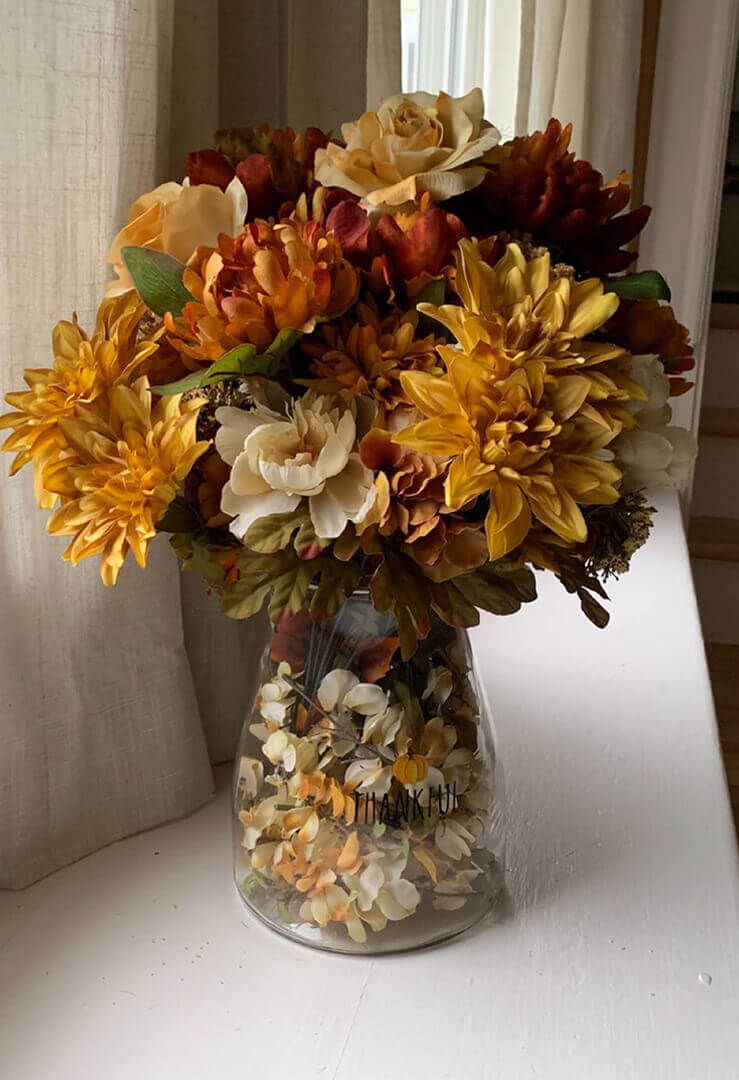
Take the flowers from (E) and slide them down into the jar so they cover all those branches. Space them out so they completely cover the entire inside of the jar.
STEP 5
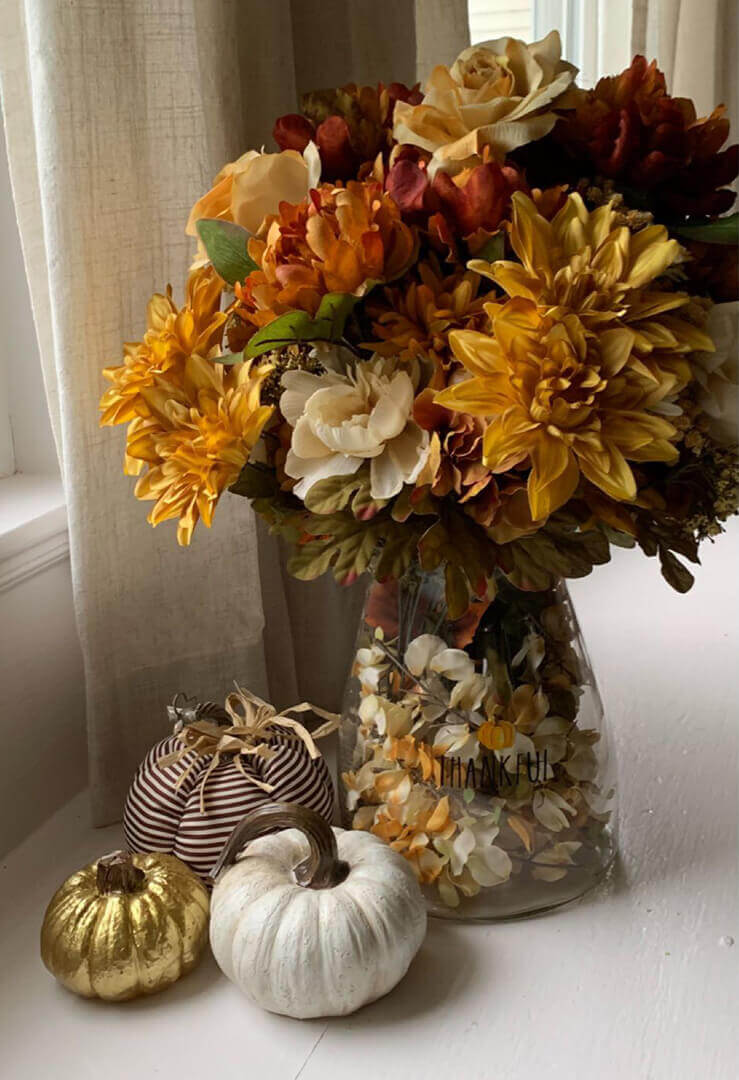
You’ll need to fuss with the arrangement to get it to be symmetrical. Add a few cute pumpkins in colors that match and you not only have an arrangement, you have a display!
Final Step


VSCO Editing settings:
- Exposure: +2.8
- Clarity: +4.0
- Adjust: Cropped Square (my actual pictures out of the camera had a 4:3 ratio)
- Filter: AU4
Last to-do for this project was to post a picture on Instagram and Facebook!
Oh, and I mentioned at the beginning that I’d include the picture from Hobby Lobby that inspired me. The second picture is that sample. Mine and the sample aren’t exactly the same, but that’s OK. The sample was a good place to start to crate a fabulous Fall floral arrangement!
Summary
How about you?
If you have done some flower arranging this Fall, I’d love to hear about it what you’ve done. Please share in the comments below!
