
Create a Quick, Easy & Fun Halloween Decoration
Looking for a fun Halloween decoration that will delight the kids?
Here you go. This little gaggle of ghosts is sure to please. And it’s so easy you almost don’t need instructions, but I included them just in case.
So follow along and you’ll have a super cute Halloween display that you can leave ‘as is’ or dress up if you decide you want something a little more. Keep reading…
Materials
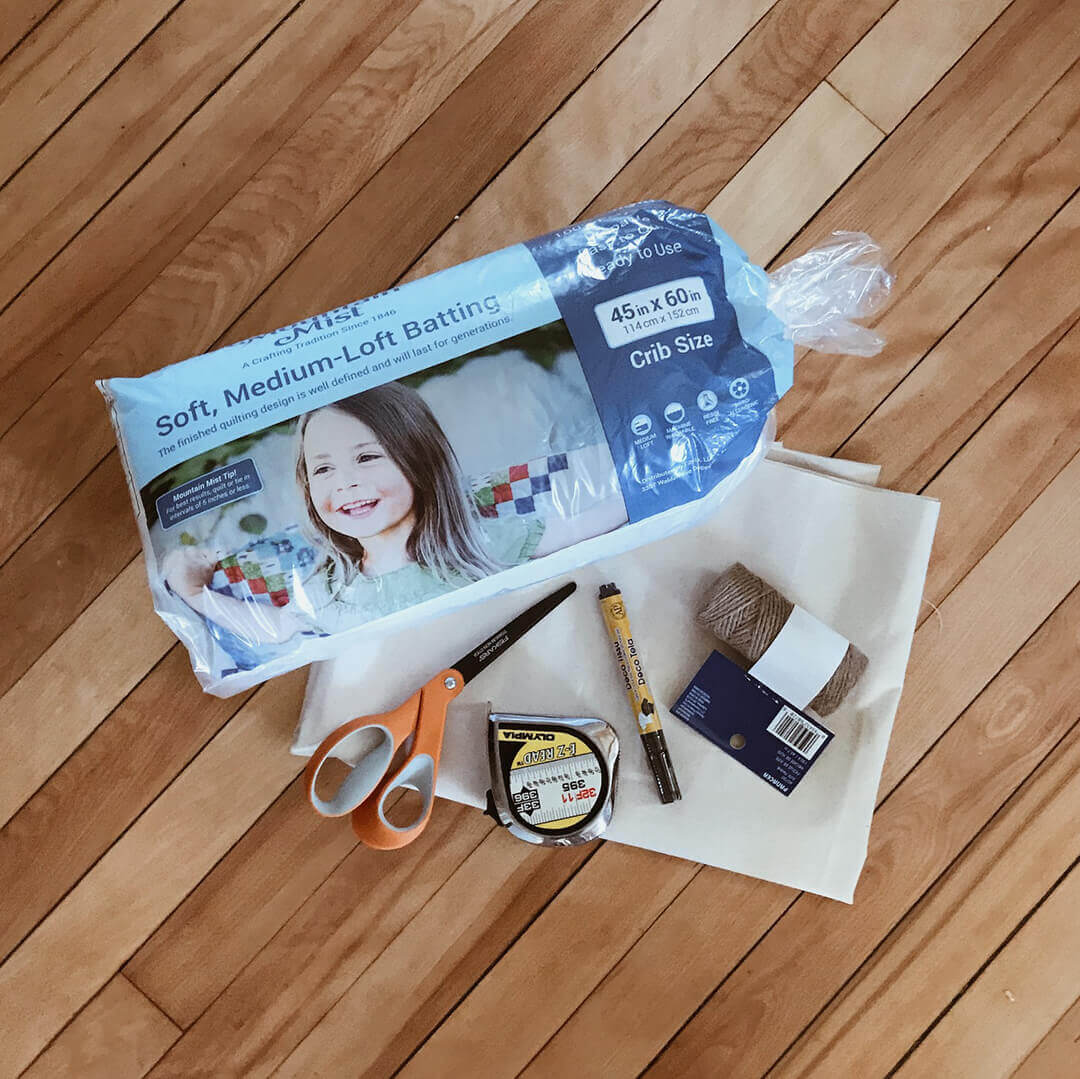
- 2.3 yards of white or off-white canvas
- Batting, or other stuffing
- Twine
- Black fabric marker
- Measuring tape or ruler
- Scissors
1. Cut the muslin into squares
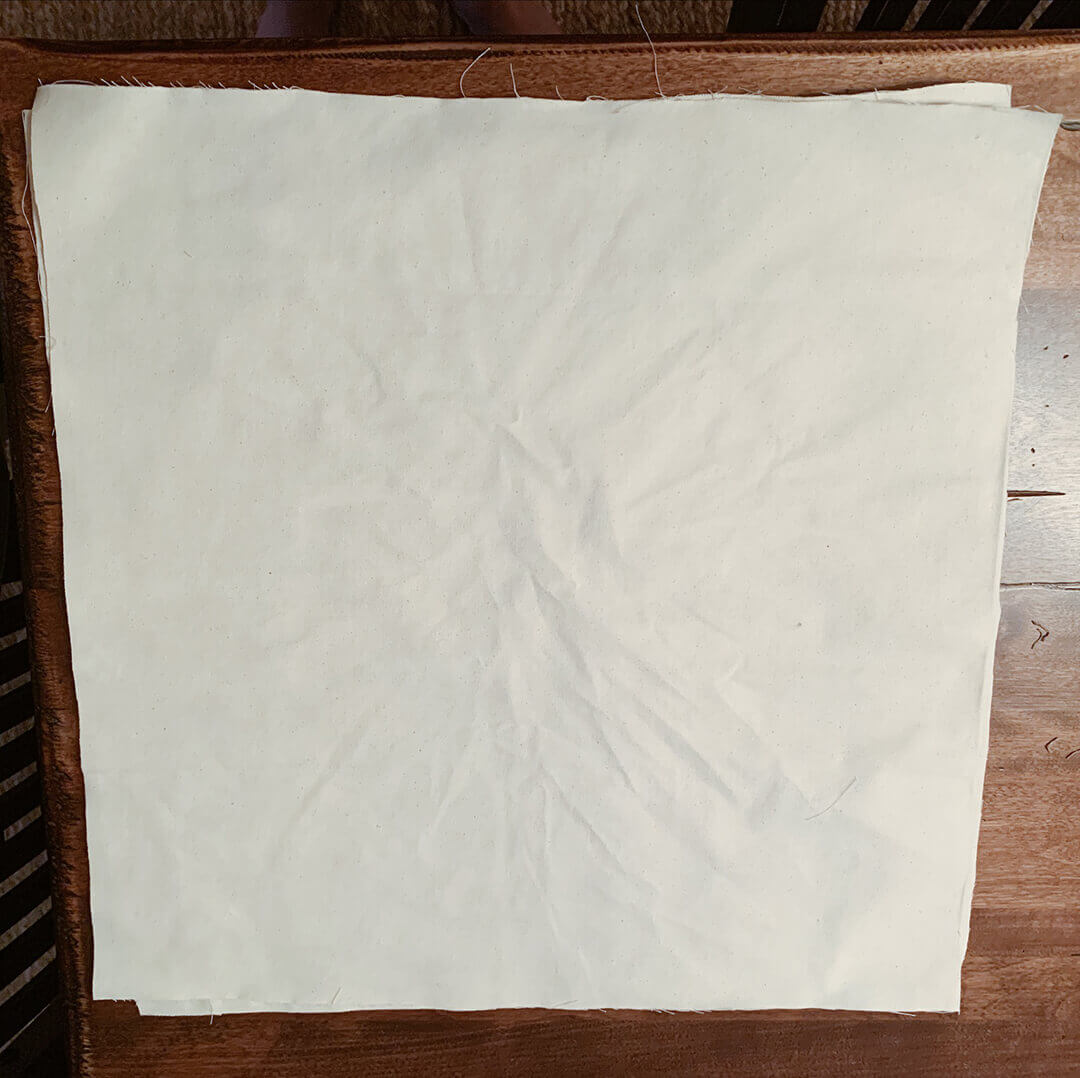
If you started with 2.3 yards, you’ll want to cut the muslin into 20″ x 20″ squares.
You should have 8 squares when you’re done.
2. Cut the batting into squares
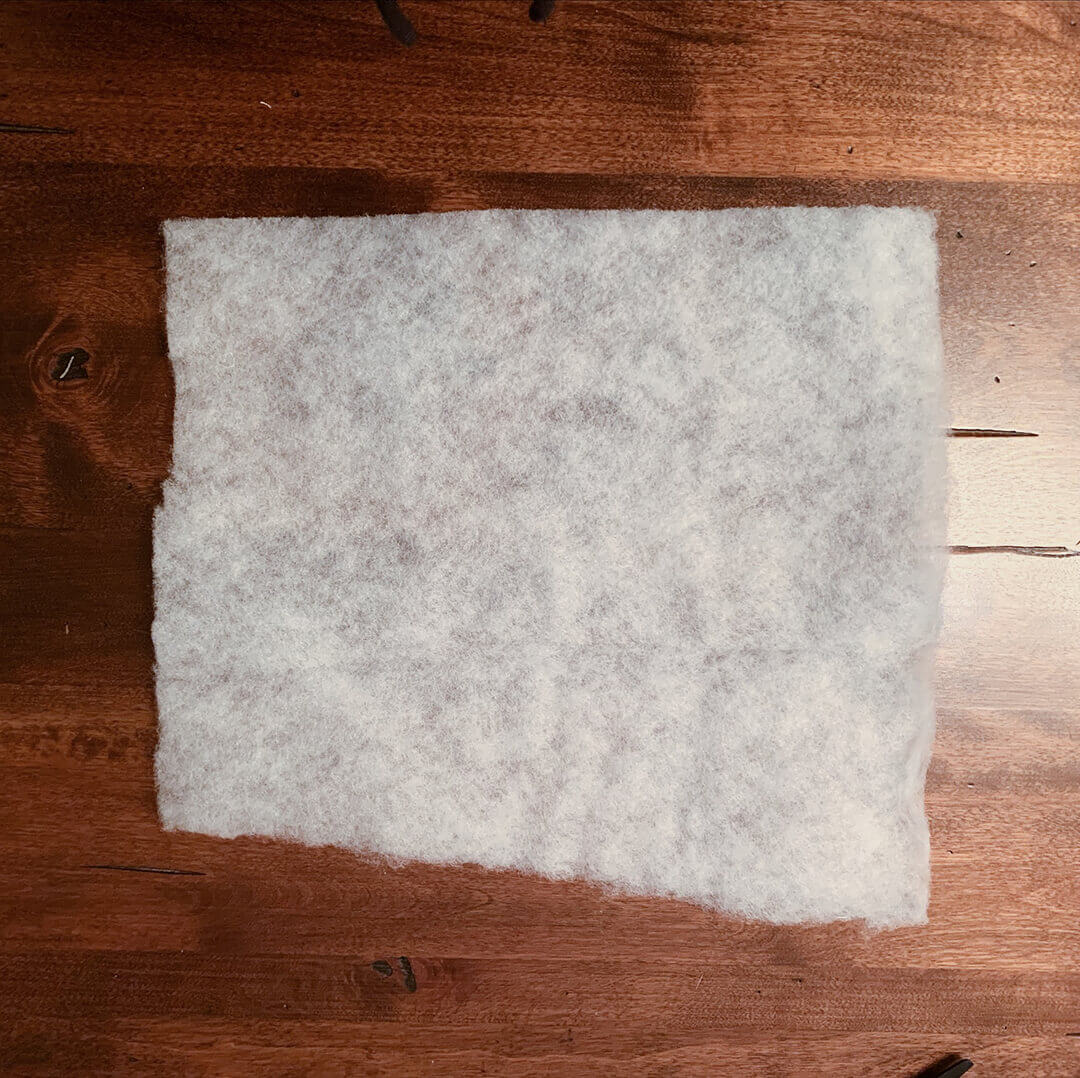
Cut a square of batting, approximately 8″ x 8″.
Repeat until you have as many squares of batting as you do of the canvas squares.
3. Cut the twine
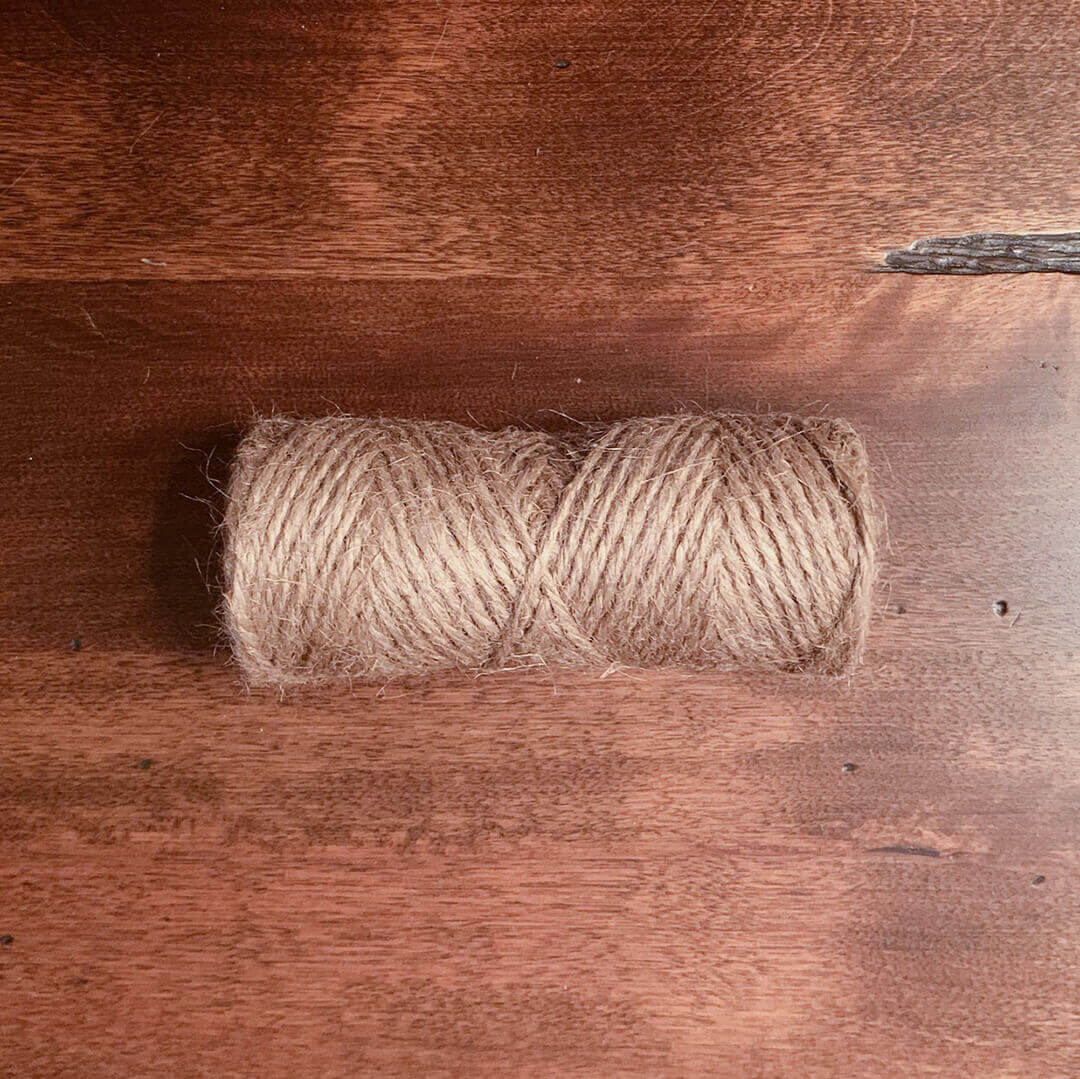
Cut a length of twine approximately 18-24 inches long.
Repeat for as many canvas squares as you have.
4. Create your ghost head

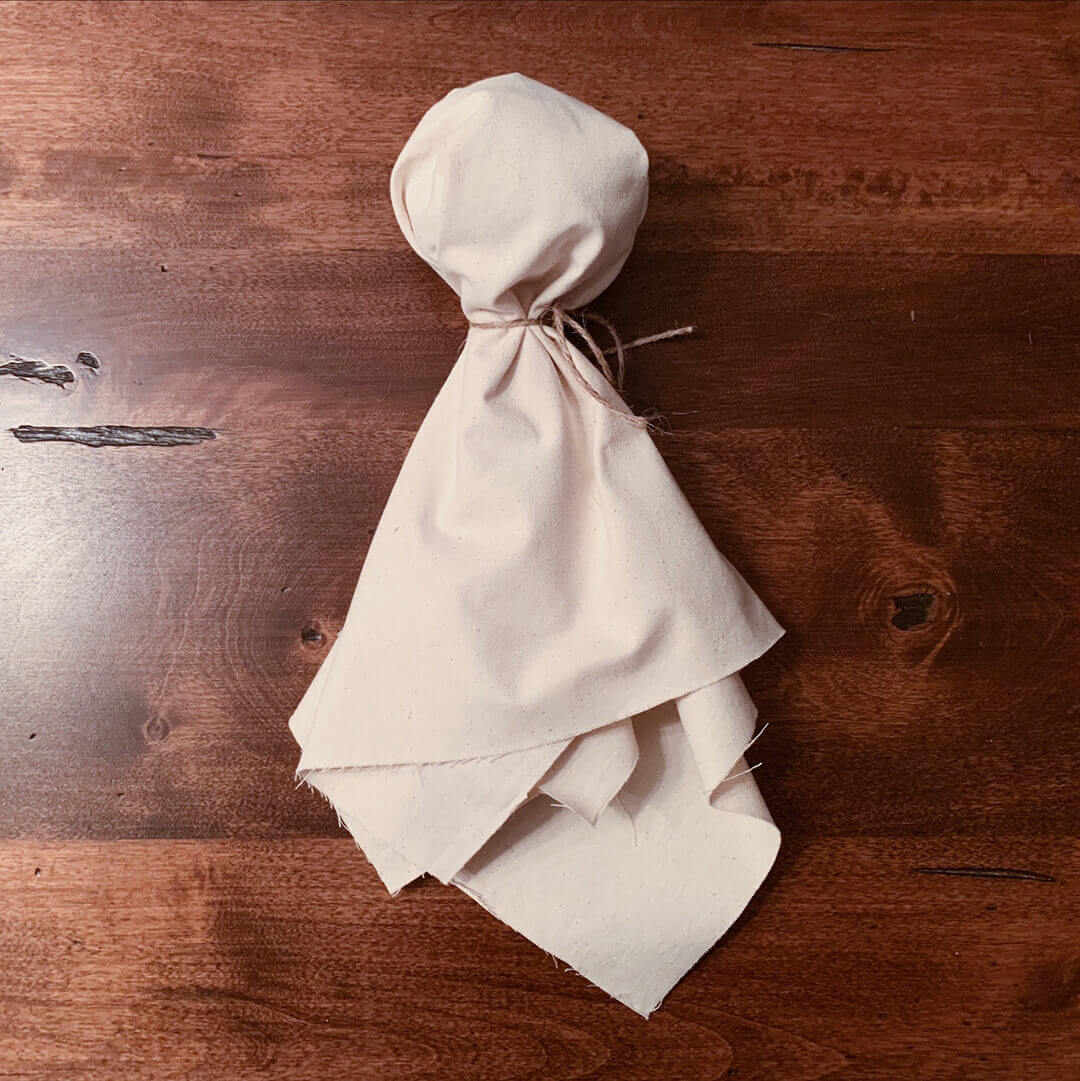
- Roll a square of batting into a ball.
- Place it in the middle of one of the canvas squares.
- Wrap the canvas around it.
- Hold it closed with your hand.
- Take one of the lengths of twine and wrap it around the ‘neck’ of the ghost.
- Pull the twine as tight as you can and tie it, leaving equal length ends on each side to hang down
Repeat this step for each canvas square.
5. Color in the eyes
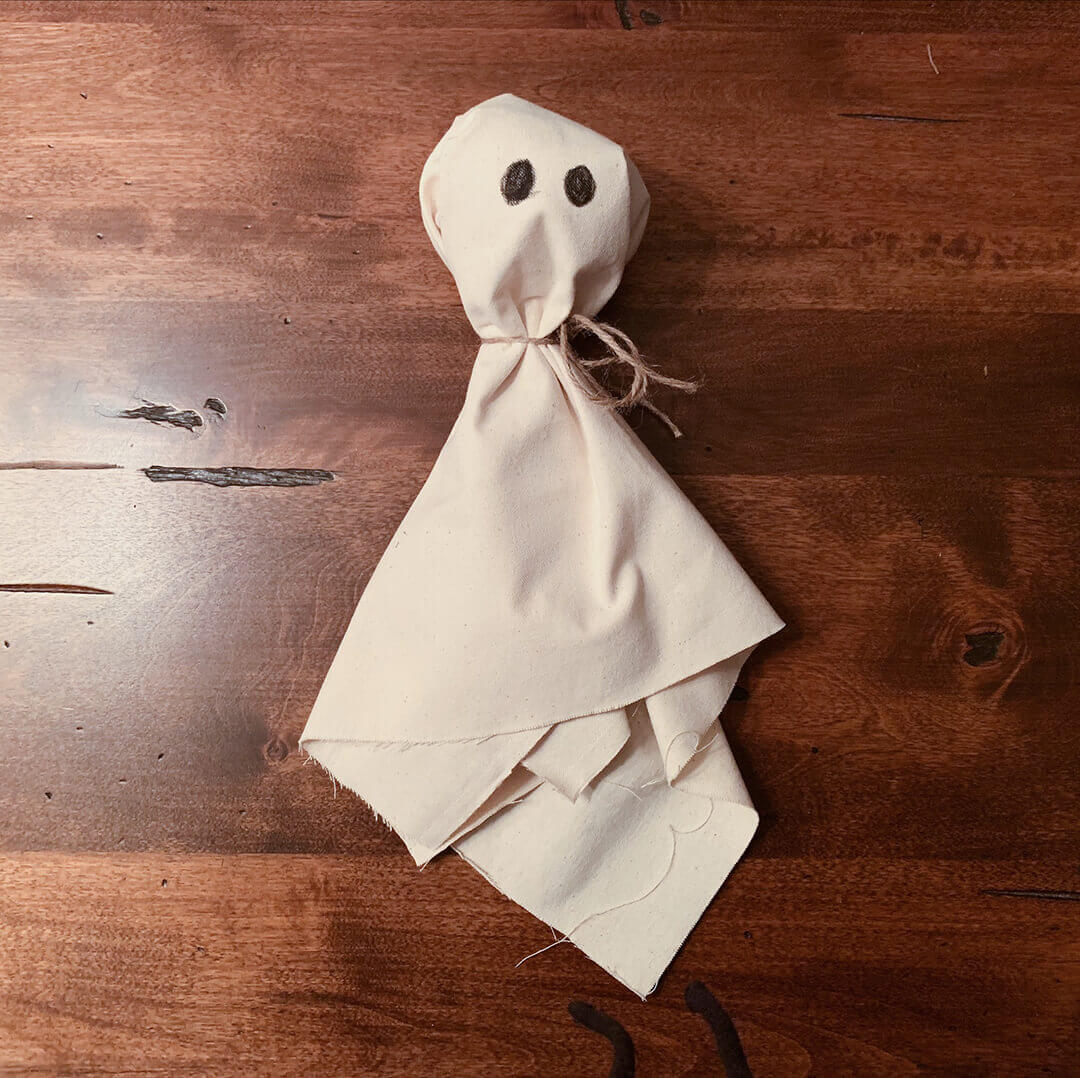
Repeat for each ‘ghost.’
6. Stuff the ghosts into a jar
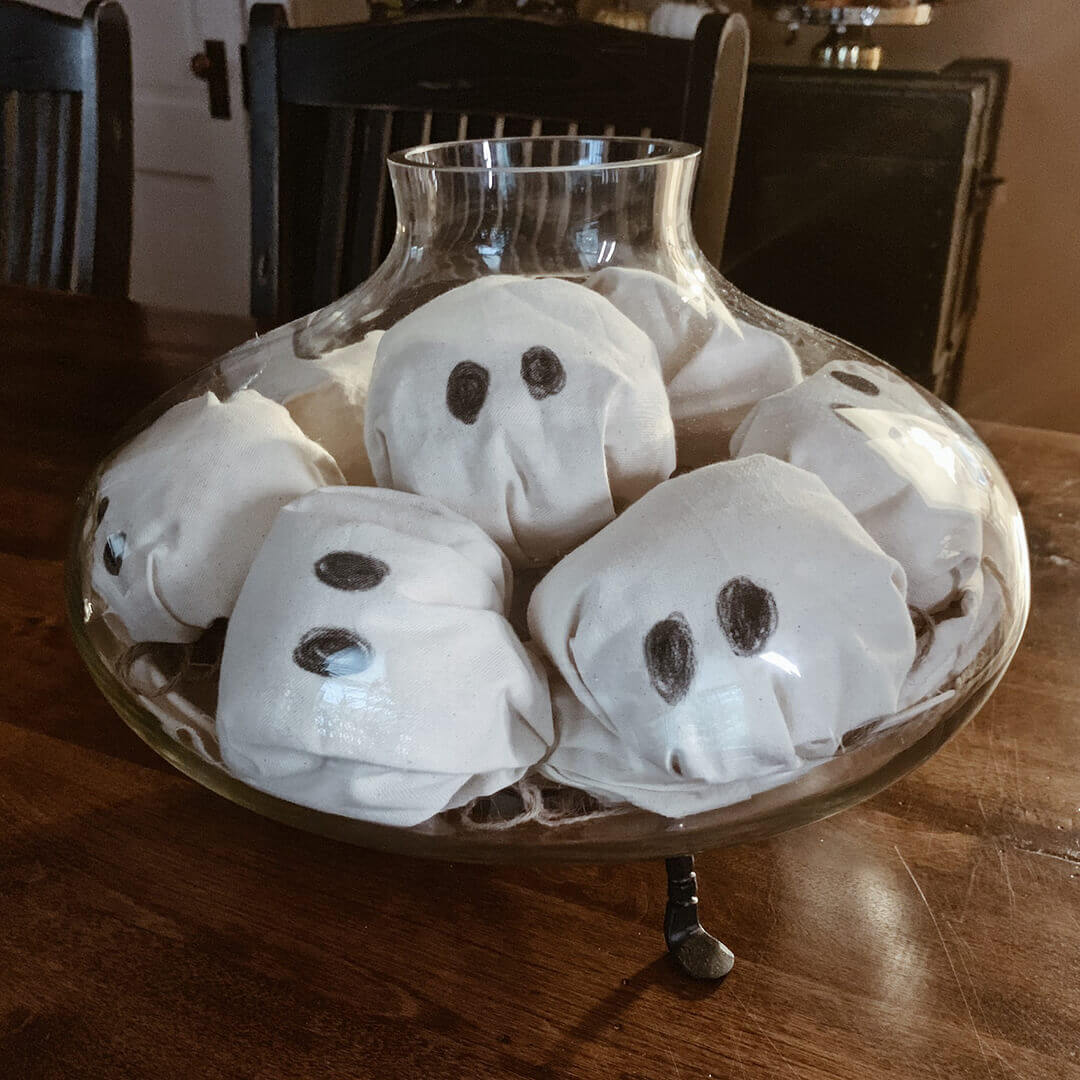
Any good sized jar will do. This particular jar is from Pottery Barn (no affiliate link). But you can use almost any shape, and any size that will hold all or most of your ghosts.
When you stuff the ghosts into the jar, just make sure the faces are close together and facing out. I had to fuss with mine a bit until I got them the way I wanted.
7. Create a display – optional
Other items I added:
- Fall flowers in the background from my local Hobby Lobby
- Spooky candlesticks I purchased last year from Grandin Road (discontinued)
- Creepy skeleton hand and white pumpkin from my local Homegoods
- The sign is an printable invitation that I purchased from an Etsy shop. I edited it to personalize it and printed it on my little black and white laser printer (I colored the martini and pumpkins). Click here for a direct (non affiliate) link to the product.
Summary
How about you?
If you have decorated for Halloween, I’d love to hear about it what you’ve done. Please share in the comments below!