
How to Make a Unique Halloween Decoration in 5 Easy Steps
October decorating got you stumped? Looking for a unique Halloween decoration? 
Got your covered. Are you finding it hard to locate a fun but unique Halloween decoration that doesn’t scare the kids too badly or cost you an arm and a leg? Do you wonder how those Pinterest accounts put together displays of several items and they all look like they belong together? Have you seen those tiered trays in your shopping travels and wonder what you would ever use them for?
Then, I have a suggestion for you and yes, it starts with a tiered tray.
The problem with most tiered tray displays that you see on Instagram or Pinterest is that it’s almost impossible to replicate them because you’d have to find every little item on the tray. Not gonna happen, I don’t care how long you shop! But you can create a tray that is uniquely your own. If you’ve been intimated by how to decorate a tiered tray in the past, no worries. You’ll find it’s not that difficult if you follow my steps.
Personally, I’m really digging this whole Halloween thing now that I got this little piece of decor out of the way. So follow along and we’ll have you creating a personalized, unique Halloween display you love in (almost) no time!
1. Start with a Tiered Tray
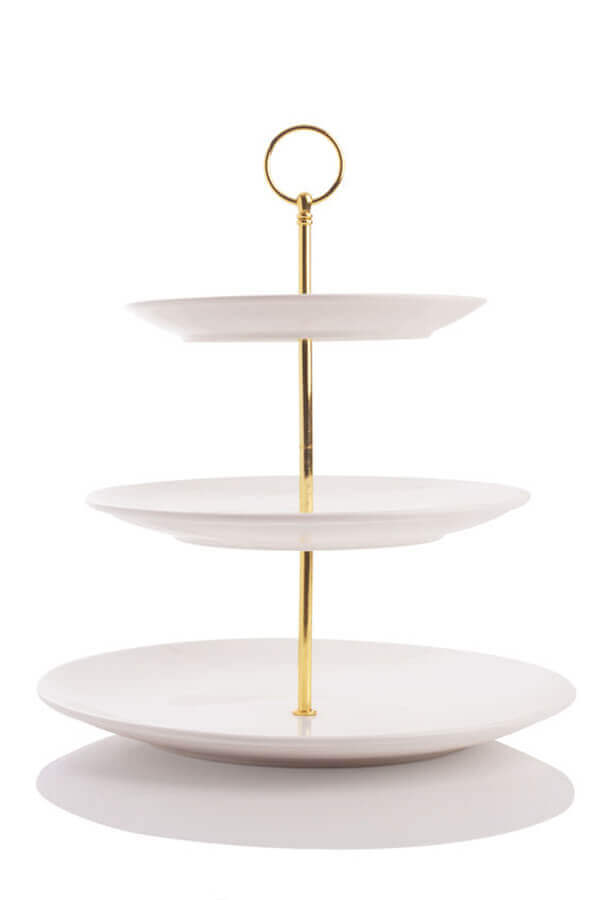
- They are usually 2 or 3 layers (some have more!)
- You can purchase them in almost any store that carries home decor.
- The cost is anywhere from $10 – $200 or more, depending on the quality and size of the tray and where you shop.
- There’s an endless array of styles and colors, so what you select depends on your personal taste
Regarding size, the larger the size tray you purchase, the more space you have to fill. And, you should make sure that it fits somewhere in your house. So, if you don’t have a lot of little decor items and don’t want to spend a lot on this project, keep to a smaller tray.
Where to shop?
For tiered trays, I usually purchase locally. You’re at the mercy of whatever is in stock but if it’s right in front of me, I can see and feel it and don’t have to wonder about the quality. HomeGoods, Hobby Lobby, Target, TJMaxx, Walmart, Pier1 are all good choices.
The tray that I used for this project was purchased at Home Goods. I like the hammered steel, the 2 tones of gold and silver, the size (not too big, not too small), and the price. I paid about $30 for it.
If you are looking online, here are a few suggestions for you. I have not purchased these particular trays and these are not affiliate links. Always check prices and customer reviews before purchasing:
2. Shop Your House
By small, I mean anywhere from the size of a large mug to something smaller than that (as a place to start). You want items that are:
- Again, small in size
- Halloween-oriented or in a Halloween color
- Not all the same color, vary the colors a bit for contrast
- Cute, fun or scary depending on your taste
- Different sizes in terms of height and width
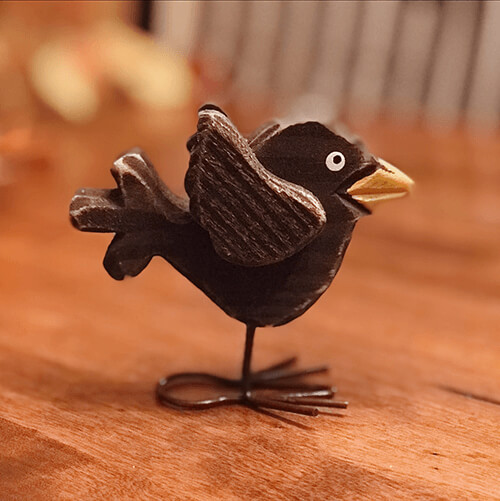
I first took stock of everything I had in my house that was Halloween-oriented. I did find a few things that I liked and set them aside. Once I did that, I knew that I needed an additional 8-10 items so I was on to the next step…
3. Shop Local
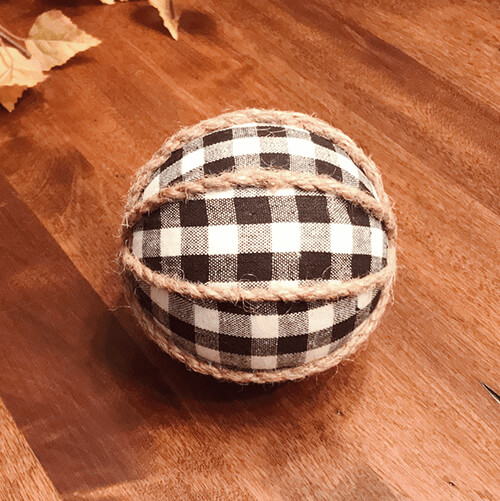
While you’re shopping you also want to select some Halloween-colored sprigs/pieces of floral. I used orange-colored ones that I purchased from Hobby Lobby. I actually bought one branch for around $3 and pulled the individual sprigs (mini branches) off.
If you are stumped at where to start, find these:
- A cute mug
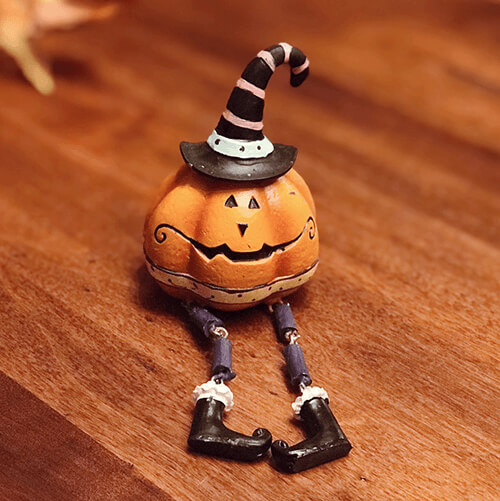
- A small faux decorative pumpkin or two
- A decorative candle
- Halloween figurines
- Small Halloween or Fall-ish signs
My best advice is only buy items that you love, you don’t want to fill your tray with ‘stuff’ just to fill it! For this round of shopping, I found most of my items at Hobby Lobby but added a few from Target, Home Goods and Pier 1.
Don’t worry about how they all fit together yet, just keep shopping until you have the number of items that you want and make sure you have some variety in color and sizes. Save receipts, in case some items don’t work.
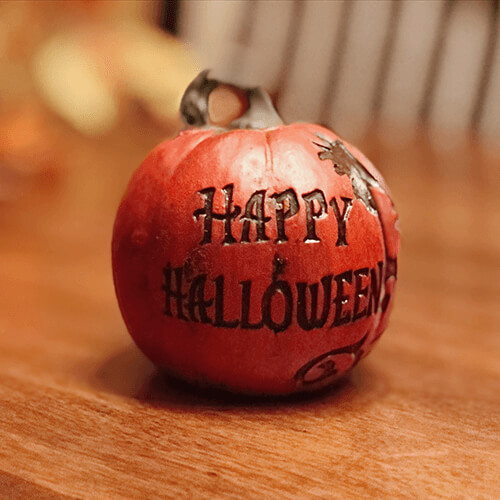
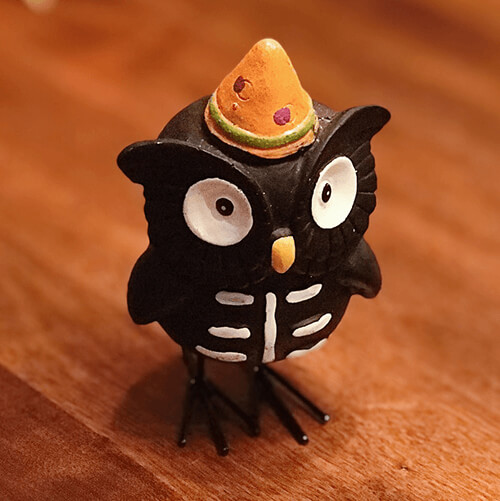
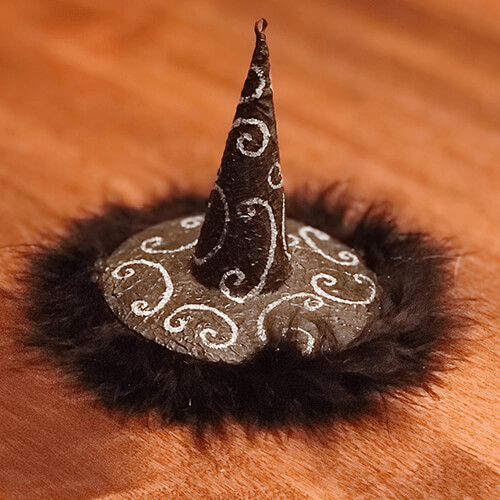
I purchased 8 items in all for the tray. Here’s my little collection below. They are all different sizes, heights, shapes and colors but their theme is the same (Halloween) and the colors all compliment. And I love them all.


4. Assemble the Tray
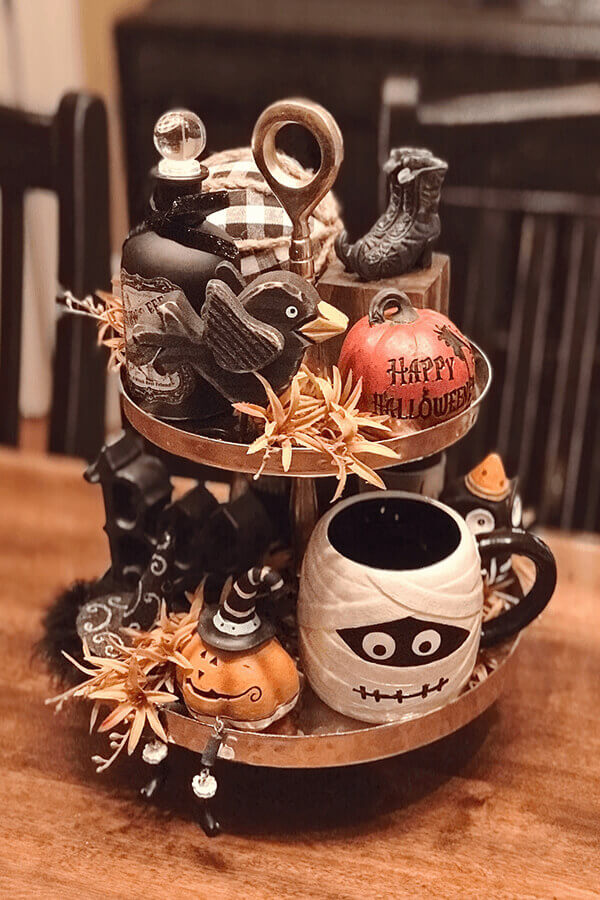
- Place the mug or the largest item(s) first.
- Keep the items you love the most front and center.
- Alternate the heights of the items that are next to each other.
- Taller items in the back.
- If you have little bowls in the tray, consider putting smaller decorate items inside.
If yours is a centerpiece and you’ll be viewing it from all sides, make sure that items are all turned out and that all sides have a view that you like.
Add little pieces/sprigs of floral in between items here and there to pull things together.
If you find that things just aren’t fitting together, you may need to exchange or add an item or two. Maybe too many things are the same height or color or you have too many open spaces. If you do need to do more shopping, at this point you probably have a better idea of the size, color and type of item(s) you need.
5. Add some Dimension
Sometimes a tray all by itself looks a little ‘bare.’ So, to the left of the tray I added a large sign, pumpkin and a skeleton hand (all from my local Homegoods). To the right I added a small gold pumpkin and in the back on the right I added a cascade of faux fall leaves.
Voila! We’re done.
Summary
You may need to experiment a bit but you, too, can create a unique Halloween decoration that you’ll love. And, once you’ve put together one or two of these little displays I promise they’ll get easier and quicker to build.
How about you?
If you have decorated for Halloween, I’d love to hear about it what you’ve done. Please share in the comments below!