
How-to Shortcuts for 5 Unbelievably Cute Easter DIYs
Eggs & Bunnies, Oh My!
It’s not too late! Here are 5 super cute Easter DIYs that you can make yourself. Supplies are easy, too. Anything I did not have on-hand I purchased at my local craft stores, AC Moore, Michael’s or Hobby Lobby.
The 5 projects are below. Browse down the page for supplies and instructions for each. Or click on each image below to navigate directly to that project’s instructions.
Here you go, a few cute Easter DIYs to brighten your day…
Unicorn Eggs
Nest of Paper Eggs
Cactus Eggs
Burger Eggs
Bunny Bum Pots
Unicorn Eggs
This may have been my easiest DIY of the whole collection after I got past the need to free-hand the eyes!
Supplies
- 4 wooden eggs from local AC Moore
- 4 sets of artifical flowers Little Birdie Flowers from local AC Moore
- black marker from local Michael's
- white acrylic paint from local Michael's
- paint brush from local Michael's
- 4 small sheets of gold foil from local AC Moore
- small piece of yellow felt from local Michael's
- tube of craft glue from local Michael's
- small resin egg crate from local AC Moore
Instructions
- Paint the wooden eggs white using the white acrylic paint. It took me 4 or 5 coats to fully cover.
- Glue 3 small flowers on the top of each egg.
- Create the horn at the top of each egg: roll a small piece of yellow felt into a cone shape. Then cover it with gold foil. You'll need to snip off the bottom, so it's level and the right height. Glue a horn to the top of each egg, just behind the flowers.
- With a black marker or black acrylic paint pen, hand-draw the eyes on each egg. I googled "unicorn eyes" to get some ideas and then just free-handed them. Run a few tests on a piece of paper and you may also want to draw each eye first with pencil, then go over it with the black marker when you're happy with your design.
- Stage the eggs in the small resin egg crate.
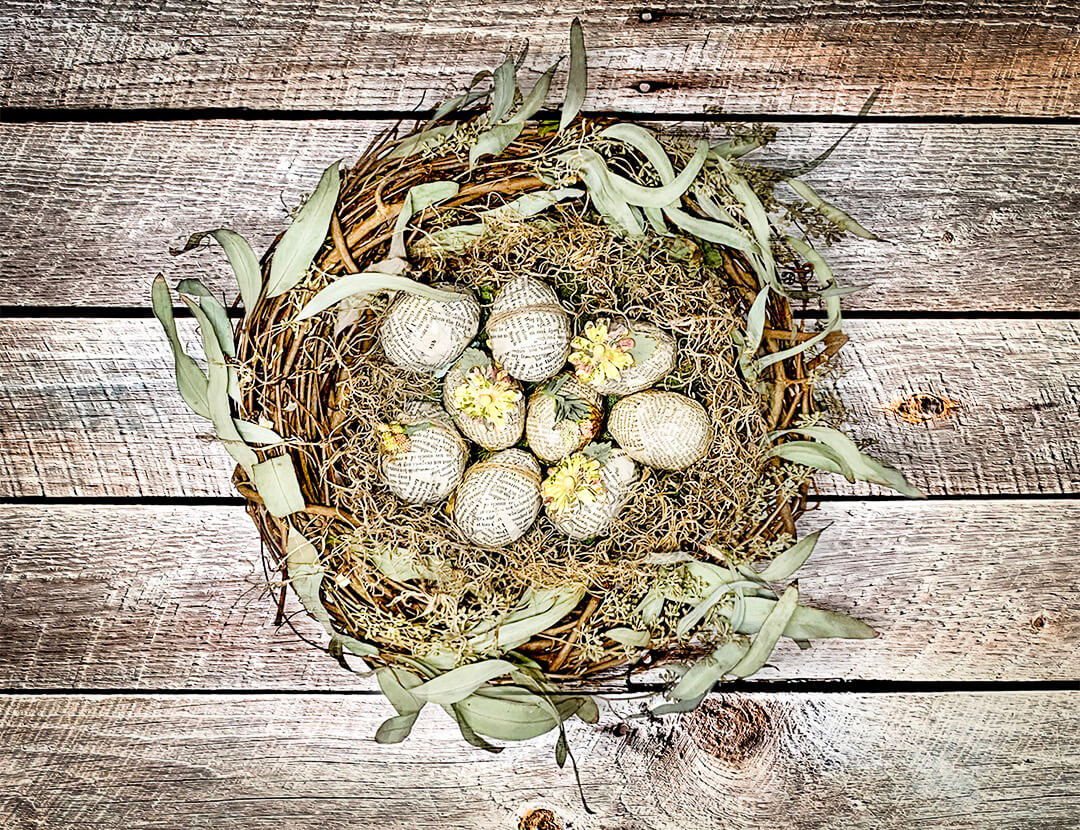
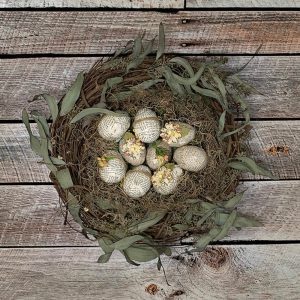
Nest of Paper Eggs
This was the first DIY I did, and decoupaging the strips of paper took me the longest time (it was also messy work). But I loved how the eggs turned out in the end.
Supplies
- set of plastic eggs from local AC Moore
- set of antique paper from Etsy shop
- paint brush from local Michael's
- jar of Modge Pode from local Michael's
- ball of twine from local Michael's
- set of little birdie embellishment flowers from local AC Moore
- faux brown moss from my own house
- small grapevine wreath from local Michaels'
- larger grapevine wreath (optional) from my own house
- barnboard background image (optional)
- Lightroom preset (optional), my own creation
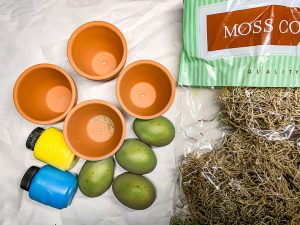
Instructions
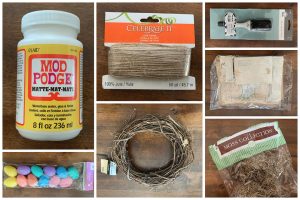
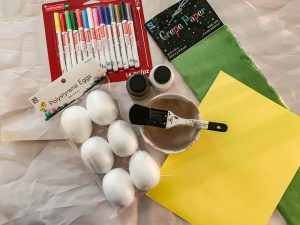
- This is a picture of all the supplies I used for this DIY.
- Place a liberal amount of newspaper under your work area and have a piece of wax paper handy as a place for the eggs to dry.
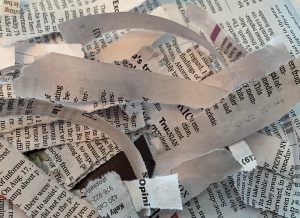
- Rip strips of antique paper and use Modge Podge to apply them, one by one, to each egg. I worked on one egg at a time and finished it before moving on to the next one.
- Let the eggs dry. It may take a few hours until they are completely dried throughout.
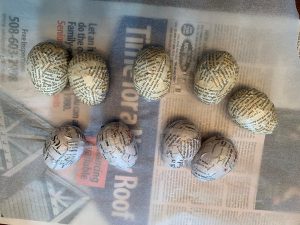
- Wrap twine around each dried egg 3 times.
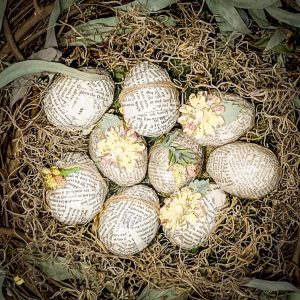
- Add embellishments to each egg (I used tiny faux flowers and sprigs, something a little different on each).
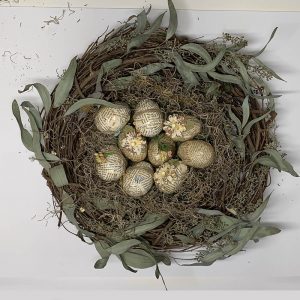
- To stage the eggs, you can use just one grapevine wreath, whichever size is best suited for the size of your group of eggs. I decided to use both wreaths because I had the larger one handy and liked how the two looked together.
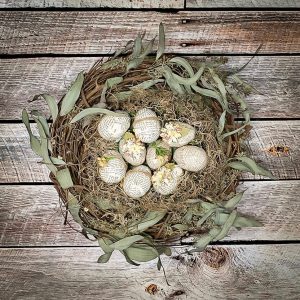
- If you are able to stage a picture that you like, you are done. However, my own vision was to have a picture of the nest on a piece of barnboard, and I did not have a good piece of wood handy. So, I did some Photoshop magic to get my own final result. This is my original image of the eggs in the nest.
- I purchased a barnboard digital background from 123rf.com (my go-to source, no affiliate link) and I used Photoshop to merge the 2 files. Here's that result.
- The image was a little dark and dull so I used a Lightroom preset that I created to brighten up the file. I included the preset and instructions to install and use it in a separate blog post.
- And, lastly, here's a close-up final picture of the eggs in the nest.
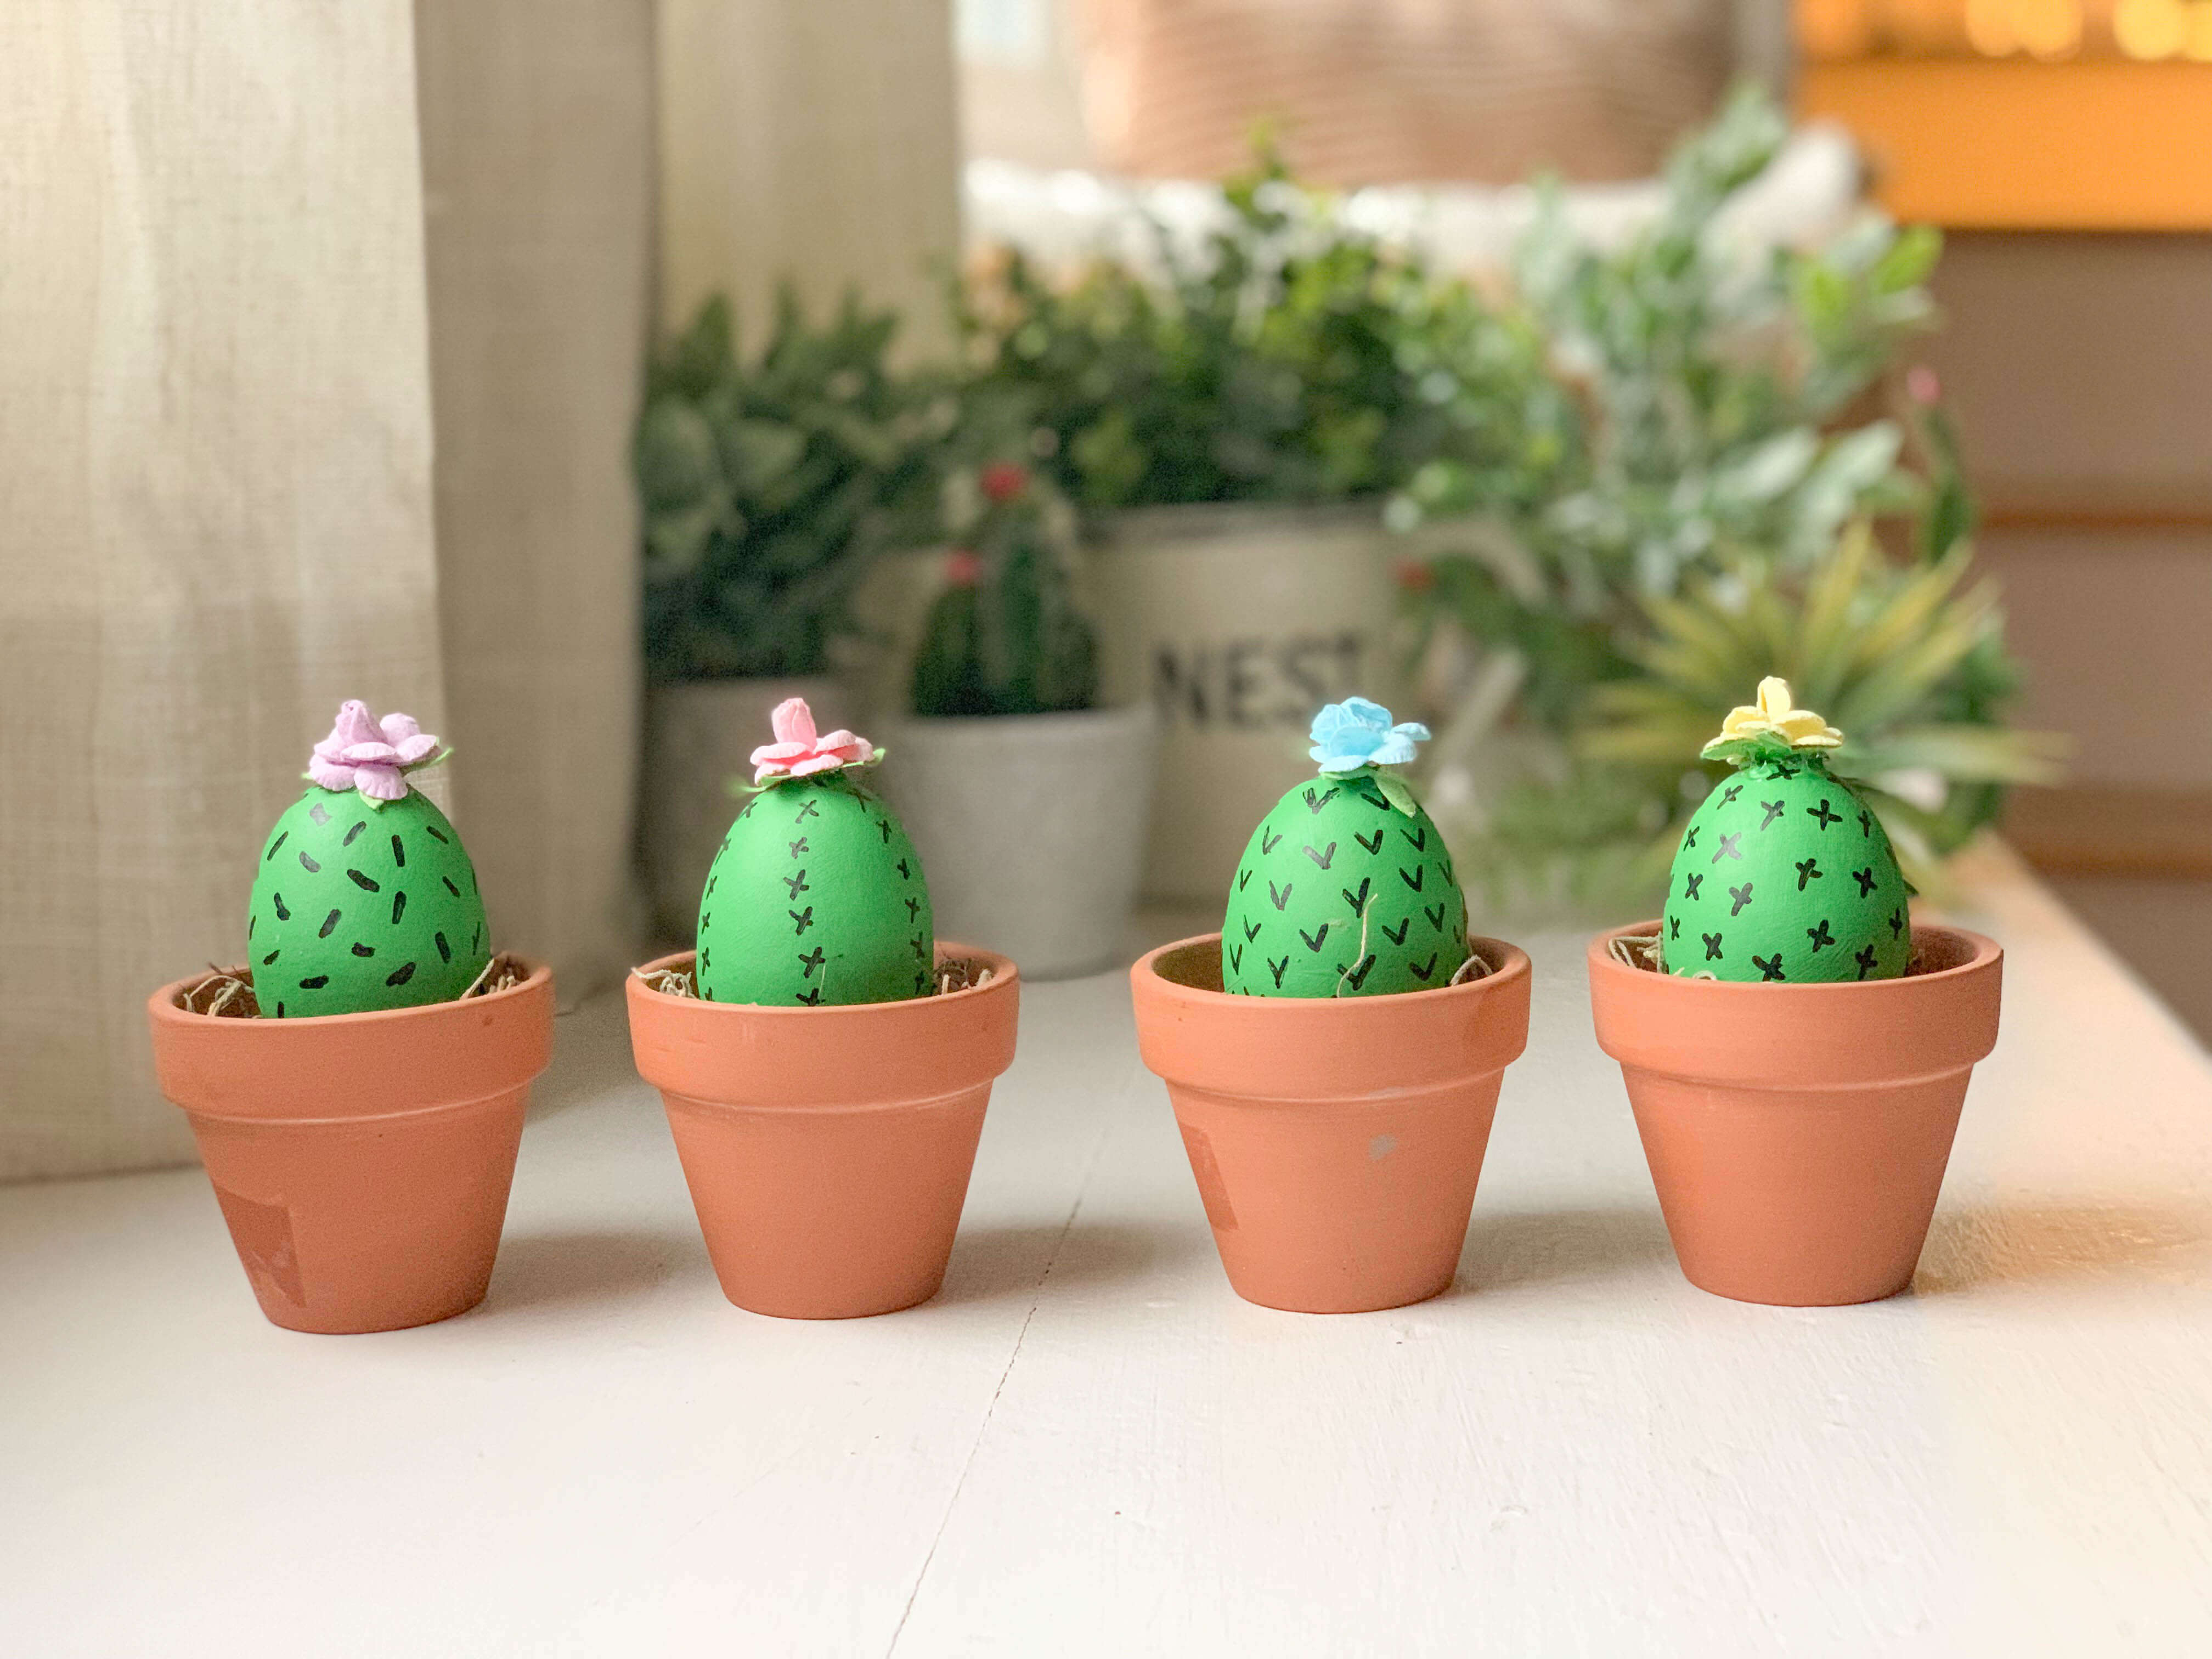
Cactus Eggs
Super easy DIY, and these little cactus 'plants' will even carry over after Easter.
Supplies
- 4 faux Easter eggs from my local Pier 1
- jars of blue, yellow and white acrylic paint from my local Michael's
- black paint marker from my local Michael's
- tube of craft glue from my local Michael's
- tiny faux paper flowers, 1 per egg from my local AC Moore
- 4 small clay pots from my local AC Moore
- bunch of faux dried moss I had on-hand
Instructions
- This is a picture of all the supplies I used for this DIY.
- Mix the blue, yellow and white paint to a color green that looks like a cactus color (my color was more yellow-green than blue-green).
- Paint the eggs until they are completely covered. I had to apply 4-5 coats until I got the coverage I wanted.
- Let the eggs dry completely.
- Using the black marker, make patterns of black marks on each egg, a different design for each. I googled faux cactus eggs for ideas.
- Apply a generous dot of craft glue on each flower and place one on the top of each egg.
- Stuff the clay pots with faux moss and create a small hole in the center so the eggs will sit in the pot without falling out.
- Add one egg to each pot.
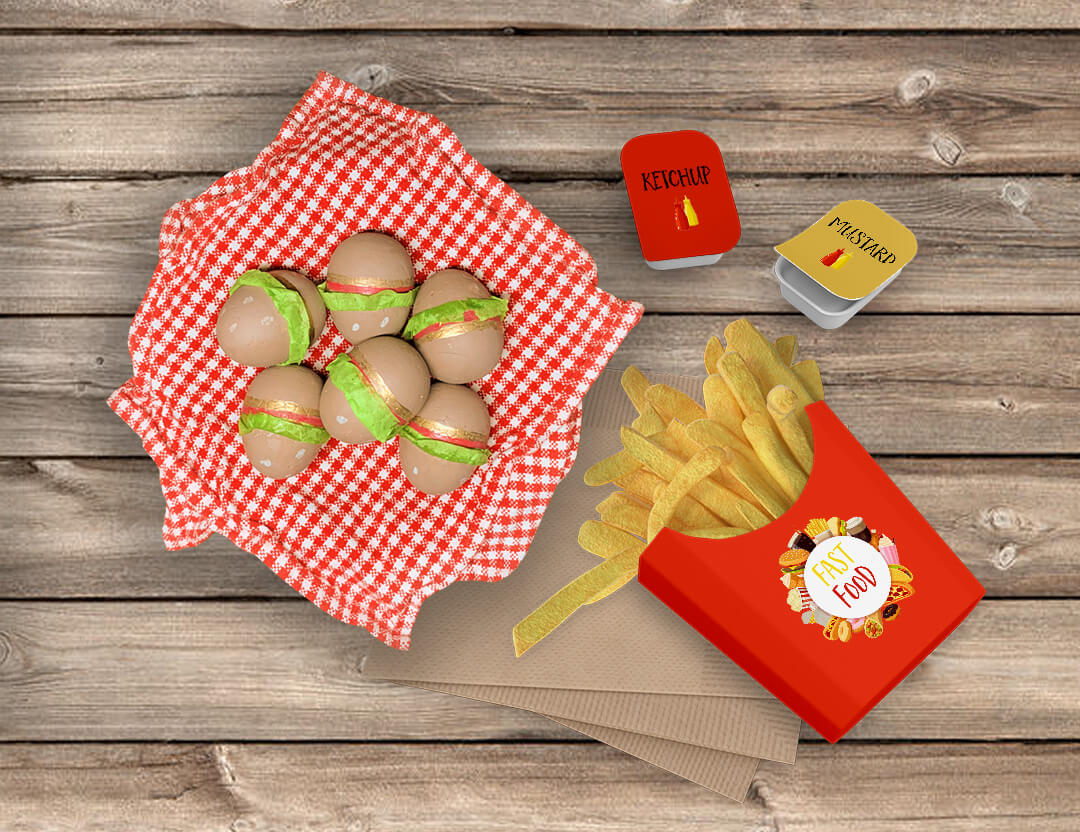
Burger Eggs
I was happy with how these turned out but found this DIY to be the most difficult, and I also forgot a piece when I was putting them together. Oh well.
Supplies
- 6 faux eggs (I used styrofoam white ones from my local AC Moore
- jars of brown and white acrylic paint from my local Michael's
- 1 piece of green tissue paper from my local Michael's
- paint pens - gold/brown and red from my local Michael's
- 2 checkered hand towels from my local Hobby Lobby
- bowl from my kitchen
- wood digital background (optional) from 123rf.com
- digital fries box & condiments (optional) from creativemarket.com
Instructions
- This is a picture of all the supplies I used for this DIY
- Mix together the brown and white paints until you get a tan color, something that looks like the color of a burger. The most time-consuming part of this DIY was that I started with white styrofoam eggs, and painted them with acrylic paint which takes a number of coats to cover. You could just start with a real (blown-out) eggshell and have an easier time of it.
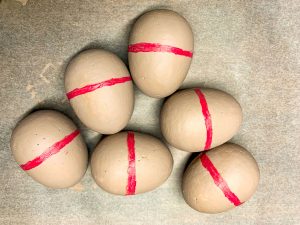
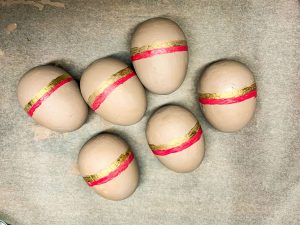
- With a red paint pen, paint a rim of red (for ketchup) around the center of each egg.
- Just under the red ketchup line, use a gold/brown paint pen to draw a rim just under it.
- I completely forgot to add yellow triangles for the 'cheese.' I should have cut 3 tiny triangles out of yellow paper and glued them on the egg just above the red line, spaced evenly apart.
- Tear skinny strips of green tissue paper (lettuce). Glue each piece to the egg, above the red line, 'ruffling' the paper as you go.
- Using a white paint pen, paint little circles (sesame seeds) on each egg above the green strip.
- Stage the eggs in a basket covered with a red checkered tissue or cloth.
- Optional: I decided to take things one step further with some Photoshop magic and added a wood background to the image, then digital french fries, napkin, and condiments.
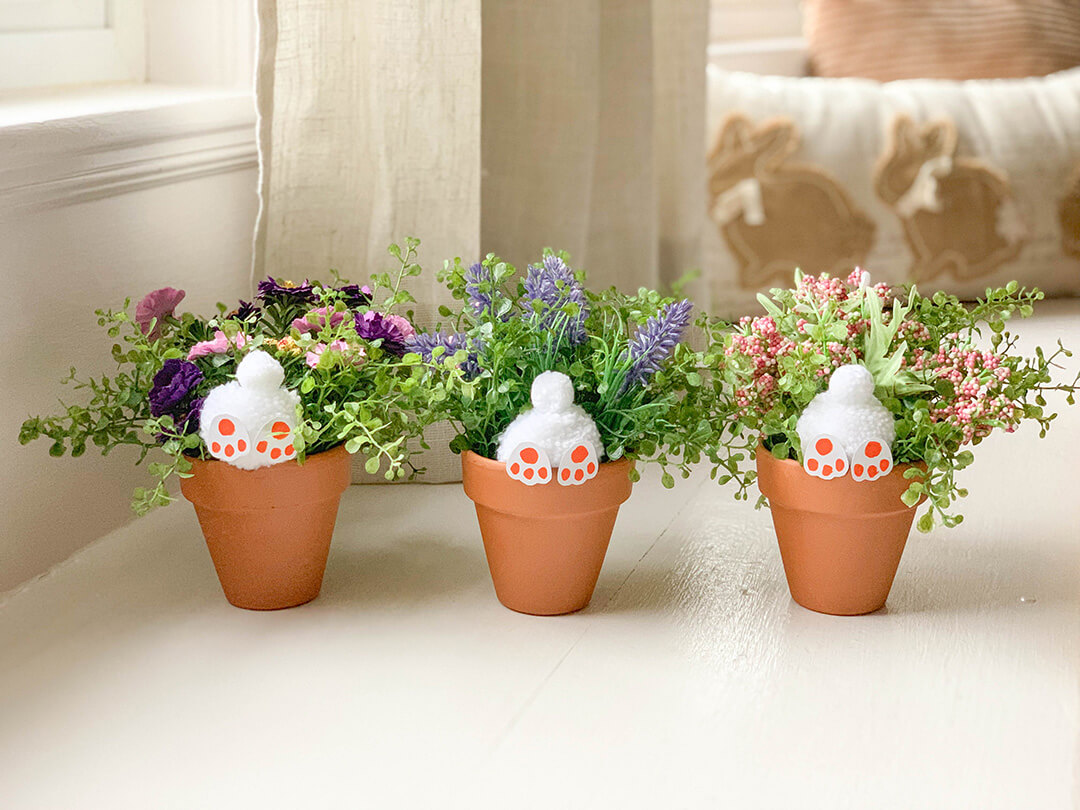
Bunny Bum Pots
These took almost no time, the trick is finding good faux flowers and greenery. To carry these over past Easter, all I need to do is remove the bunny bums from the pot and save them for next Easter!
Supplies
- 3 small clay pots from my local AC Moore
- sets of small greenery, 1 set per pot and large enough to fit into whatever pot your purchase from my local AC Moore
- small flowers sprigs, a different color or color combination for each pot from my local Hobby Lobby
- tube craft glue from my local Michael's
- Set of white pompoms, with at least 3 larger and 3 much smaller pompoms from my local AC Moore
- piece of stiff white paper from my local Michael's
- pink acrylic pen from my local Michael's
Instructions
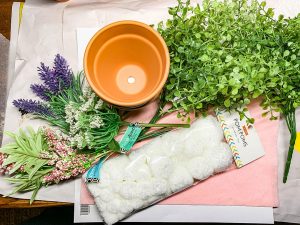
- This is a picture of all the supplies I used for this DIY.
- Add greenery and then flowers to each of the 3 pots, pushing it all down and spreading everything out so it's evenly spaced and won't fall out.
- Take 3 smaller pompoms (for the bunny tail) and 3 larger pompoms (for the bunny bum). Glue a tail to each of the 3 bums. Place a spot of glue on the pot and place a bunny bum on each pot with the tails facing up, as if the bunny's 'head' is face-down in the pot.
- Cut 6 paw prints out of white paper, sized appropriately for your bunny bum(s). To get an idea of the shape, I googled bunny paw. Use a pink paint pen to add a pad and 3 bunny toes to one side of each paw. Glue 2 paws to the bottom of each bunny bum, one on either side.
For more information
In addition to these cute Easter DIYs, here’s some other Easter/Spring decorating ideas:
How about you?
Do you have a favorite Easter DIY? Or did you happen to use one of mine? I’d love to hear from you in the comments below.