TOUR MY
Sunporch
This room has been neglected almost from the day we bought the house. Not anymore!
Another catch-all room. It really was as bad as the ‘before’ picture above. We also had some heating and cooling issues in this room so it wasn’t a comfortable room to be in if it was really cold or really warm outside.
But that’s all changing!
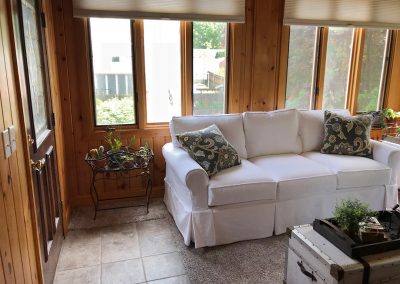
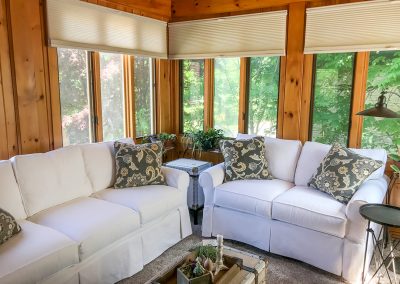
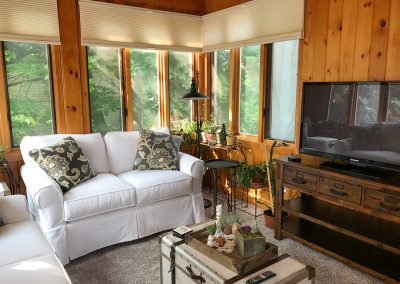
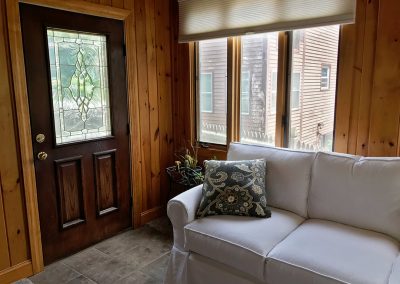
We turned this room into a living room with a pull-out couch, so it can either be an additional living area or a guestroom for overnight visitors. With the recent addition of a shower just down the hall, this could conceivably be a guest suite. It even has its own separate entrance.
We’re fixing the heating/cooling issue with the addition of a separate unit that will keep this area comfortable regardless of the weather.
We are pretty excited about this room. Keep reading for what we did…
PROJECT overview
JUST THE FACTS, MAM
![]()
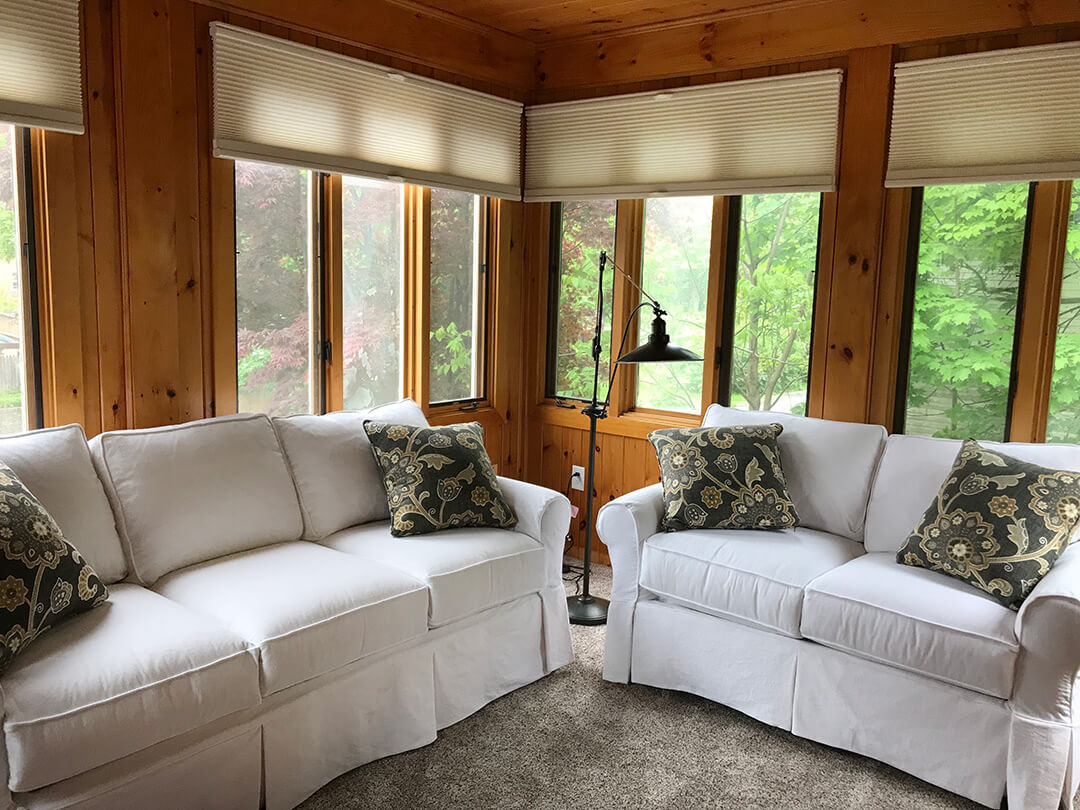
The ship-lap walls were already stained and didn’t require any maintenance, except in the area where we fixed the water damage and in the trim around the doors, which we replaced. So our challenge was to find a stain that would match what was already there.
Not a huge cost to renovate but it was costly to furnish!
COST BREAKDOWN
Furniture: $5744
Window Treatments: $1513
Flooring: $951
Lighting Fixtures: $661
Decor: $105
Appliances: TBD
Wall art: $109
TOTAL: $9,083
Money doesn’t grow on trees. So how did we pay for this? Check out my post 6 Ways You Can Finance Your Renovation and I’ll fill you in!
Time to complete: 4 weeks, over 6 months
We started cleaning this room out in January but had to wait for other projects to be completed before we could finish work on this room.
Jan ’18 – Feb ’18 Completed the bulk of the clean-up.
Apr ’18 – May ’18 Installed the tile around the door and spent around 5 weeks repairing water damage that we did not know we had.
May ’18 Installed new blinds and new carpet; took delivery of the big furniture pieces (couch & loveseat).
Problems & Challenges
Other than timing the only big problem we had in this room was fixing the water damage that we found once we had cleaned everything out. We had to delay the carpet installation and took around 5 weeks to address it.
For (non-affiliate) links to my purchases, see Shopping Link section below
I love this room!
- This has become a very lived-in room and one we thoroughly enjoy. It used to be a room we avoided.
- Fixing this room created an additional, very different living space. I love having tea in the morning in this room.
- With the pull-out couch and the addition of a shower just down the hall, this area now doubles as a guest suite, should we need it. Still waiting for company 😛
- Every time I look down the hall from the breakfast nook, it’s something pretty I see. That makes my heart happy.

Paint

The ship-lap walls were already stained and didn’t require any maintenance, except in the area where we fixed the water damage and in the trim around the doors, which we replaced. So our challenge was to find a stain that would match what was already there.

Cost
Not a huge cost to renovate but it was costly to furnish!
COST BREAKDOWN
Furniture: $5744
Window Treatments: $1513
Flooring: $951
Lighting Fixtures: $661
Decor: $105
Appliances: TBD
Wall art: $109
TOTAL: $9,083
Money doesn’t grow on trees. So how did we pay for this? Check out my post 6 Ways You Can Finance Your Renovation and I’ll fill you in!

Timing
Time to complete: 4 weeks, over 6 months
We started cleaning this room out in January but had to wait for other projects to be completed before we could finish work on this room.
Jan ’18 – Feb ’18 Completed the bulk of the clean-up.
Apr ’18 – May ’18 Installed the tile around the door and spent around 5 weeks repairing water damage that we did not know we had.
May ’18 Installed new blinds and new carpet; took delivery of the big furniture pieces (couch & loveseat).

Problems
Problems & Challenges
Other than timing the only big problem we had in this room was fixing the water damage that we found once we had cleaned everything out. We had to delay the carpet installation and took around 5 weeks to address it.

Shopping
For (non-affiliate) links to my purchases, see Shopping Link section below

Improvements
I love this room!
- This has become a very lived-in room and one we thoroughly enjoy. It used to be a room we avoided.
- Fixing this room created an additional, very different living space. I love having tea in the morning in this room.
- With the pull-out couch and the addition of a shower just down the hall, this area now doubles as a guest suite, should we need it. Still waiting for company 😛
- Every time I look down the hall from the breakfast nook, it’s something pretty I see. That makes my heart happy.
![]()
before & AFTER
What a remarkable difference!
![]()
all the DETAILS
WHAT WE DID AND HOW WE DID IT
And this took a while. We had really used this room for nothing but storage for the better part of 20 years. There were things in here I had not seen in, well 20 years.
There was a little bit of everything in this room – brand new frames, old furniture, old equipment, plants (which we did water occasionally), and basically lots of junk.
In addition, there was something that really took time to go through: lots of old paperwork.
The paperwork dilemma: I used to save old paperwork in boxes. Mortgage statements, receipts, legal notices, birthday cards, old photographs and letters, you get the picture. I would fill a box, date it and then stack it with all the other boxes in this room. I’m embarrassed to tell you how many boxes there were, but it took me weeks to go through and separate everything into (1) save (2) trash or (3) shred.
The solution: This caused me to completely re-organize how I manage all our paper:
- If it needs to be shredded it goes in the shred box, and I shred things regularly.
- Important papers get filed right away.
- Bill stubs and things that can be thrown out get put in a box and 3 months after the box has been filled everything in the box gets thrown out.
So I guess a lot of good came out of cleaning out this room.
During our renovations we also used this room to store items from other rooms that we were currently working on. So though we were cleaning out this room starting in January, it was not until April that we could really empty it out and start to work on it.
While cleaning out the room we discovered some significant water damage. One of the windows had basically been leaking into the wall for probably years.
Ugh.
When Dom started to pull a few boards up we discovered how bad it really was. Lots of damaged wood. And a nest of carpenter ants. OMG.
We got rid of the ants, treated the area and later the entire house for them and for mold. Dom had to tear out all the bad wood in the wall and the floor and replace it all. The only good side was that Dom could do all the work himself and the cost to repair it was pretty minimal. Had we hired this out, it would have cost us thousands of dollars to fix.
This repair delayed installing the carpet for about 5 weeks, until mid May.
See pictures below.
Damage in the wall, just discovered
Damage in the floor when first discovered
Damage being repaired
Damage repaired
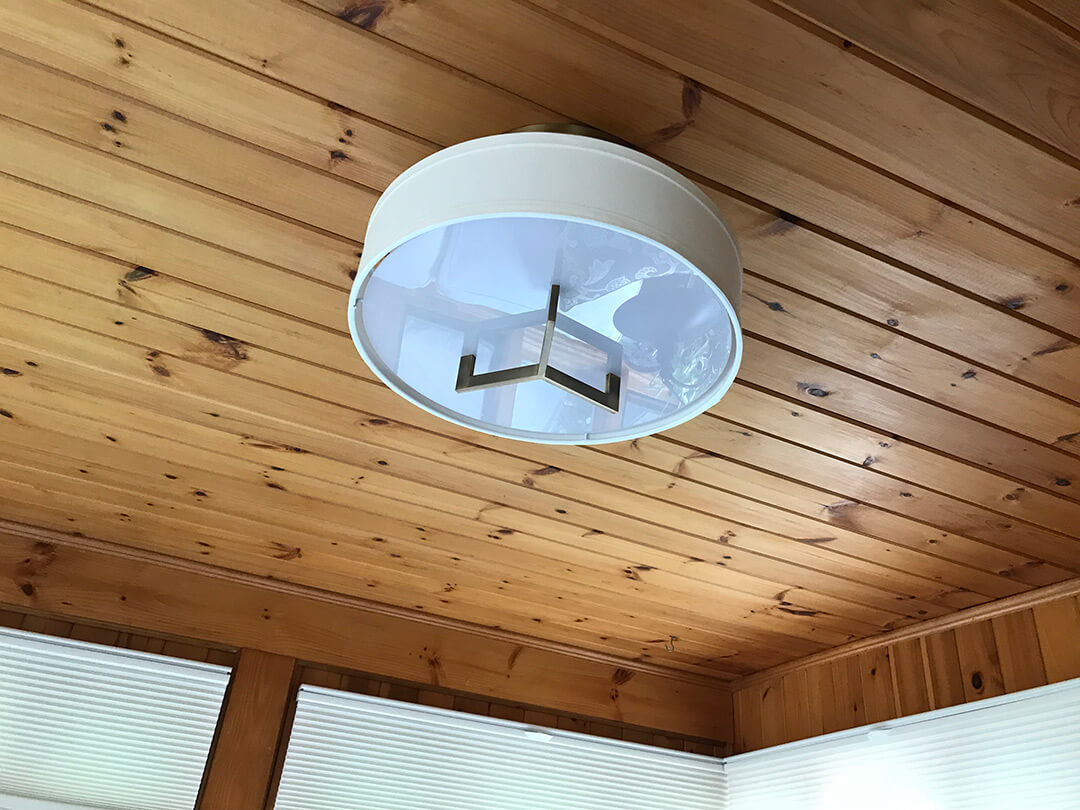
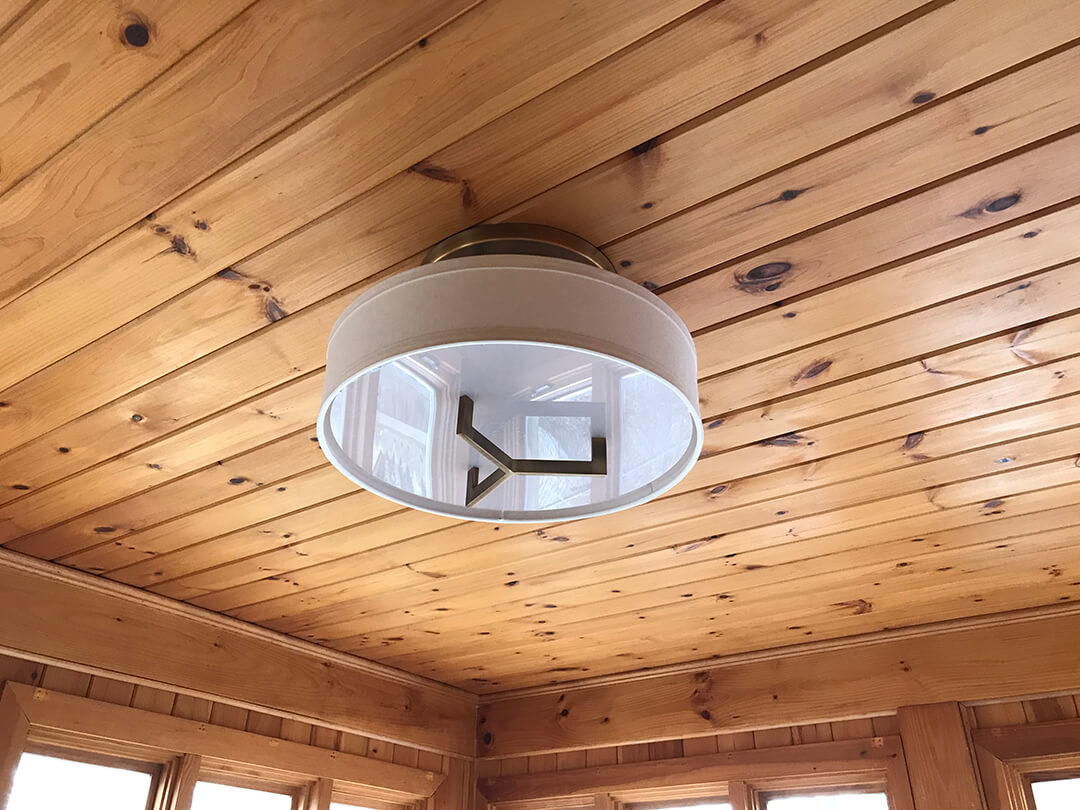
We decided to replace the ugly old ceiling light/fan with something different. It was difficult finding a light that would work in this room, with all the wood but I found one that we liked, and it even gives off just the right amount of light (see picture below).
Dom also re-wired the light switches on the wall next to the door so the left switch would control the ceiling light and the right switch would control the top plug in the wall outlets. So (for instance) the new floor light I purchased is controlled by a single wall switch. A little convenience that means a lot day-to-day!
I wanted window shades/blinds in this room that provided a ‘top down or bottom up’ option so cellular shades were the best choice. We have top down shades in our bedroom and they provide just the right amount of light and privacy at the same time. So I wanted something similar in this room.
There are 15 windows in the sunporch grouped in sets of 3. So, I decided to go with 5 shades (1 across 3 windows) vs 15. Think of the time involved in raising or lowering 15 blinds every day! 5 is a better number.
The new shades are below in both the top down and bottom up state. The only problem is that pulling the blinds down from the top requires a step stool, so if we decide to use that option they will probably stay in that position for a while! But, it’s good to have options.
When I purchased the shades, I closely compared samples of the shades with a sample of the couches, which had not arrived yet. FYI, I used SelectBlinds (love them!) and they always send you samples for free. Based on the samples (see below), I thought the shades I picked would be an almost exact match to the couches but they are not – which you can see in the pictures.
I wished I had paid more attention to how the color of the shades would change when they are closed vs open. When open, they are lighter and when closed (which they’ll be most of the time), they’re darker. But hey, that color does coordinate with the gold-ish color in the pillows and on the walls. That wasn’t intentional but I’m good with it.
New sunporch blinds
Top down position
New sunporch blinds
Bottom-up position
Sunporch Samples
Couch & blind samples
We were carpeting this room and there is a door with direct access to outside. So, we wanted to tile in the space right around the door to minimize damage to the carpet.
This was a pretty straight-forward tiling job, just a few tiles and no cutting. For details on how we installed the tile in this room and others, click here.
To say the old carpet was a mess is an understatement. We decided to replace the carpet rather than use tile because the floor in this room can get cold and I thought a carpet would be more insulating.
See pictures below for the before and after carpeting.
My new carpet choice was a bit of a design fail, unfortunately. The 6″ x 6″ sample of carpet (see picture below) I had been looking at had a really nice selection of warm and cool colors. The warm colors picked up the color of the wood really well. But, when you look at a larger section of the rug, the warmer strands get lost and you don’t see them as well as the cooler/darker colors. I wish the carpet had a warmer overall tone. But I do like, and it FEELS amazing.
So I’m overall OK with the carpet choice, but the next time I select carpet I’m going to be sure to view a much larger sample before I purchase.
Before
UGH!
During installation
Old carpet removed
During installation
Laying down the carpet pad
During installation
Carpet pad all nailed down
After
New carpet
New carpet
Sample
There were a few things left to do to really make this a homey place to be:
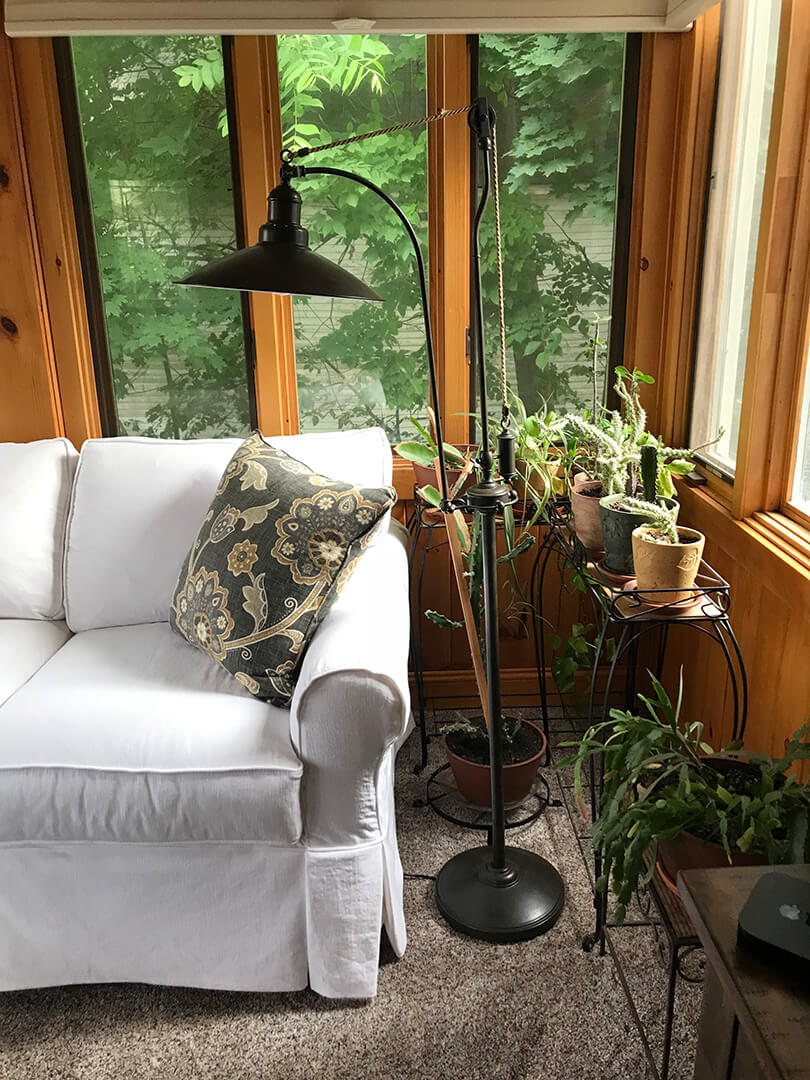
- Added a floor lamp
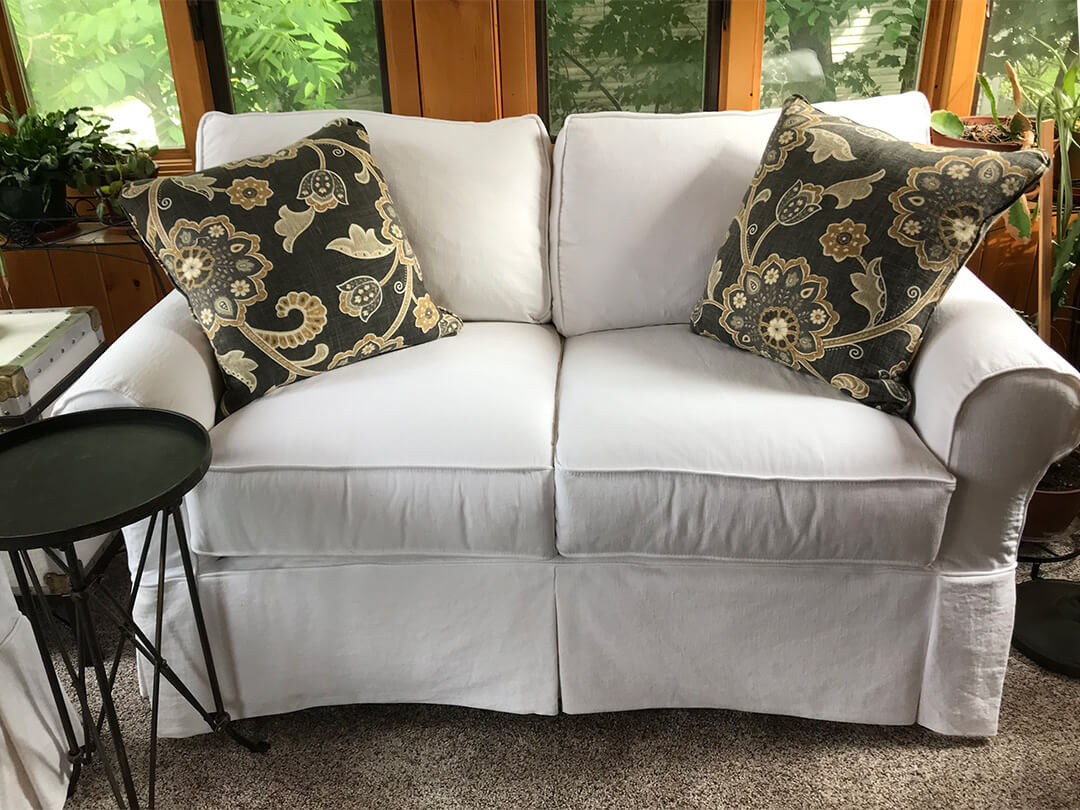
- Added a (pull-out) couch and loveseat
- Replace baseboards
- Put the plants back in, they add a great feel to the room
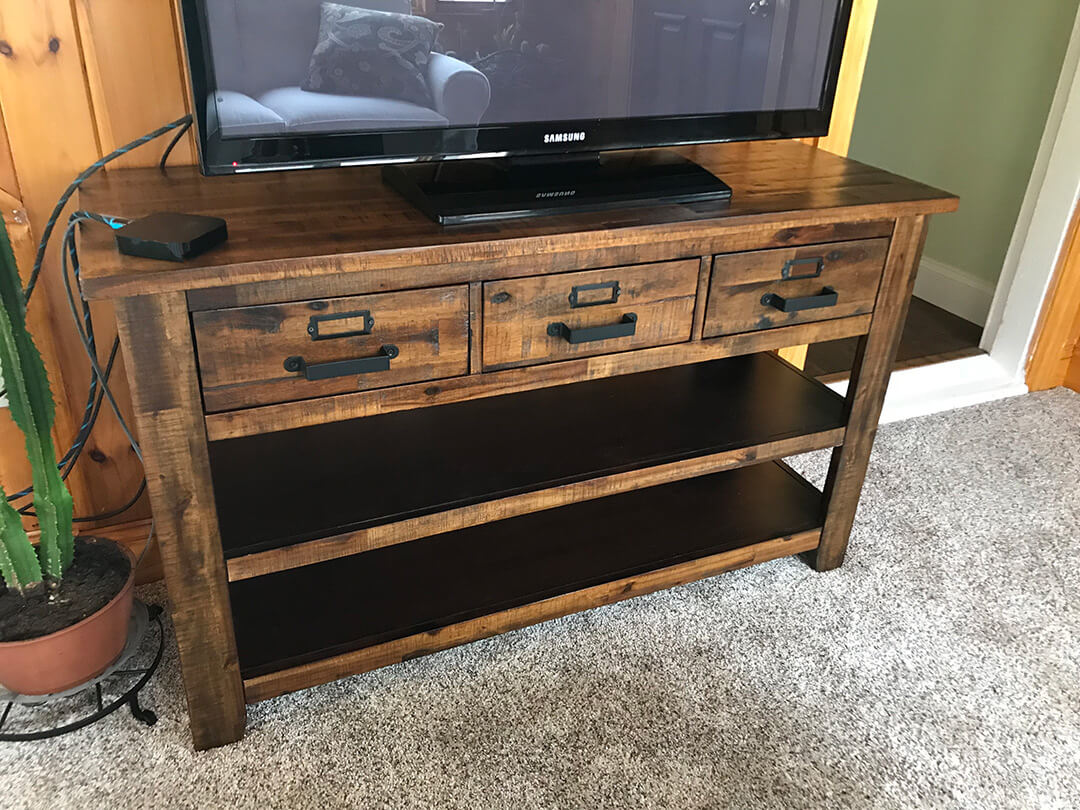
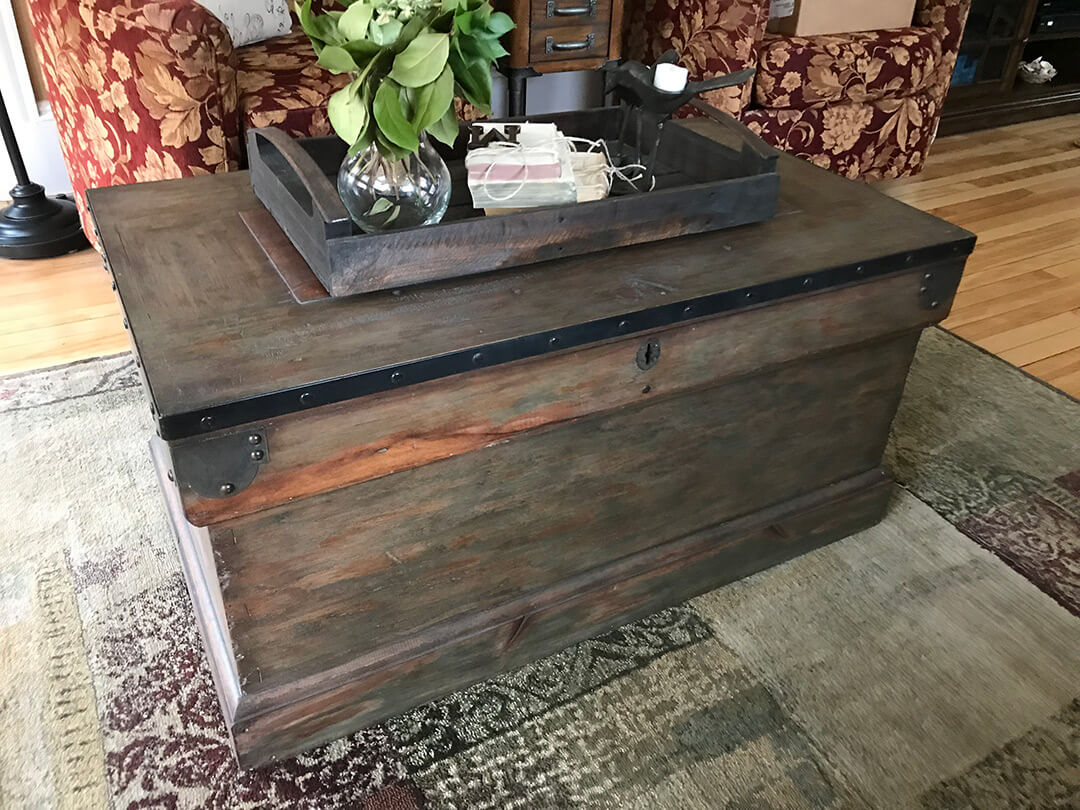
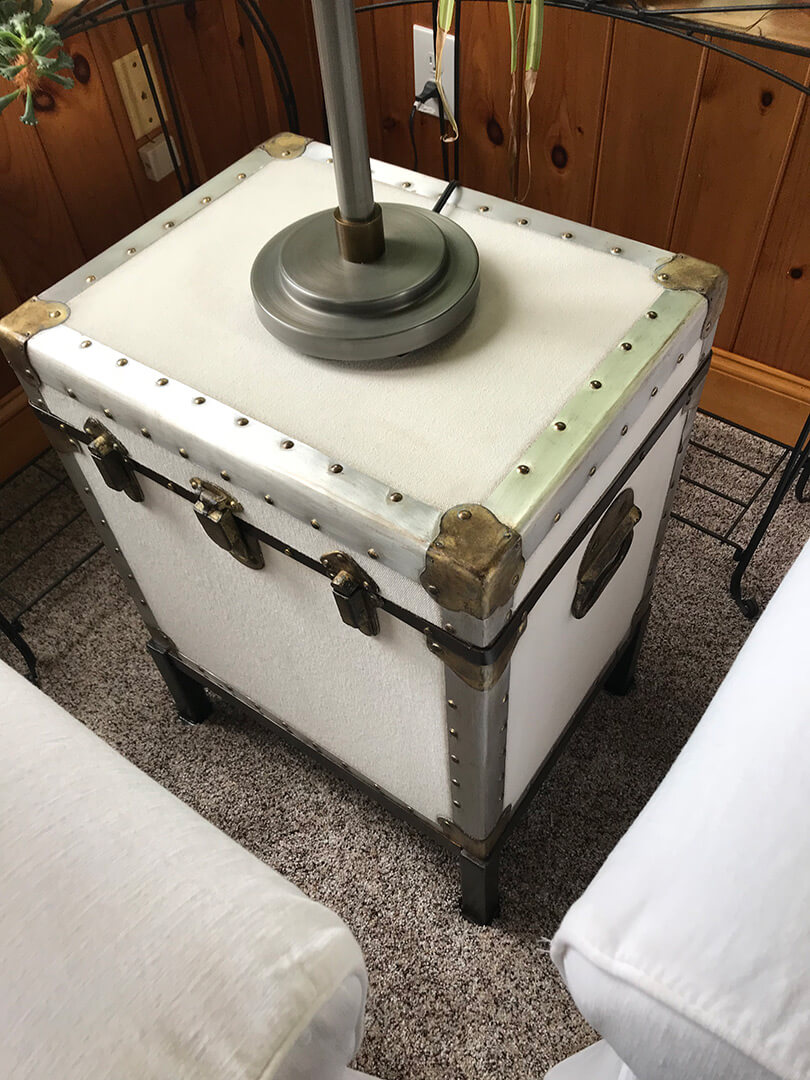
- Add a coffee table, side table and console/TV table
- Add valances*
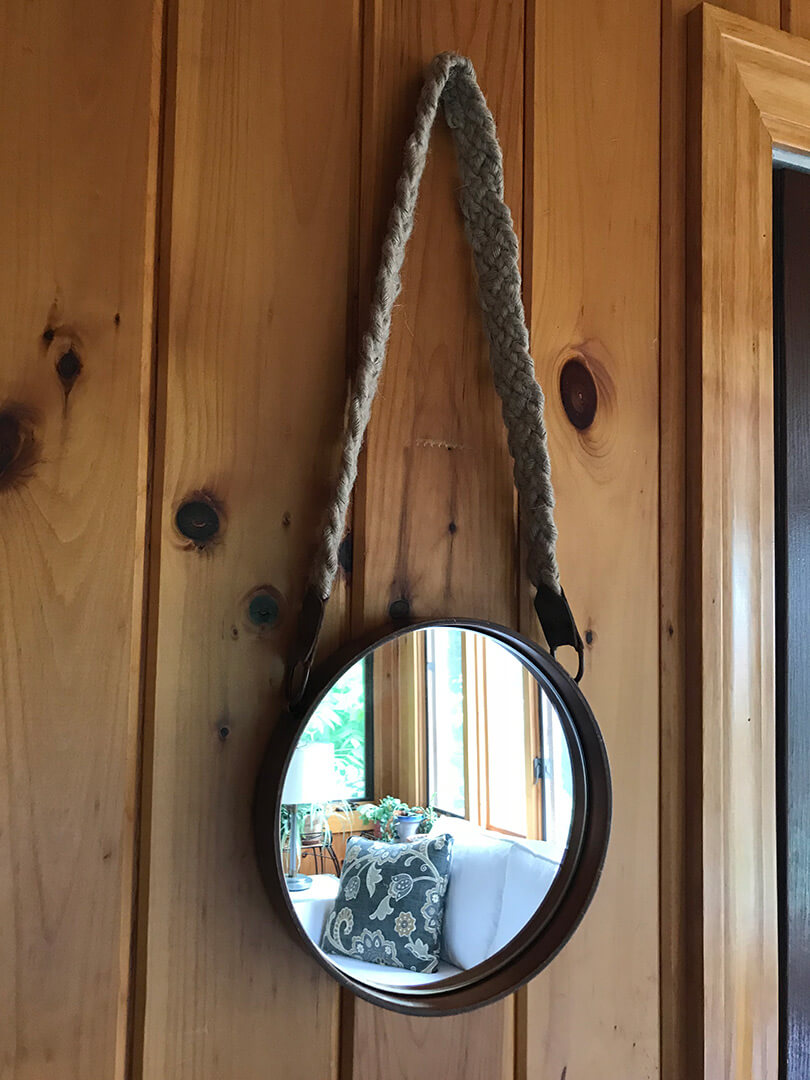
- Add some wall art*
- Install a new heating and cooling unit*
*in process
features I LOVE
Hover over the images for details (unless you’re on mobile, then tap on the image).
Rowe Nantucket Sofa
Pull-out sofa and loveseat from Jordan's Furniture that I absolutely love.
All the windows
I love all the window light, it makes this a very bright, inviting room.
Side door
We replaced the doors in our house years ago and they have stood the test of time. Still beautiful.
Coffee Table Tray
The tray I've had forever, the plant was a gift and the decor are 3 pieces of Sahara decor from Anthropologie, unfortunately no longer available.
‘Martini’ table
Purchased from Wayfair and a perfect size but unfortunately no longer available. Links to other furniture under shopping links.
How about you?
Do you have a favorite area or room in your house that you’ve renovated? I’d love to hear about it. Please share in the comments below!
