
Hardwood Floor Refinishing – from Ugly to Gorgeous
The Truth About Hardwood Floor Refinishing
Floor refinishing has taken our rooms from ‘nice, but’ to positively stunning (see the ‘after’ pictures below). We had floors that were in such rough shape that I wasn’t sure they were even ‘fixable.’
They were.
However, this isn’t an easy project even if you hire it out. And, if you do, it can also be pricey.
So this is definitely one you have to PLAN for.
This article details my experience with refinishing our hardwood floors. If you’re local, I have some contacts for you.
Wherever you are, if this is a project you’re considering, this post will give you a good idea of everything involved.
Our ugly floors
The day we moved into our house in 1992, we needed floor refinishing in almost every room.
But, it was a cosmetic item. Other things – like a new roof, new windows & doors, siding, new chimney, new heater and air conditioner were more urgent. So, we put that project on the back burner.
For 25 years.
Yes, I have been looking at these god-awful floors for that long. Ugh.
When we started all our remodeling, though, this project was at the very top of the list. We just had to fit it in since we didn’t want to be tracking equipment and materials over newly finished floors while other remodeling was going on.
We chose to sub this one out. No doubt we could have saved money by tackling it ourselves. But, we had just finished our kitchen remodel, and needed a bit of a break. So we decided to hand this one off. And I’m glad we did because we found a wonderful resource at a very reasonable price.
Even with hiring this job out, there was still a lot of work for us to do. Here’s what we did to get ready.
Hardwood Floor Refinishing Checklist
As I said, no matter how you slice it, this project can be involved.
- Unless you have a huge house, you have to make arrangements to store your furniture somewhere.
We did our project in 3 steps, but we still had to get outside storage for our downstairs project.
We found that renting a UHaul truck (we used UHaul of Nashua) was the most cost effective and easiest thing to do. Added bonus – we could back the truck up to the front door and extend the runner onto the top stop so we didn’t have to go up and down the front stairs when moving furniture. Win!
- You have to take everything out of the rooms being refinished. It’s like moving, you just (possibly) don’t have to move every room and you don’t go very far.
- You have to wait until the floors are completely dry to use them. It’s a little disruptive. We had to wait 24 hours to put furniture back and 10 days to lay rugs down.
- Most vendors who do hardwood floor refinishing are good about venting dust out of your house, but it’s almost never a 100% dustless event.
Because of the dust and people working around your house, you have to pay attention to blinds and curtains and whatever else may be on your walls. I had to take down everything including my gallery wall in my living room. No fun! Luckily we kept all the hanging material on the wall so it’s wasn’t a huge deal to put it back.
- It can be costly so it’s something you need to budget.
No wonder it took us so long to tackle this!
Our Floor Refinishing Projects
We decided to refinish our floors in 3 sections, given everything else we had going on.
PROJECT 1 included the master bedroom and the dressing room
We didn’t have to store furniture for this project, we just squashed it into other rooms and slept in the very crowded spare room for a few nights. See the ‘after’ picture below. LOVE!. I swoon over these floors every day.
PROJECT included the downstairs – dining room & living room
This included the dining room and living room (which is actually 2 rooms) downstairs. These floors were in such rough shape, and I wasn’t sure I was going to like the wood ‘after’ because I didn’t like it too much ‘before.’ I LOVE THEM.
PROJECT 3 included the stairs, upstairs hallway, office and guest bedroom
We refinished the stairs from the 1st to 2nd floor, the upstairs hallway and the remaining 2 bedrooms upstairs. The stairs had been carpeted (ugly, old blue carpet), so converting them back to hardwood was an amazing change. To read more about the transformation of this space, click here.
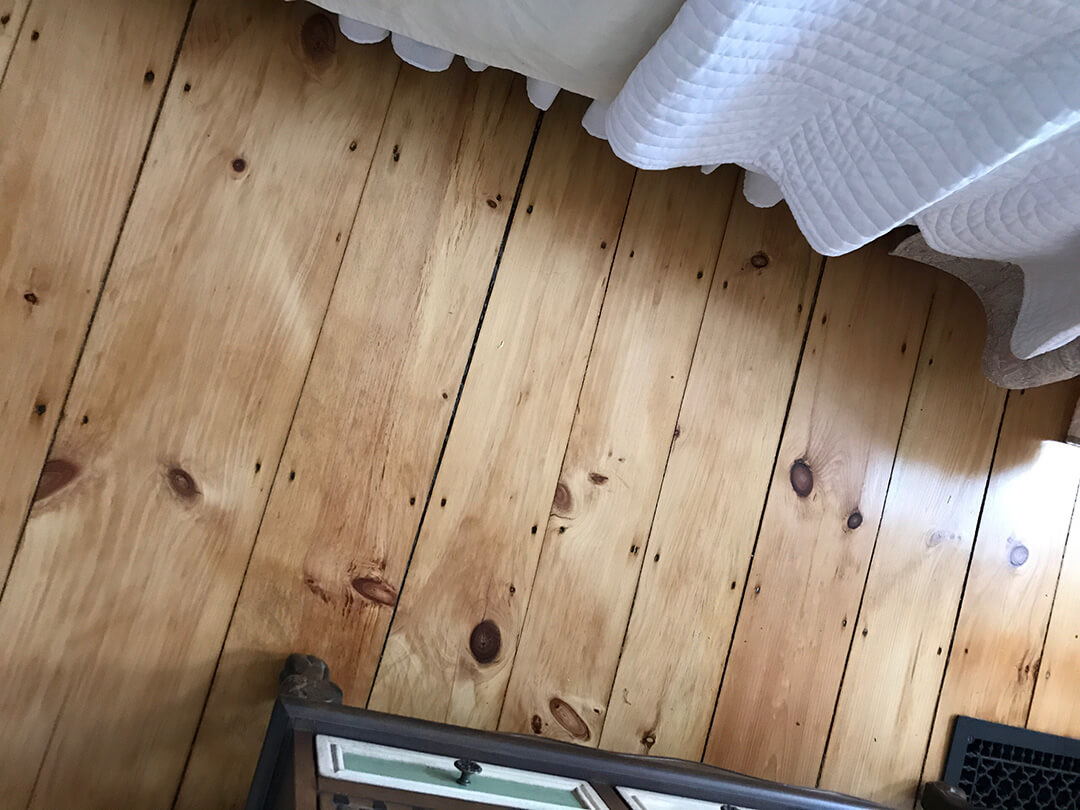
AFTER – upstairs bedroom floor refinished
Settling on a floor vendor
We interviewed 3 floor refinishing vendors in all.
We were, of course, looking at price but we also wanted an idea of how each of them worked, the products they used and their availability. Pricing really varied between the 3 of them, we got quotes for everything from $3500 to $6000.
So, it pays to interview a few.
Of all 3, Northeast Flooring from Hudson NH not only offered the best price, but we had some history with them. Our son had used them and was very happy with their work.
After having used Northeast Flooring, we can happily report that we’ve been beyond thrilled! They offer a dustless service (and it is pretty dustless!), do awesome work, they’re prompt and courteous and the price is the best around.
We can’t say enough good things about them!
By the way, I don’t get paid to endorse Ed, I just highly recommend him.
Our Pretty Floors
We have wide pine boards upstairs in the bedrooms (see above picture) and thin, red birch boards in the dining and living room. Until I saw the downstairs floors refinished I was kind of lamenting that we didn’t have the wide pine boards downstairs.
Now I absolutely love all the floors.
We were frankly surprised when we found out that, even with all the wear, our hardwood floors could be saved. In spots the floors were in really, really rough shape. See before and after pictures of the living and dining room floors below.
We’re so thrilled that this project is behind us and we love our ‘new’ floors.
On to the next project!
Before and Afters
Move sliders from left to right using the arrows to view the Before vs. After pictures.
Other Floors
Don’t have a lot of hardwood in your house? There’s a floor for everyone! Click here for The Pros & Cons of Flooring Types: From Laminate to Hardwood and MORE! No matter what type of flooring you may have, Tasha has advice on how to choose wisely. Enjoy!
For more information
To see what else we have done, visit our Hour Tour page.
How about you?
Have you ever restored your hardwood floors? I’d love to hear about your experience in the comments below!