TOUR MY
Guest Bedroom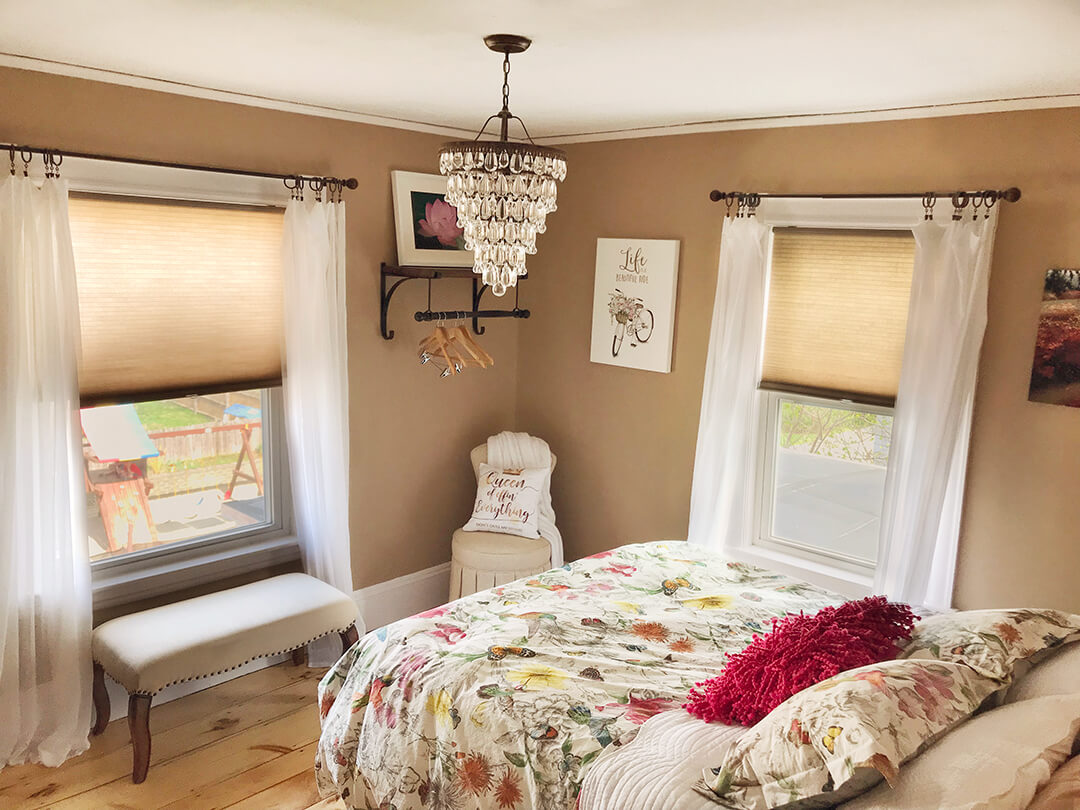
Transformed from a junk room to a spectacular place for guests.
Originally, this was our son’s room during his growing-up years. After he moved out, this room became a catch-all. But, in a little over a month we transformed this room into a guestroom anyone would love.
I decorated the room with my sister in mind since she and her husband are our most frequent overnight guests. I’m happy to report that she absolutely loved the room. Here’s everything we did…
PROJECT overview
JUST THE FACTS, MAM
![]()
I did some serious shopping for this room and found a number of great deals We did all the work ourselves, except refinishing the hardwood floors. A lot of little touches went into making this a labor of love.
COST BREAKDOWN
Appliances: $319
Wall art: $235
Paint Supplies: $90
Lighting Fixture: $0 (was a gift)
Bedding: $248
Decor: $379
Furniture: $945
Window Treatments: $108
Floor Refinishing: $400
TOTAL: $2723
Money doesn’t grow on trees. So how did we pay for this? Check out my post 6 Ways You Can Finance Your Renovation and I’ll fill you in!
Time to complete: 1 month
We were done with everything but the floors in June, and moved everything out temporarily to refinish the floors in December.
June ’17 Cleaned out the room (lots of trips to the dump and Goodwill). Removed the wallpaper and painted the walls and trim. Moved the bed back in and added all the finishing touches.
December ’17 Refinished the hardwood floors (Northeast Flooring).
Problems & Challenges
The biggest problem we had with this room was that we decided to completely remove the wallpaper. Doing that caused us to have to do a lot of repair work to the walls. We decided after this room to paint over the wallpaper – click here for those instructions.
For (non-affiliate) links to my purchases, see Shopping Link section below
For (relatively) not a lot of money this room came with some big improvements
- This room is actually a little bigger than the former guestroom, which gave us enough space to be able to add a couple of bedside tables.
- I decorated the room with a lot of personalized little touches so my sister and her husband would feel at home when visiting. She loves it.
- I no longer have to keep the door closed, sometimes I just walk in this room and look around because I like it so much

Paint

Cost
I did some serious shopping for this room and found a number of great deals We did all the work ourselves, except refinishing the hardwood floors. A lot of little touches went into making this a labor of love.
COST BREAKDOWN
Appliances: $319
Wall art: $235
Paint Supplies: $90
Lighting Fixture: $0 (was a gift)
Bedding: $248
Decor: $379
Furniture: $945
Window Treatments: $108
Floor Refinishing: $400
TOTAL: $2723
Money doesn’t grow on trees. So how did we pay for this? Check out my post 6 Ways You Can Finance Your Renovation and I’ll fill you in!

Timing
Time to complete: 1 month
We were done with everything but the floors in June, and moved everything out temporarily to refinish the floors in December.
June ’17 Cleaned out the room (lots of trips to the dump and Goodwill). Removed the wallpaper and painted the walls and trim. Moved the bed back in and added all the finishing touches.
December ’17 Refinished the hardwood floors (Northeast Flooring).

Problems
Problems & Challenges
The biggest problem we had with this room was that we decided to completely remove the wallpaper. Doing that caused us to have to do a lot of repair work to the walls. We decided after this room to paint over the wallpaper – click here for those instructions.

Shopping
For (non-affiliate) links to my purchases, see Shopping Link section below

Improvements
For (relatively) not a lot of money this room came with some big improvements
- This room is actually a little bigger than the former guestroom, which gave us enough space to be able to add a couple of bedside tables.
- I decorated the room with a lot of personalized little touches so my sister and her husband would feel at home when visiting. She loves it.
- I no longer have to keep the door closed, sometimes I just walk in this room and look around because I like it so much
![]()
before & AFTERS
What a remarkable difference!
I did manage to catch few ‘before’ picture. This was, for years, a room where we just kept the door closed. Not any more! The first two pictures are two different views of the room, the last is a portion of the floor in this room, before and after refinishing. Amazing!
![]()
all the DETAILS
WHAT WE DID AND HOW WE DID IT
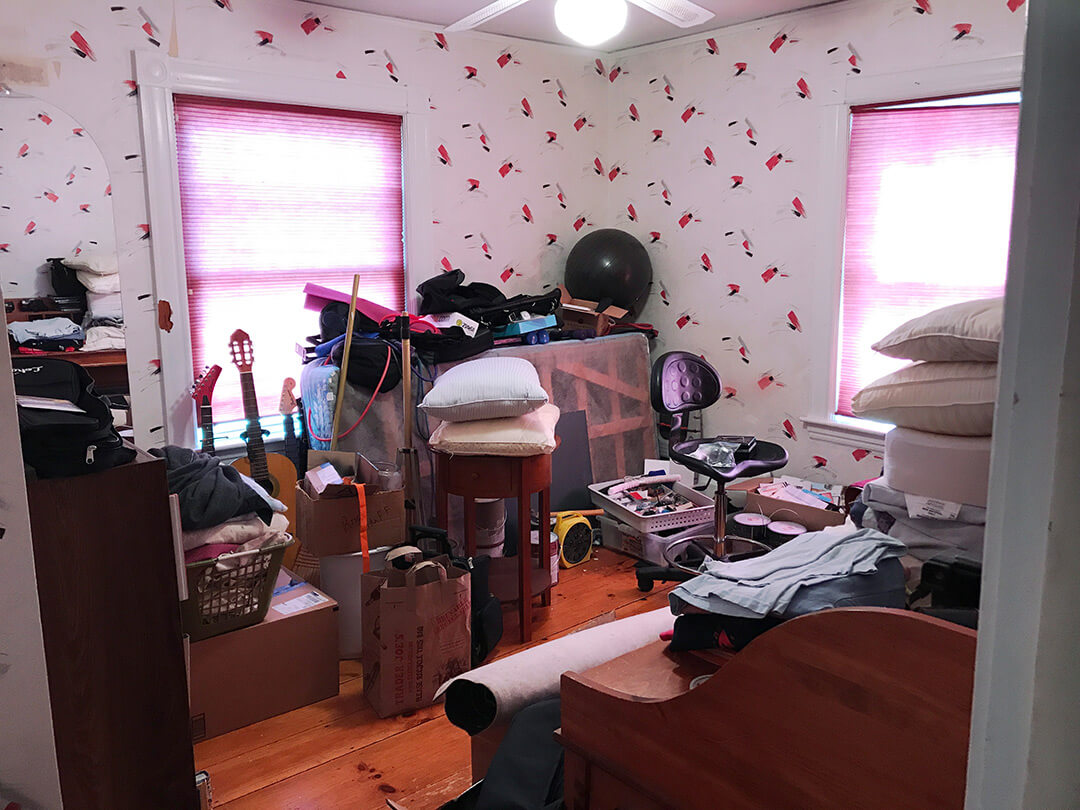
You can see from the before picture above that this room needed a lot of help. The very first, obvious thing we had to do was clean the room out. It had been a catch-all for years. Once that was done, we were left with an empty room with still a lot left to do.
We removed the wallpaper, then painted the walls (it sounds so simple, it’s not!). For details on exactly how we removed the wallpaper, click here.
We then washed and prepped the woodwork. Whoever painted this room originally never prepared the woodwork properly so the old paint was literally peeling off in strips. Here’s what we had to do to all the trim:
- Stripped it down
- Sanded it
- Sealed it
- Painted it with 2 coats of paint
We painted the doors and the hardware. What we did:
- Removed the doors from their hinges
- Stripped and painted the door hardware
- Stripped, sealed and painted the doors
- Re-mounted the now cleaned and painted hardware
- Re-hung the doors
Paint colors for the wall and trim are listed towards the top of the page.
The closet in this room is so narrow that a clothes hanger will not fit in sideways. So, you can’t really use it as a clothes closet. We certainly didn’t want to eliminate it but we did want to make it presentable and more useful.
Small as it was, updating the closet was a pretty significant project.
We had to remove the old poles, sand down the entire inside (not an easy task in such a small space), and then I painted every nook and cranny. We last added a few shelves and it suddenly became a functional space, and a very worthy addition to this pretty new room.
Here’s everything we did to make this a beautiful spot (see shopping links below).
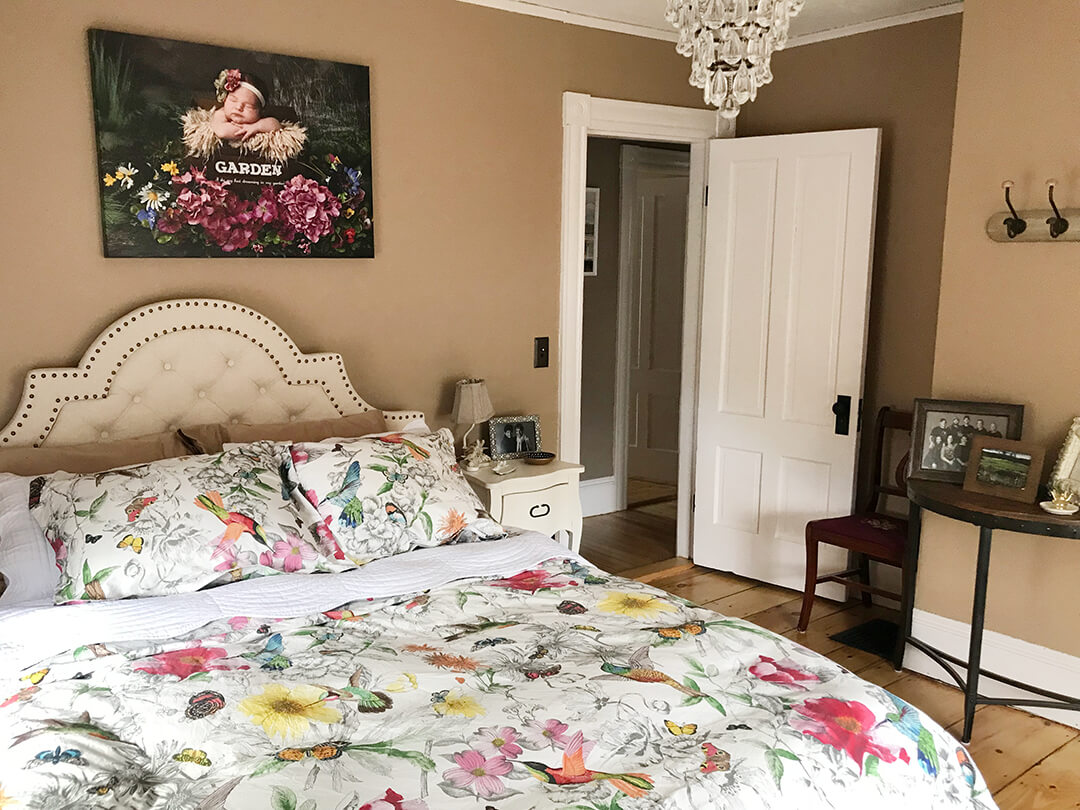
- Moved the (fairly new) bed from our former guestroom into this room.
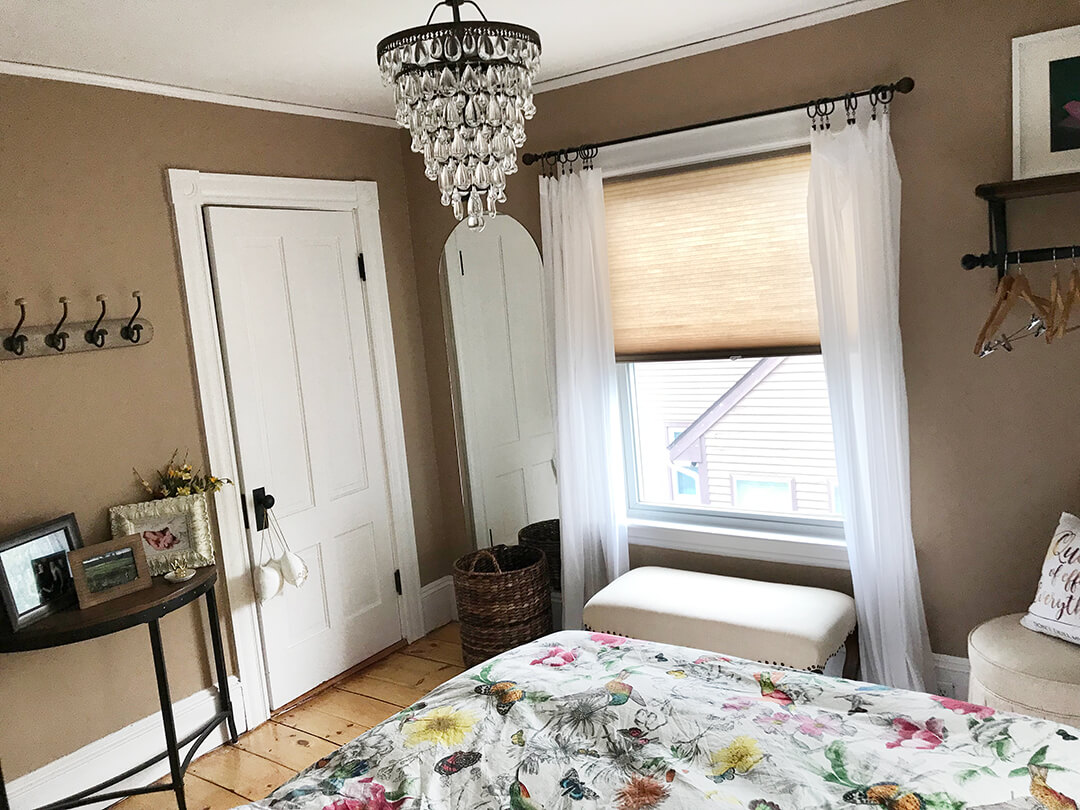
- Took down the ugly ceiling fan lamp and replaced it with a pretty chandelier, the same as the new one we put in the master bedroom.
- Installed a clothing rack in the corner (same as the racks in our dressing room).
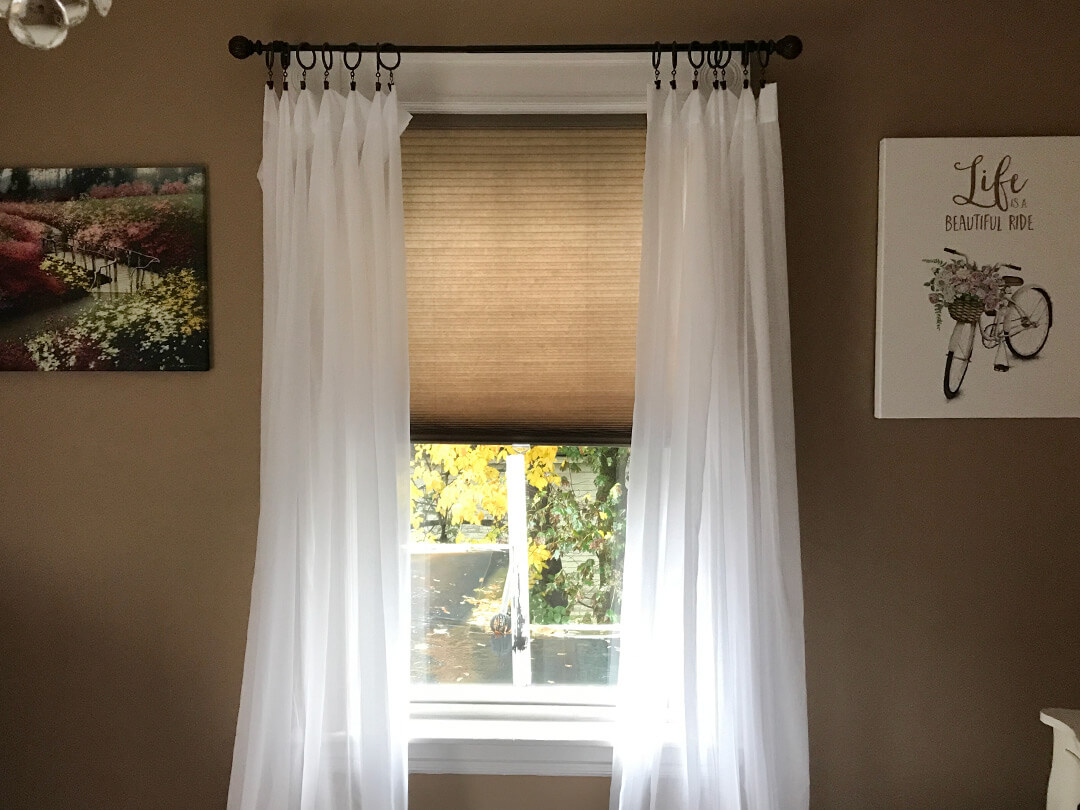
- Purchased and hung new cordless blinds that match the wall.
- Hung new cotton drapes.
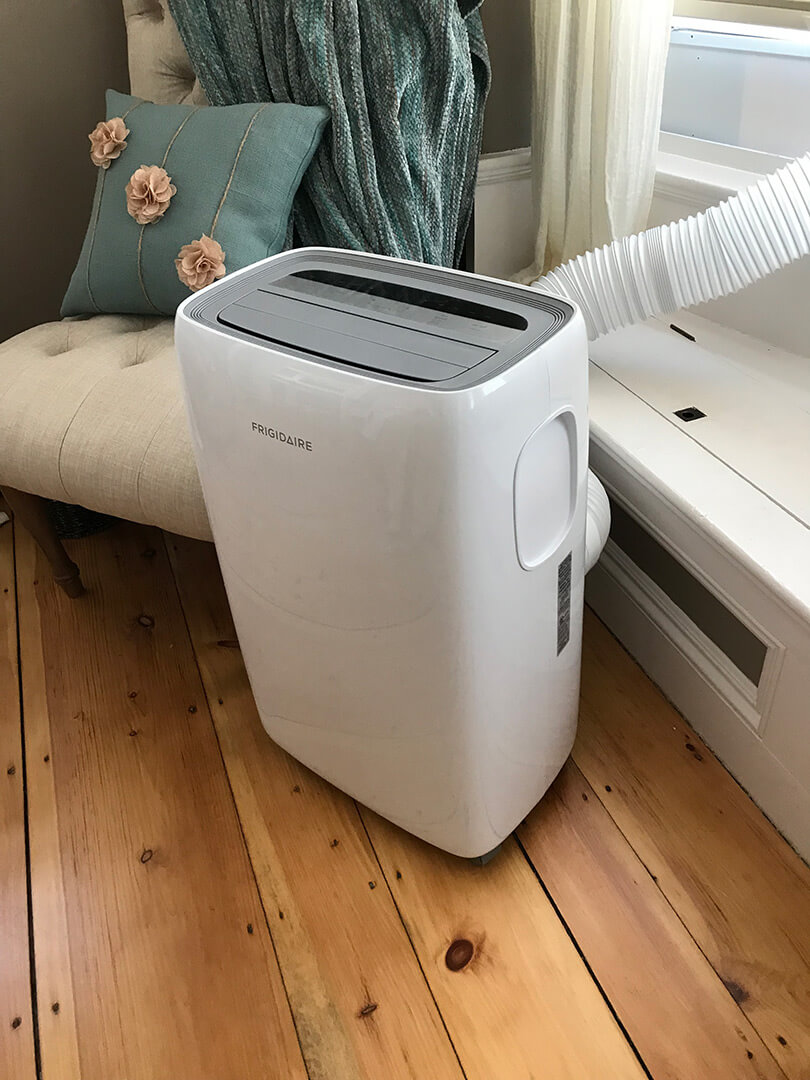
- Purchased a portable air conditioner. We have central air but it doesn’t always make it up to the second floor and this room can get a little hot. Not any more!
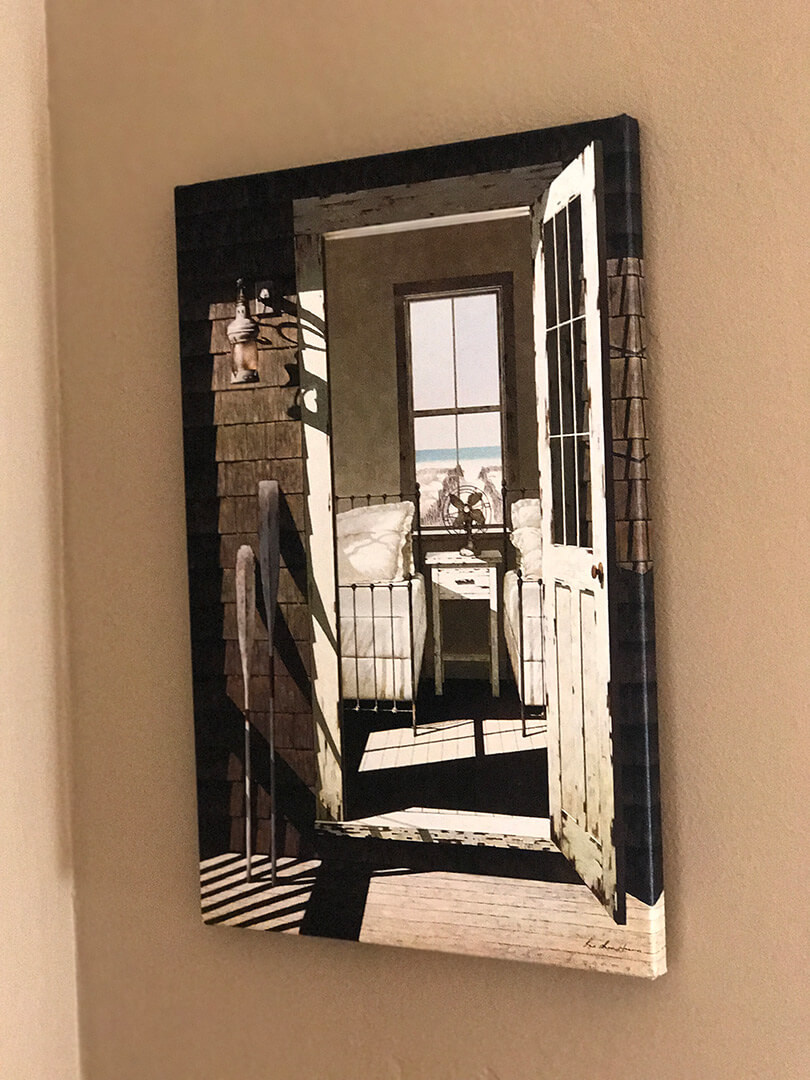
- Added a few art pieces on the wall.
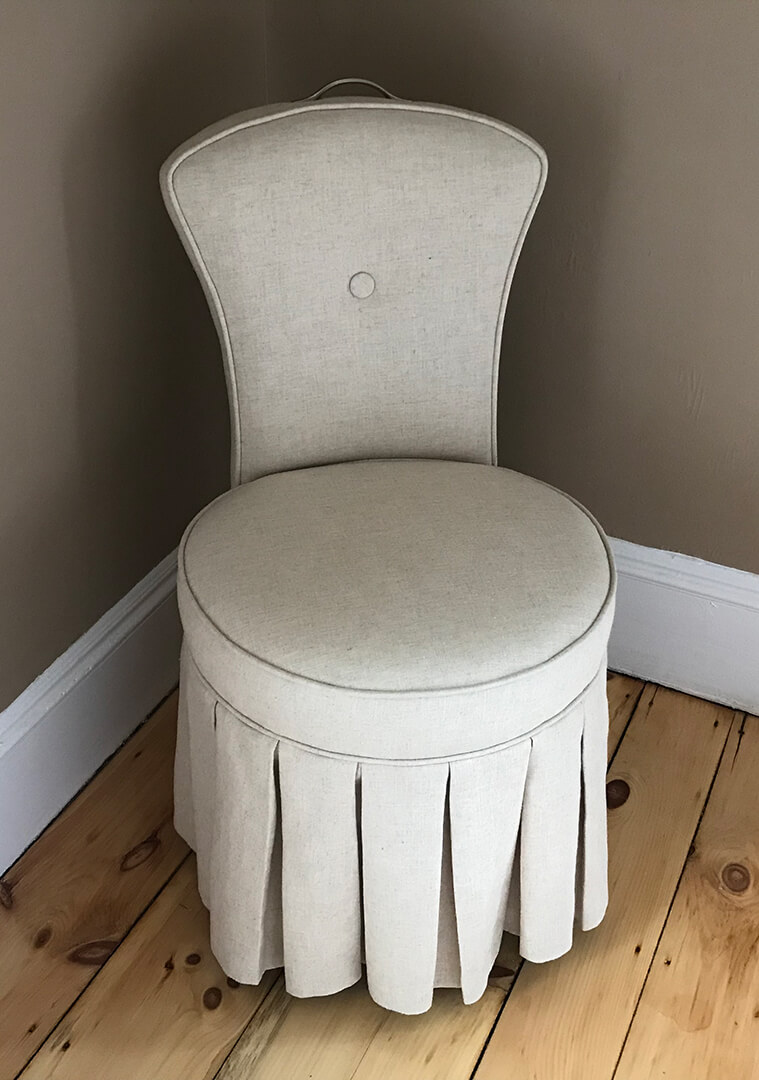
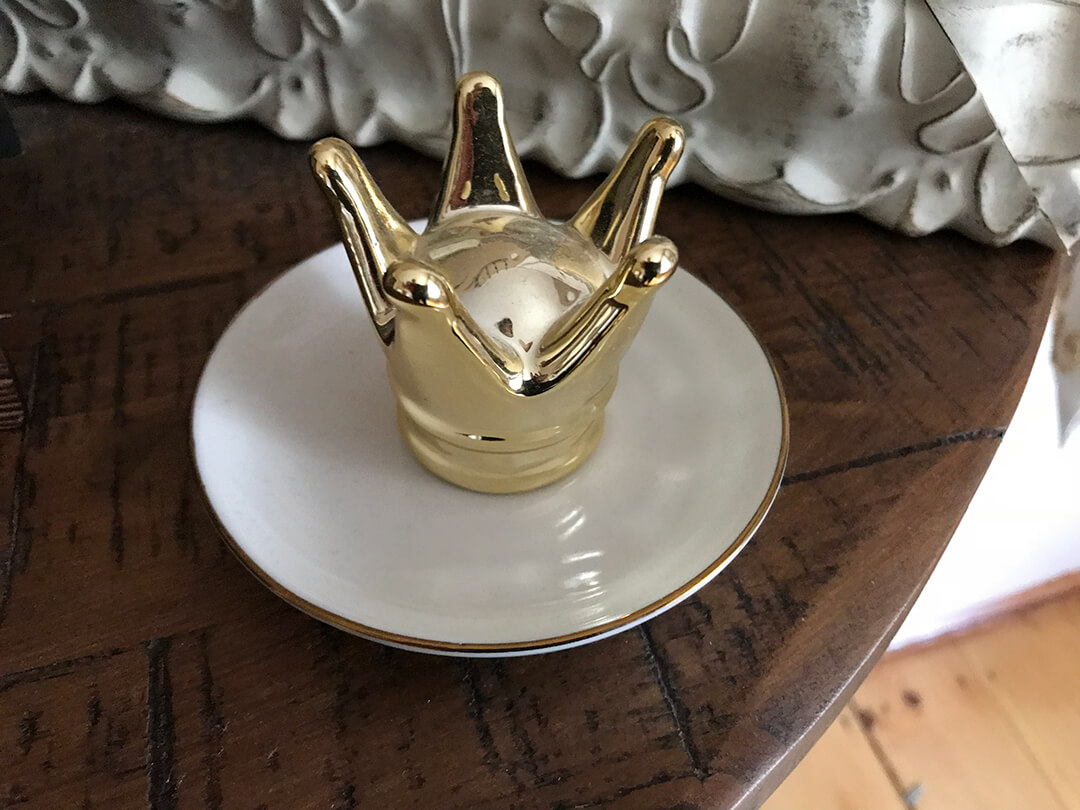
- Picked up a cute little sidechair and made-for-my-sister (the Queen) pillow.
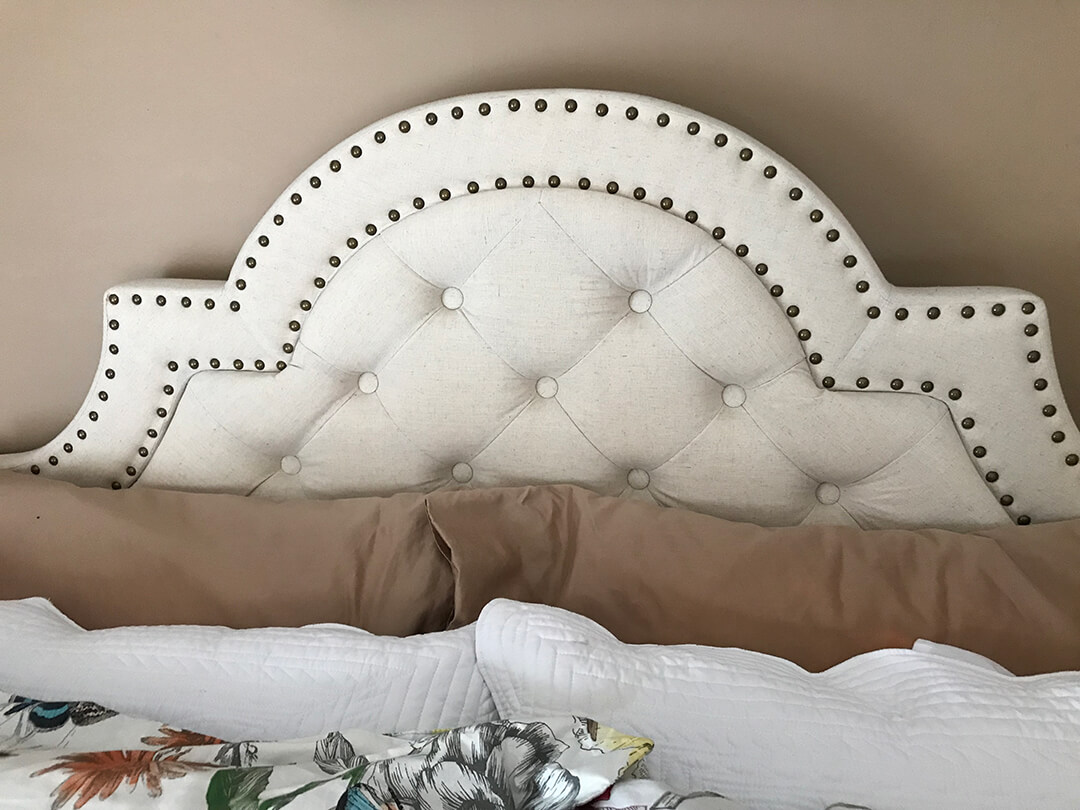
- Purchased a headboard for the bed.
- Added brand new bedding with shams to match.
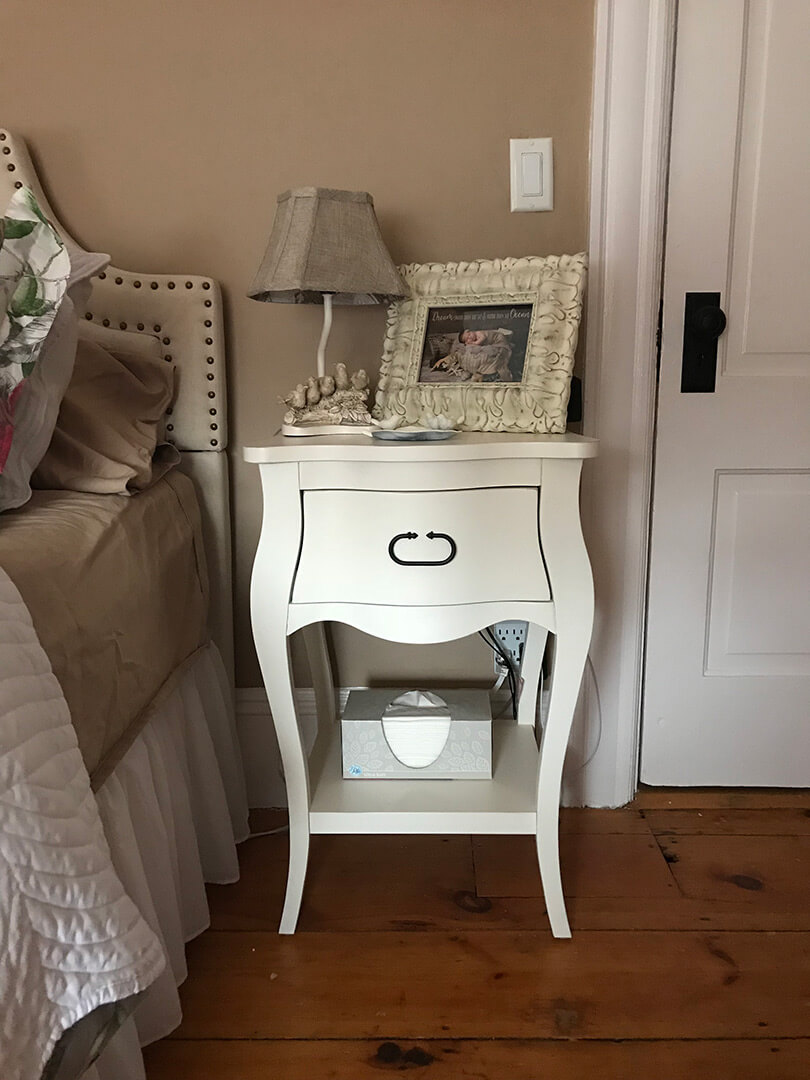
- Purchased new bedside tables (the old guestroom did not have the space for them).
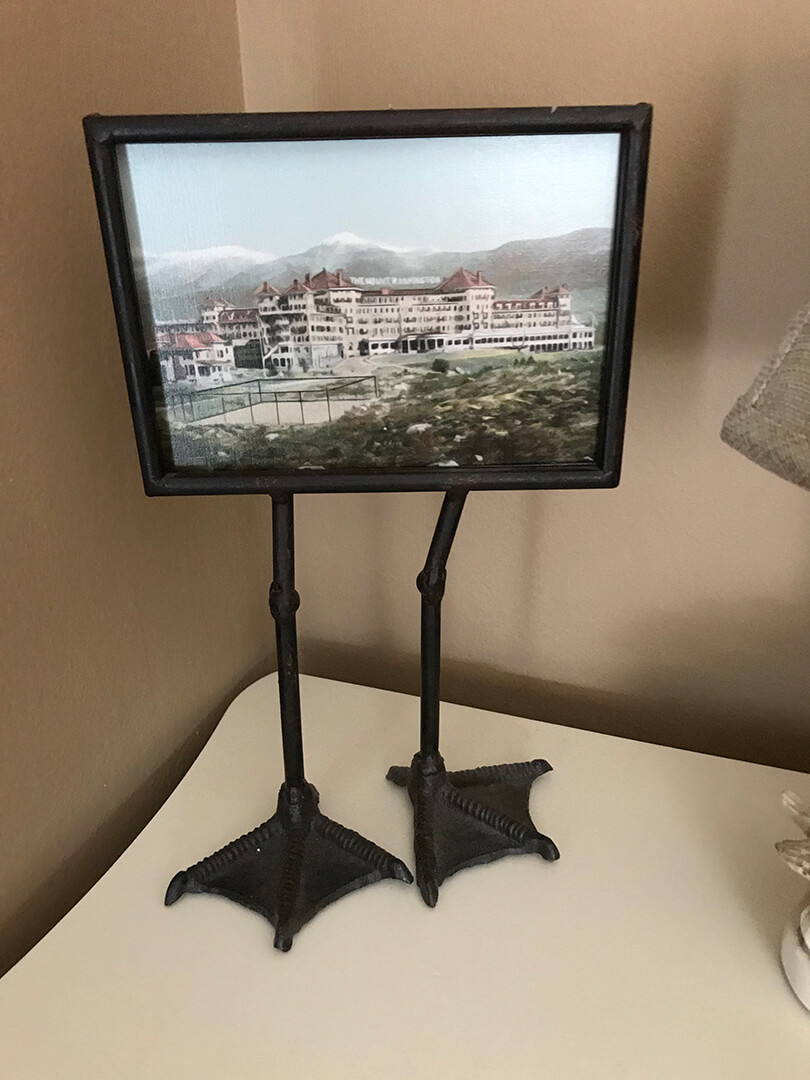
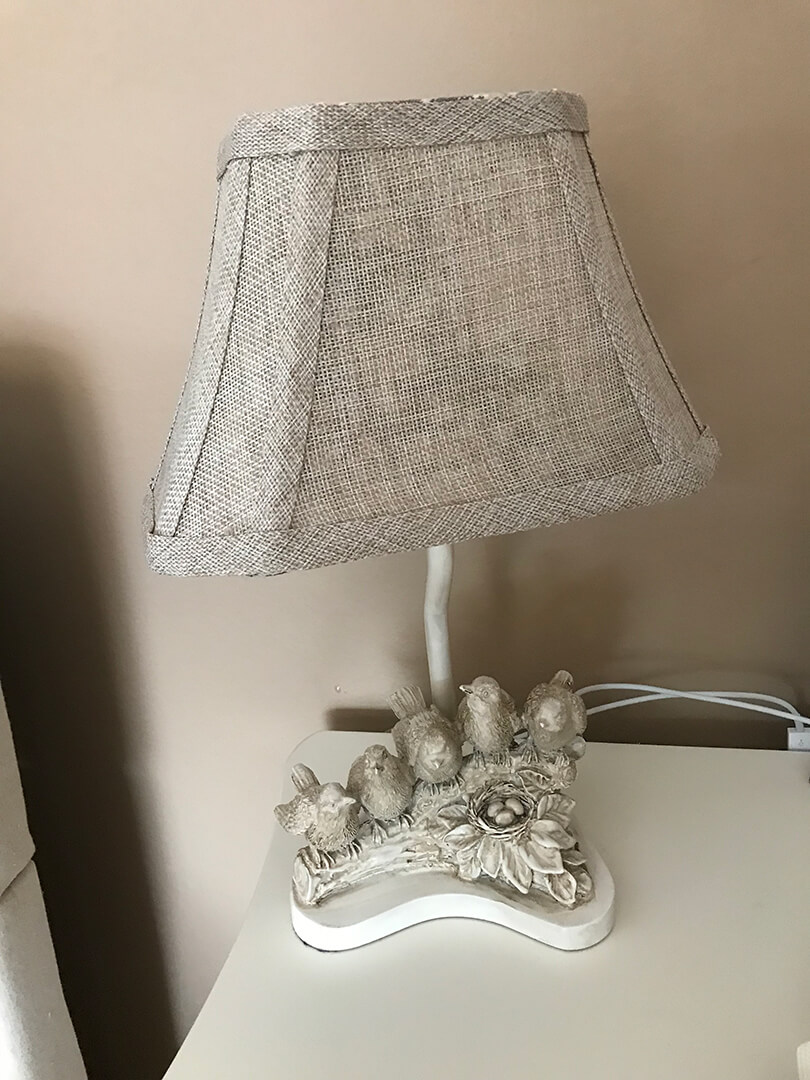
- On the bedside tables we added a couple of really cute lamps, a couple of personalized framed pictures and some knick-knack holders.
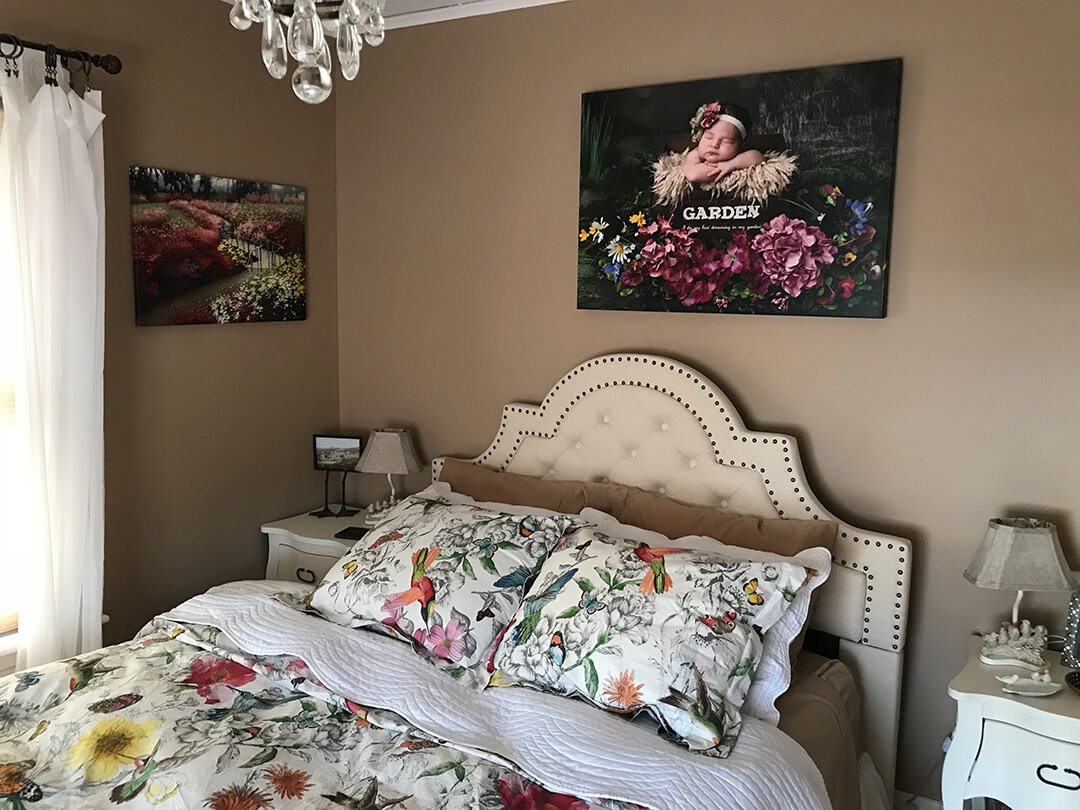
- I took one of the newborn pictures of my sister’s granddaughter that I had taken in my previous photographer life, modified the colors of the flowers to match the room and had a wall canvas made for over the bed.
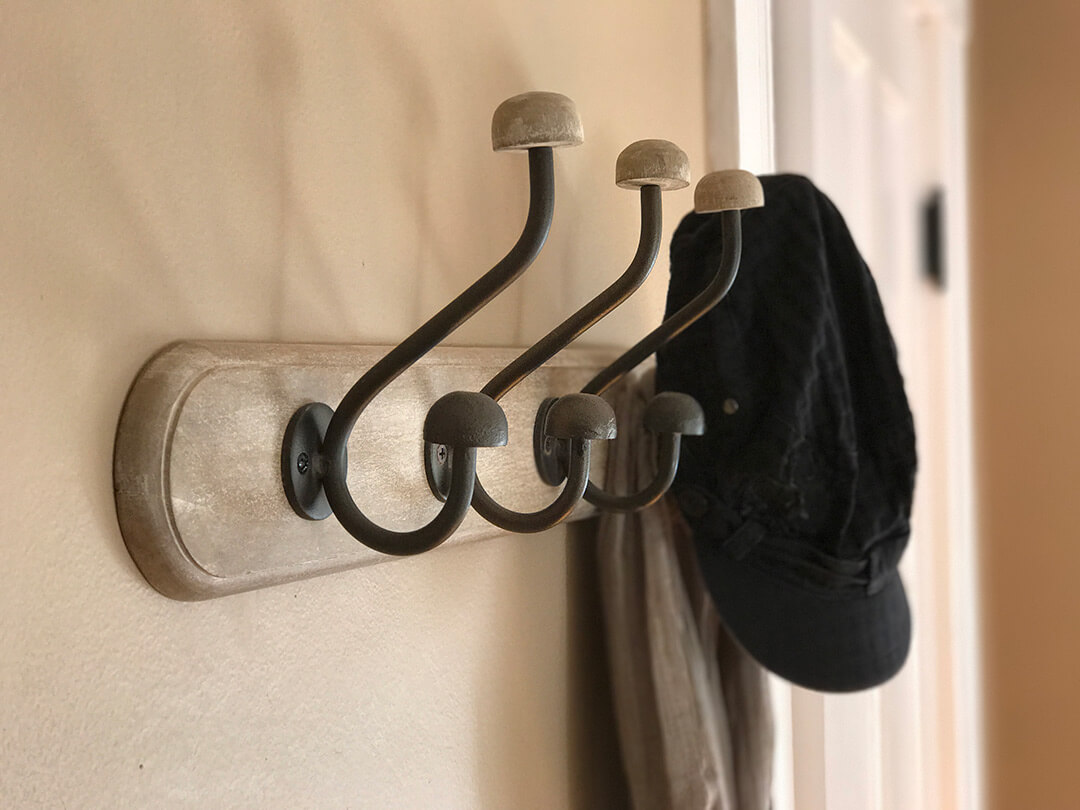
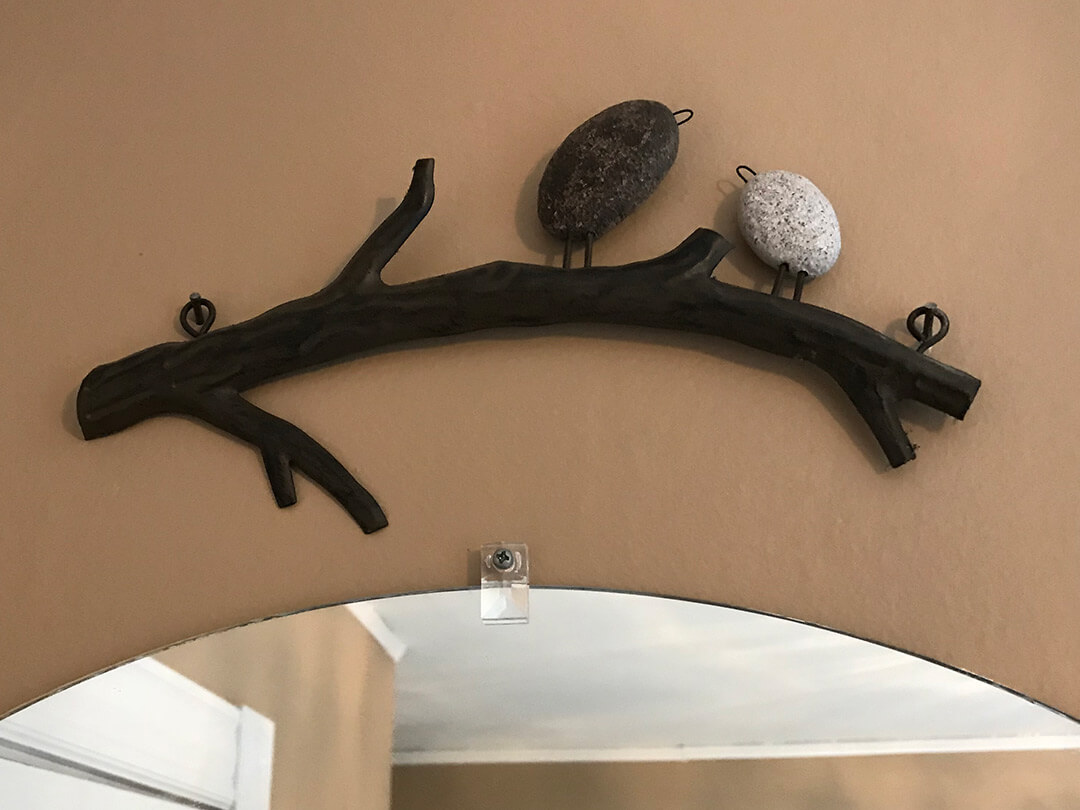
- Added a coat hanger (really more for hats) and a small table underneath with personalized pictures and decorative items.
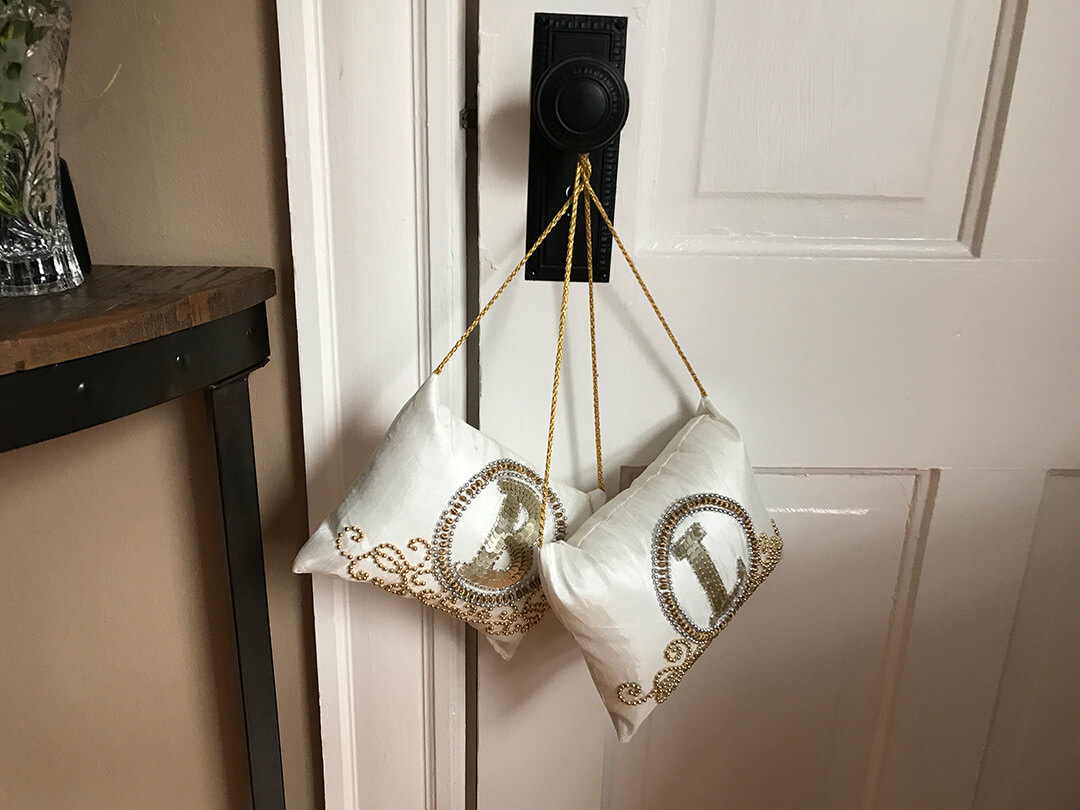
- I added these great doorknob pillows with the initials of my sister and her husband.
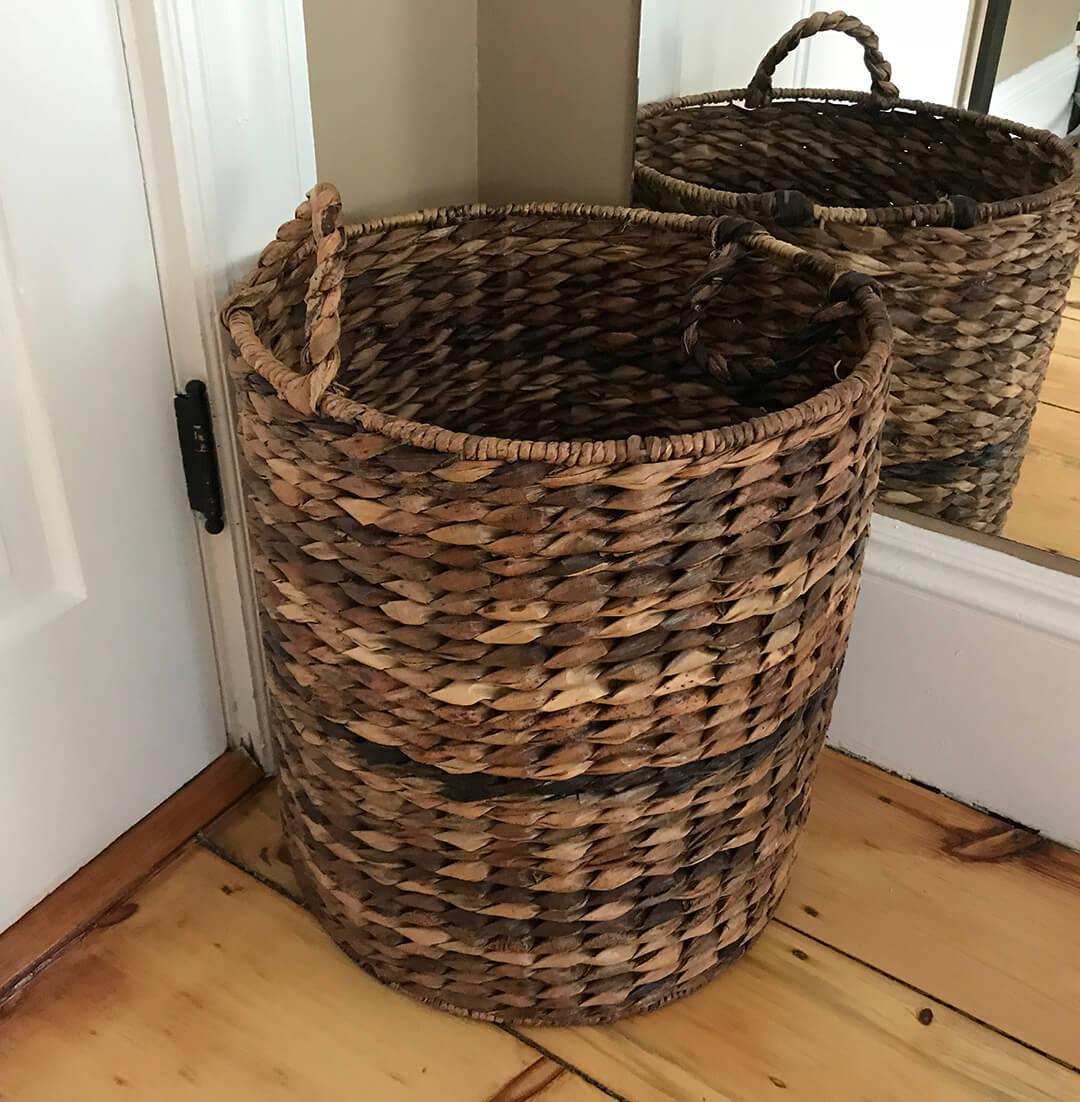
- Added a basket for clothes in the corner and a full-length mirror.
It would be around 4 months before we were ready to refinish the floor in this room (as well as the office), so that did not happen until December, 2017. We had to move everything out of this room to make that happen. Click here to read my post on our floor refinishing projects. There’s lots of information about how we selected a vendor and the entire process.
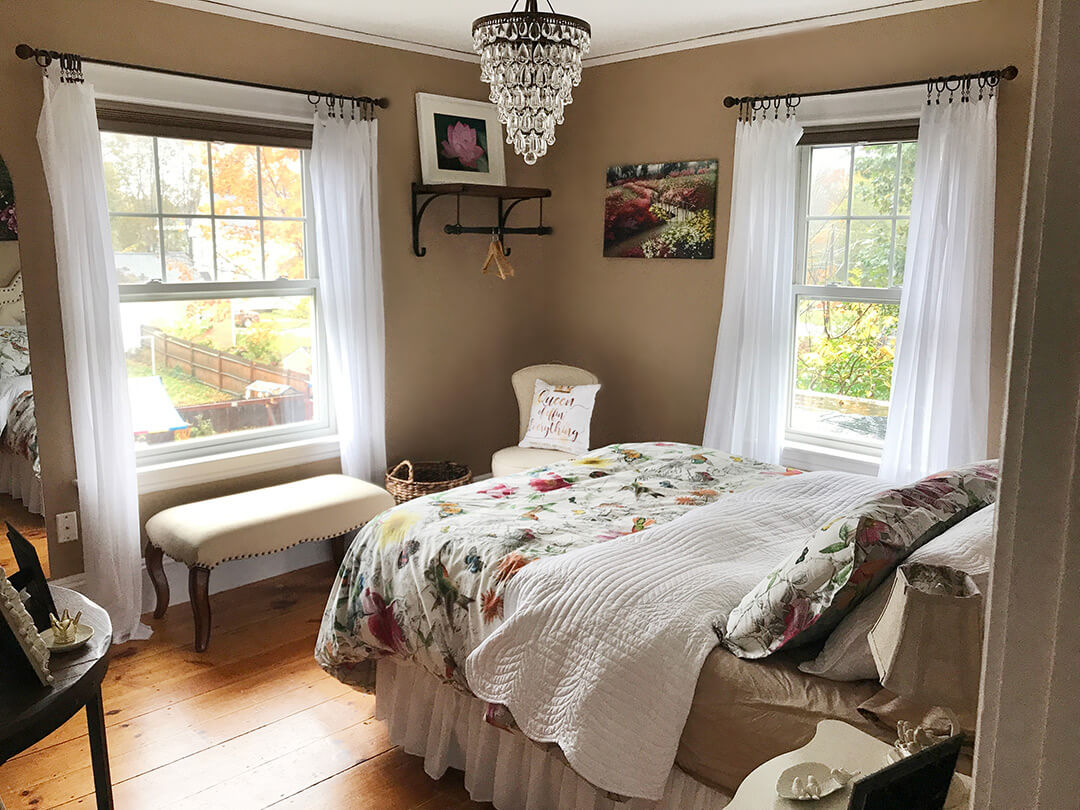
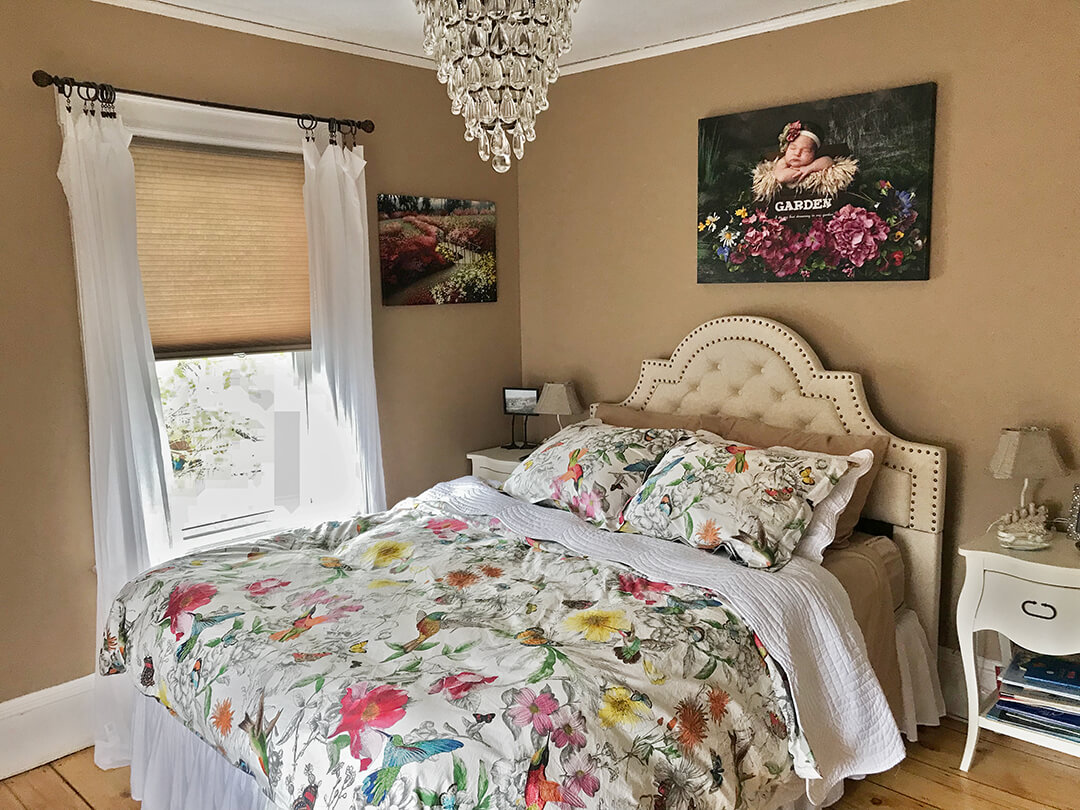
Roomview
Here’s the finished room, from each of the 4 corners.
features I LOVE
Hover over the images for details (unless you’re on mobile, then tap on the image).
Family pictures
I added a number of family pictures that my sister and her husband (my most frequent guests) would find especially meaningful. Frames from Hobby Lobby (always half priced!).
Clothes Hanger
Since the closet would not do the job I had to add a clothing rack (see link below). And it was the perfect place to perch a prized picture, taken by my favorite Uncle Glen.
Bed, art & accessories
The duvet cover is colorful and pretty, the art on the wall is a picture that I took of my niece (my sister's granddaughter) when she was born and the bedside tables are a perfect addition. See links below.
Miscellaneous Decor
There were so many little things in this room that added a lot. See links below.
SHOPPING links
Some of my favorite parts of the room follow, with (non-affiliate) shopping links. Click or tap on the image to navigate to the link.


How about you?
Do you have a favorite area or room in your house that you’ve renovated? I’d love to hear about it. Please share in the comments below!