TOUR MY
Living Room
This became a room that I never tire of looking at!
This WAS a room that I was literally ashamed to welcome guests into, with a couch partially eaten by our former dog Max (we refused to get rid of it until Max finally went to his great reward), and filled with things that didn’t belong.
This particular room has always been difficult because it’s very long and narrow. I’m sure when the house was first built there were two separate rooms, but at some point the wall between the two was removed. We decided to create two separate areas, one by the bay windows just for sitting and another on the other side of the room for TV watching. That gave the overall room purpose and made it easier to style it.
As a result, this room became a place that I never tire of looking at. The warm, earthy colors convey a sense of peace and tranquility. And just wait until you see our gallery wall!
Topics covered here
Overview
Before & Afters
All the Details
Room Views
Features I Love
Shopping Links (separate page)
PROJECT overview
JUST THE FACTS, MAM
![]()
Luckily, most of the big ticket items (couches, chairs & rugs) were things we already had but everything else sure did add up.
COST BREAKDOWN
Paint Supplies: $90
Lighting Fixtures: $882
Gallery Wall: $825
Other Wall Art: $71
Decor: $962
Furniture: $2232
Window Treatments: $530
Floor Refinishing: $635
TOTAL: $6237
Money doesn’t grow on trees. So how did we pay for this? Check out my post 6 Ways You Can Finance Your Renovation and I’ll fill you in!
Time to complete: 3 months total, spread between 2015 – 2017
2015 Replaced our old couch with a new (quite awesome) sectional. All 4 chairs are recliners. We also purchased two new rugs.
May ’17 Moved out or disposed of all the items that we no long wanted to keep – coffee tables, chairs, old TV stand. Prepared the room for painting.
June ’17 Painted the walls and trim.
June – July ’17 Planned and built my gallery wall.
July ’17 Made the remaining purchases (see finishing touches below).
Dec ’17 Refinished the hardwood floors.
No issues out of the ordinary on this project!
Click here for Shopping Links (separate page)
This is the very first room that everyone walks into so it makes a statement, one way or another!
- The old statement was ‘get through this room as fast as you can.’ The new statement is ‘linger, it’s worth looking around.’
- Because this is a room with now two distinctive areas it lets us change things up. Sometimes I just sit by the windows with my tea in the morning, sometimes I sit on the couch by the TV.
- This room just makes my heart happy. Every piece, including all the pieces in my gallery wall, have meaning for me.
- The colors are very earthy and soothing to me.

Paint

Cost
Luckily, most of the big ticket items (couches, chairs & rugs) were things we already had but everything else sure did add up.
COST BREAKDOWN
Paint Supplies: $90
Lighting Fixtures: $882
Gallery Wall: $825
Other Wall Art: $71
Decor: $962
Furniture: $2232
Window Treatments: $530
Floor Refinishing: $635
TOTAL: $6237
Money doesn’t grow on trees. So how did we pay for this? Check out my post 6 Ways You Can Finance Your Renovation and I’ll fill you in!

Timing
Time to complete: 3 months total, spread between 2015 – 2017
2015 Replaced our old couch with a new (quite awesome) sectional. All 4 chairs are recliners. We also purchased two new rugs.
May ’17 Moved out or disposed of all the items that we no long wanted to keep – coffee tables, chairs, old TV stand. Prepared the room for painting.
June ’17 Painted the walls and trim.
June – July ’17 Planned and built my gallery wall.
July ’17 Made the remaining purchases (see finishing touches below).
Dec ’17 Refinished the hardwood floors.

Problems
No issues out of the ordinary on this project!

Shopping
Click here for Shopping Links (separate page)

Improvements
This is the very first room that everyone walks into so it makes a statement, one way or another!
- The old statement was ‘get through this room as fast as you can.’ The new statement is ‘linger, it’s worth looking around.’
- Because this is a room with now two distinctive areas it lets us change things up. Sometimes I just sit by the windows with my tea in the morning, sometimes I sit on the couch by the TV.
- This room just makes my heart happy. Every piece, including all the pieces in my gallery wall, have meaning for me.
- The colors are very earthy and soothing to me.
![]()
before & AFTERS
What a remarkable difference!
![]()
all the DETAILS
WHAT WE DID AND HOW WE DID IT

I did manage to catch one very grainy ‘before’ picture of one side of the room. With mis-matched furniture and no real style it just looks pretty blah. We started working on this room in 2015.
This was the year we lost our dog Max, so we finally bought a new couch to replace the one he had partially eaten.
We also purchased a couple of rugs and rearranged the room. Luckily, the love seat and two easy chairs from our old set were still in great shape so the latest purchases meant that the big-ticket furniture was in place.
We prep’d the room for painting, then re-painted the walls and trim ( Paint colors are listed towards the top of the page).
I actually painted 5 rooms in the house over the course of a month in the summer of 2017. Once I was in a painting mode, I thought it was easier to just keep going and get it all done at once. So the painting in this room happened over the course of around a week.
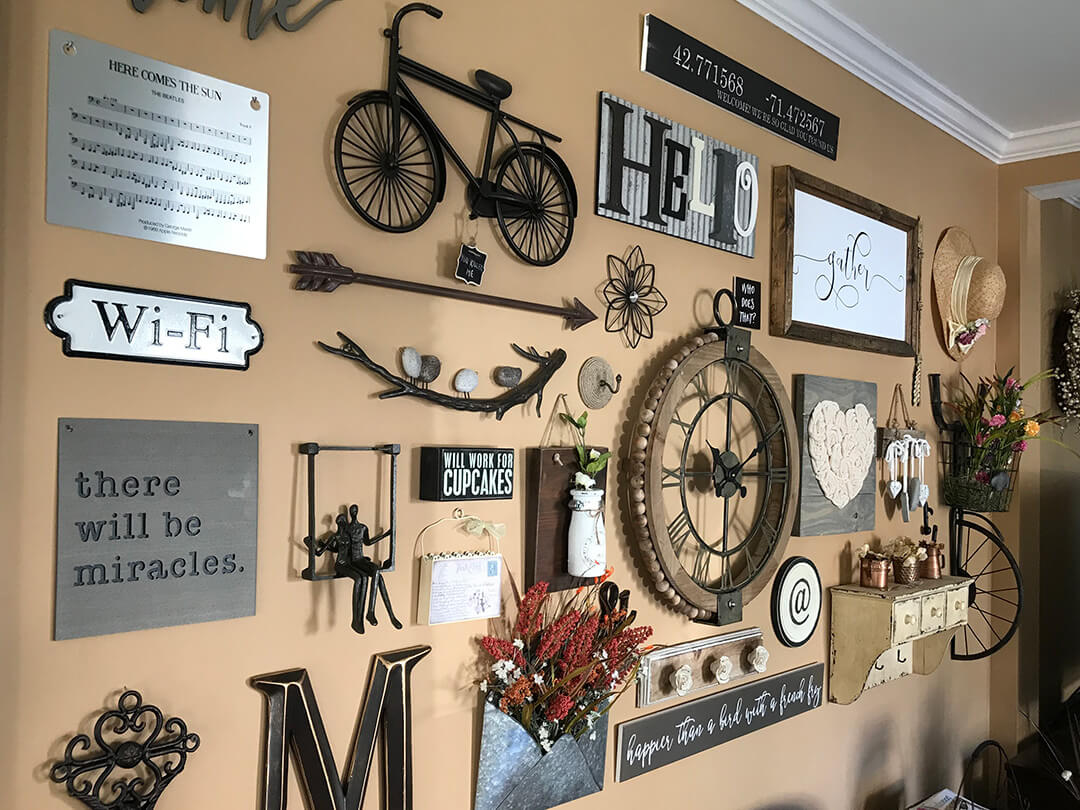
Originally this was one huge empty wall. I had originally intended to place one large canvas here but I couldn’t find one I liked. I started searching on Pinterest for wall ideas, found a few examples of gallery walls and I was smitten. For all the details on how I built the wall and instructions to build your own, click here.
Here’s everything else we did to make this a beautiful spot:
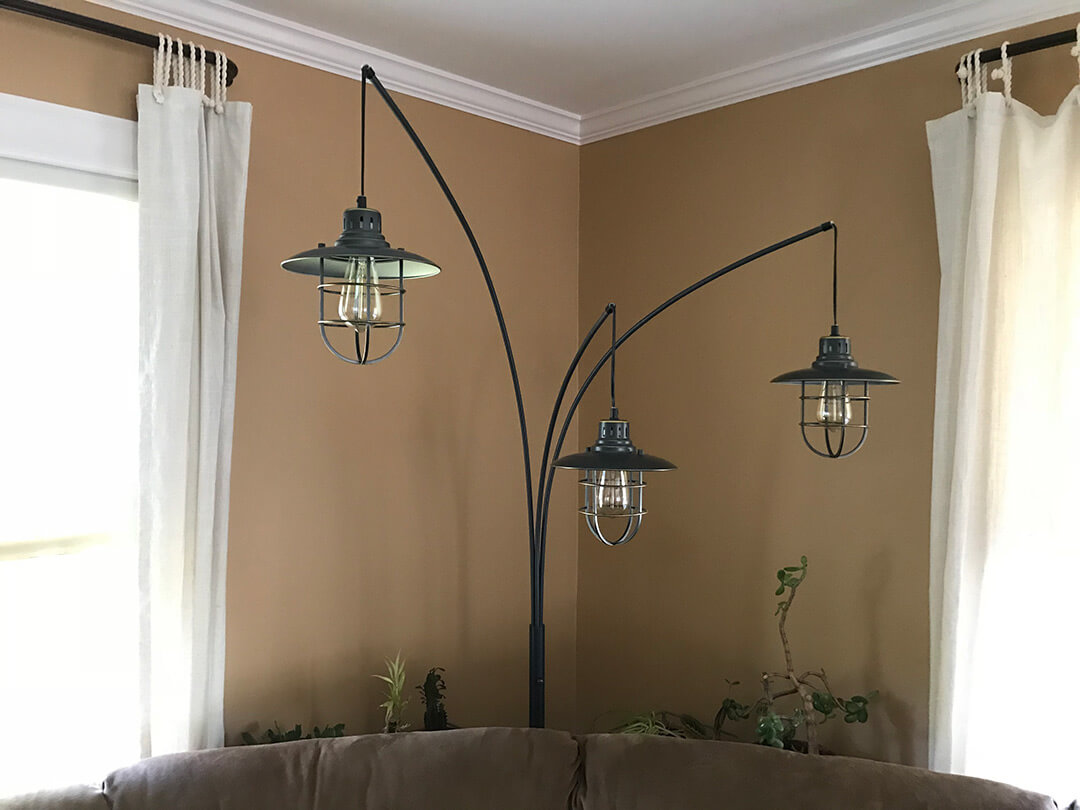
- Added a large industrial 3-unit floor lamp behind the couch and two smaller lamps for the other side of the room.
- Purchased a new TV stand. It actually took two tries to get this one right, the first did not work out very well but we love the final selection.
- Added a side table in between our old ‘cup chairs.’
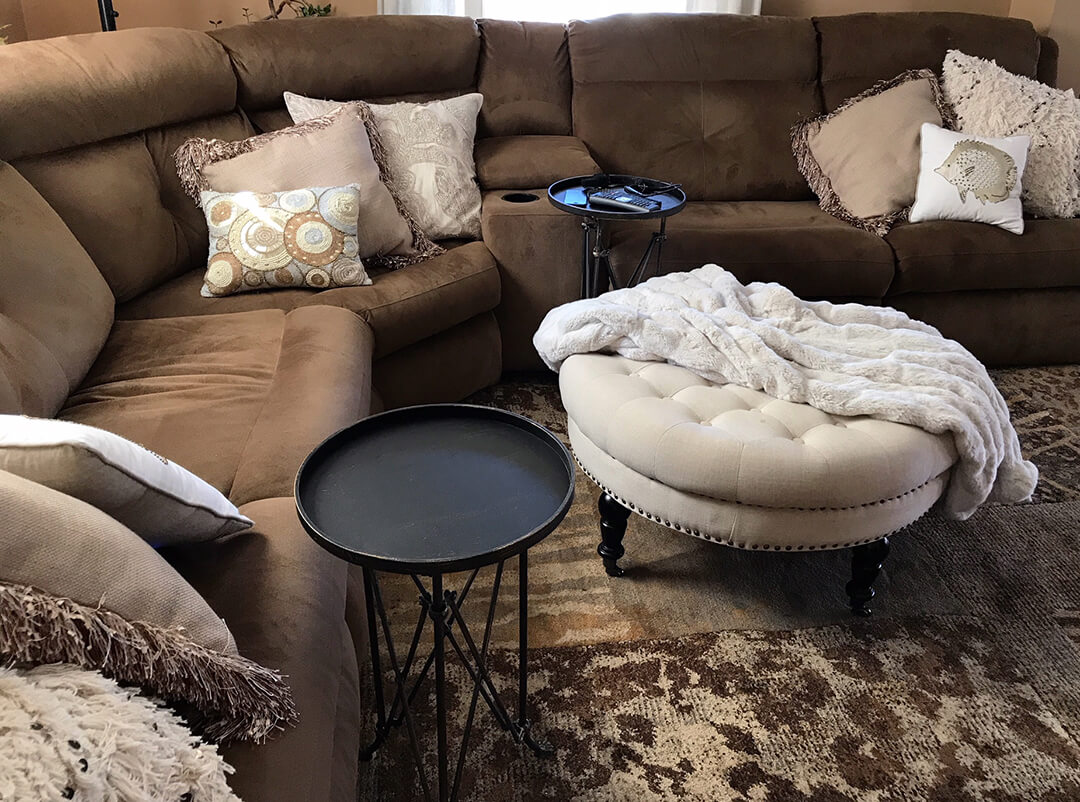
- Purchased an ottoman and a trunk as coffee table alternatives – read all about it here.
- Hung new cotton drapes. We purchased a bay window drapery rod that didn’t quite fit and it took almost a whole day to install it. Curtains in the other windows were a breeze. The shades we’ve had for 20 years and they are in amazingly great shape so we kept them.
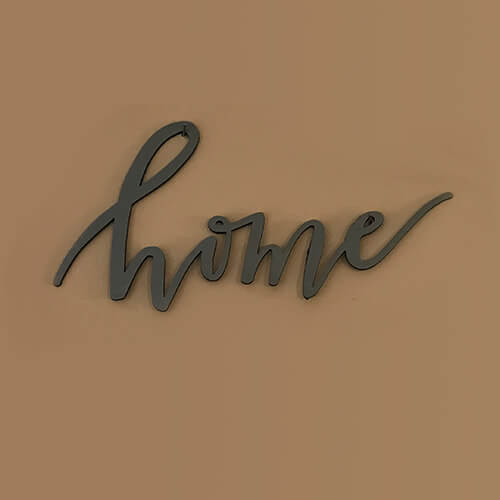
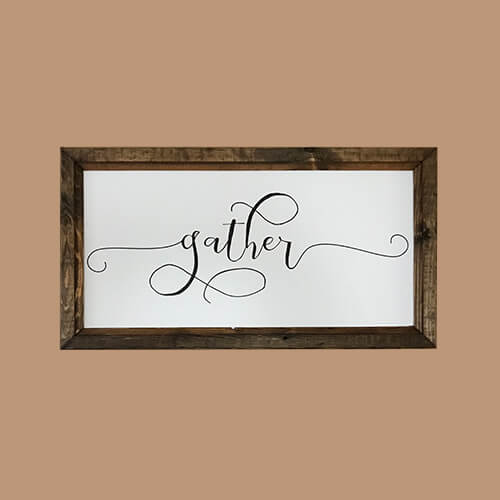
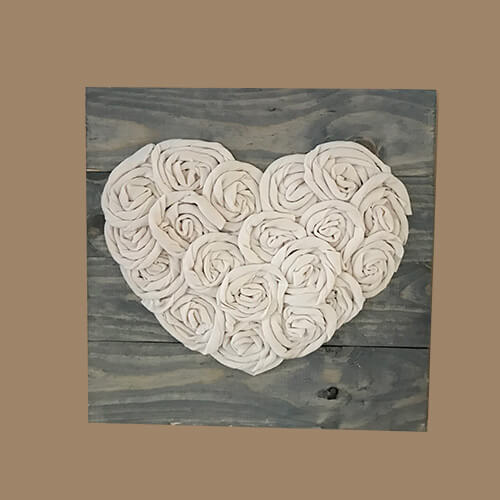
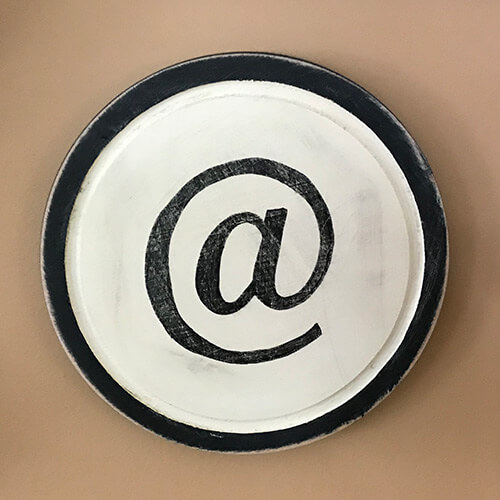
- In addition to the gallery wall, we added a couple of art pieces to the opposite wall, which I created. They’re available as free printables here!
- Added a cute little cabinet by the door to store ‘by the door’ things.
- Purchased multiple sets of throw pillows for the big coach, love seat and ‘cup’ chairs.
- Decorated the tray for my trunk by the bay windows. Read all about how to style a coffee table tray here.
- Added a few other pieces of miscellaneous decor here and there – see shopping links below.
The very last thing we did in December 2017 – months after we had actually finished the work in this room, was to refinish the hardwood floors.
This was work that we hired out. Click here to read my post on our floor refinishing projects. There’s lots of information about how we selected a vendor and the entire process.
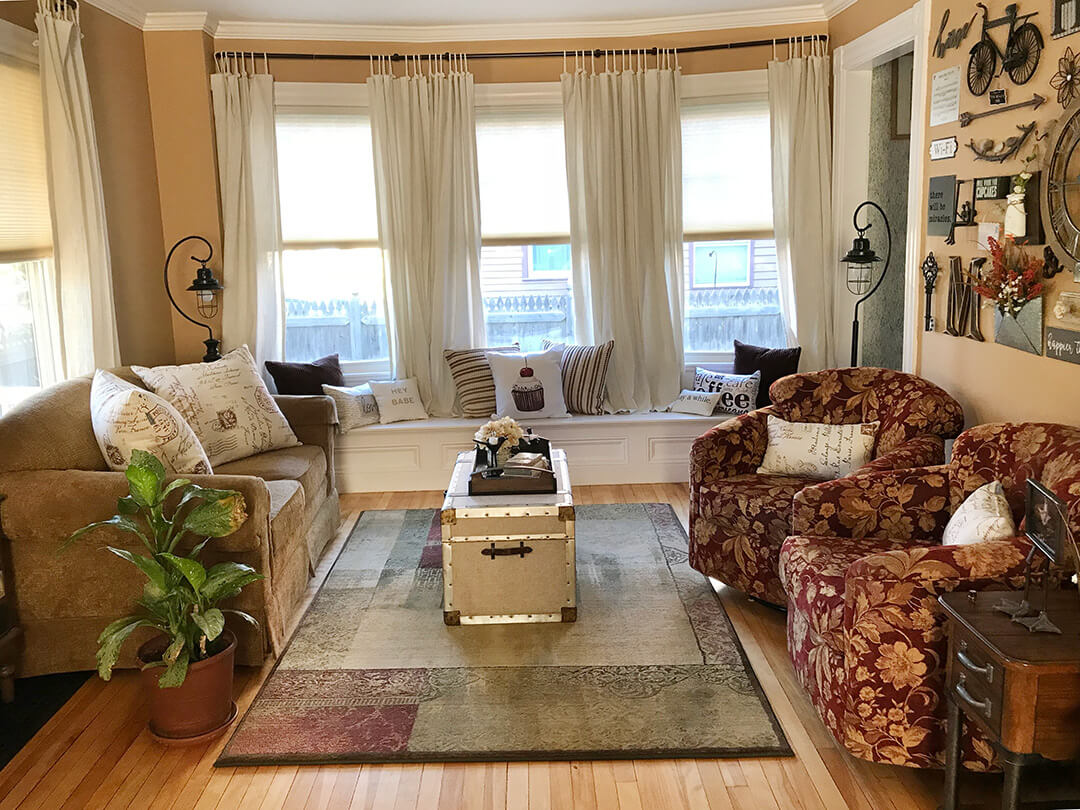
Roomview
Here’s the finished room, from each of its two sides
features I LOVE
Hover over the images for details (unless you’re on mobile, then tap on the image).
Living Room Couch
I'm not sure a more comfortable couch exists. All four chairs can recline with individual electric controls.
Bay Window
I adore my bay window. Now that it's complete with the linen curtains (I had to hem them, ugh, torture) and my pillow collections it's darn near perfect.
Rugs
Purchased back in 2015 from Jordan's Furniture, they are both perfect additions to each side of the room.
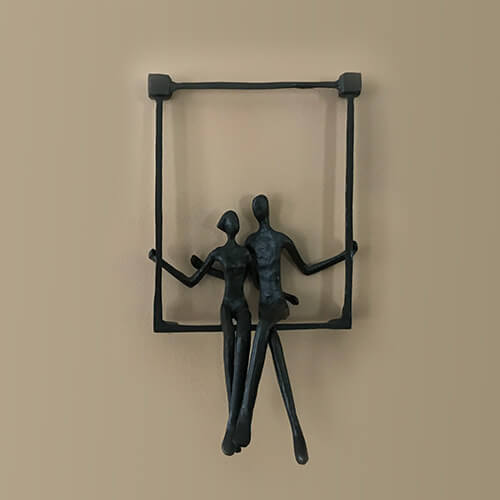
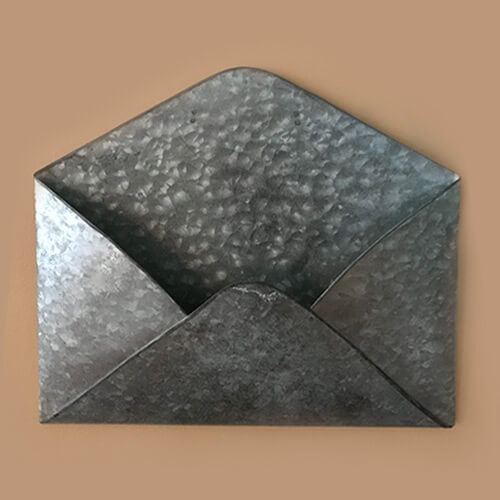
Gallery Wall
Love, love, love. See link at the end of the post for instructions on how you can make your own gallery wall.
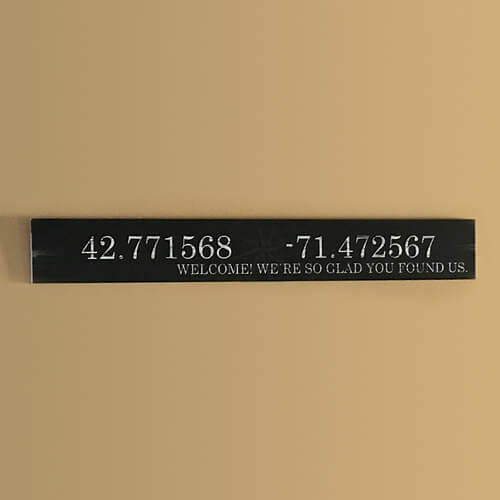
Wall Art
A couple of pieces I created myself. See Shopping & other links below for a link to download these FREE Printables!
Mirror
This skinny mirror is perfect for the spot it's in. I've had it forever, but re-painted it in matte black and it looks like new.
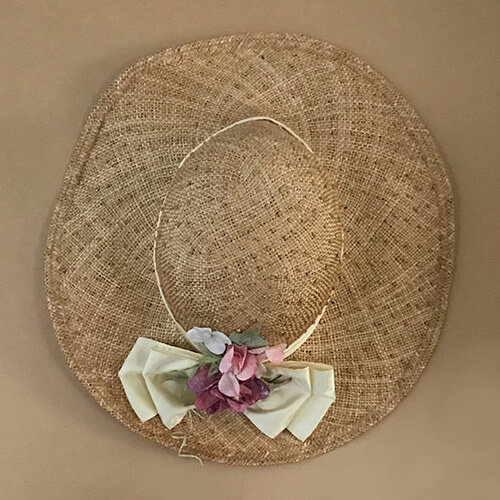
Wall art
I've had this (unfortunately discontinued) Pottery Barn piece for years but found a new perfect spot for it.
Pillow sets
So many pillow sets. I'm embarrassed to say how long I spent shopping for just the right ones. See shopping lnks below.
Coffee Table Tray
I had fun styling this adorable tray - see the link at the end of the post.
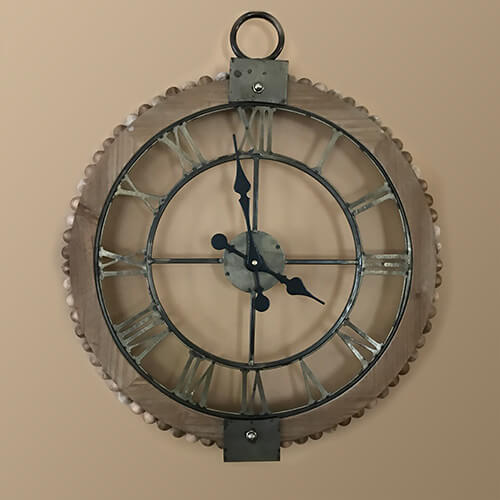
Decor
So many fun pieces. The flying pig I purchased at my local HomeGoods. See links below for other great finds.


For more information
- Shopping Links for this page
- Read about the process for refinishing all the hardwood in our house here.
- Read about our coffee table alternatives here.
- Read about how I built my 8 foot gallery wall here.
- Ready about how to style a coffee table tray here.
- Download our free printables here.
- Click here for the Main House Tour page.
How about you?
Do you have a favorite area or room in your house that you’ve renovated? I’d love to hear about it. Please share in the comments below!
Your home is stunning. I love your décor style!
Awe thank you so much!