TOUR MY
Kitchen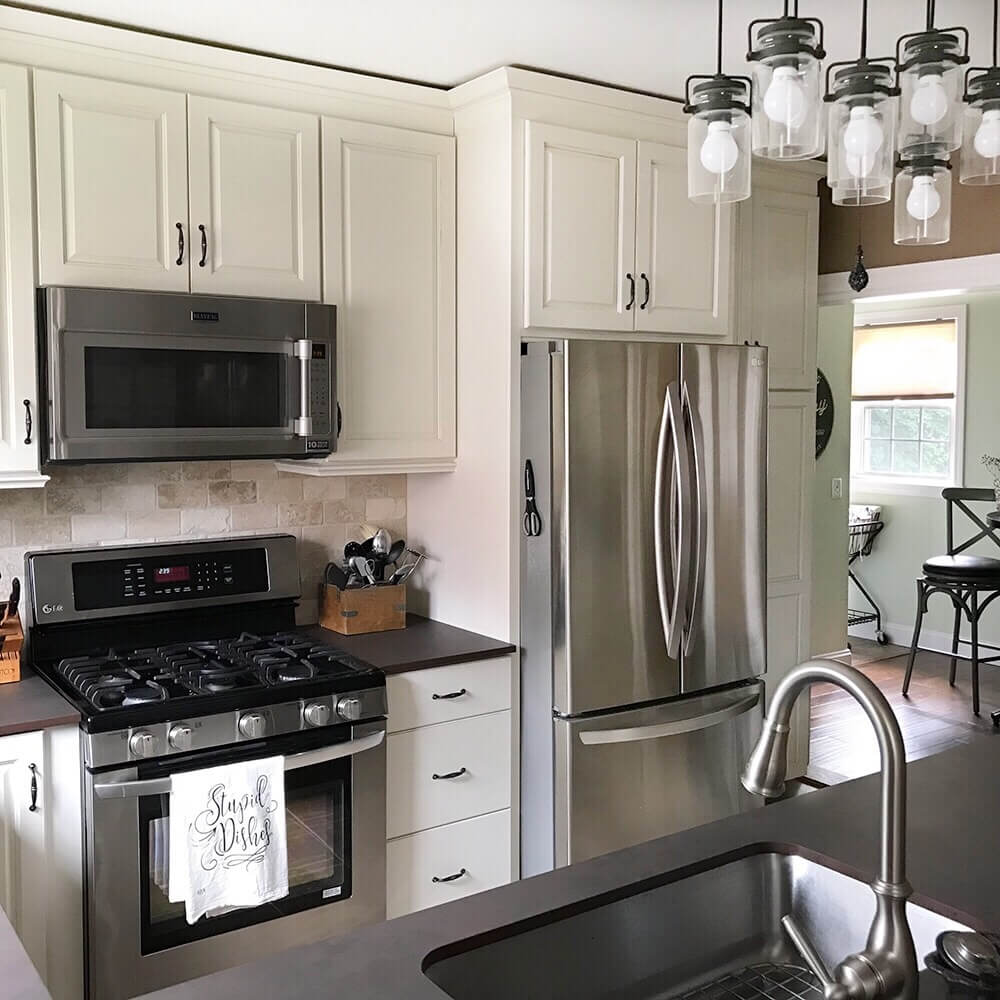
Our most complex, expensive renovation in the house, and worth every penny
The big Kahuna. When we first moved in 25 years ago I knew I was going to have to replace the kitchen sometime soon. Well, this is the year we finally got around to it :).
We estimate the kitchen was last updated circa 1960. The guy who measured for the new cabinets told us that our house’s charm sort of ended in the kitchen.
Not any more!
We took this room from a dark, not very functional kitchento a pretty, bright, sunny, incredibly functional one and I could not be happier with the transformation. It was worth the wait.
Here’s what we did…
Topics covered here
Overview
Before & Afters
All the Details
Room Views
Features I love
Shopping Links
PROJECT overview
JUST THE FACTS, MAM
![]()
Clearly, the most expensive renovation in the house, but worth every penny!
Doing all the work ourselves, except tiling the floor (that was a matter of time) saved us a lot of money. We also bought a lower-priced tier kitchen cabinet model (which was still made really well), and we had already purchased the refrigerator, stove and microwave a few years earlier. But everything else added up.
COST BREAKDOWN
Cabinets, countertop: $11,432
Lighting Fixture: $349
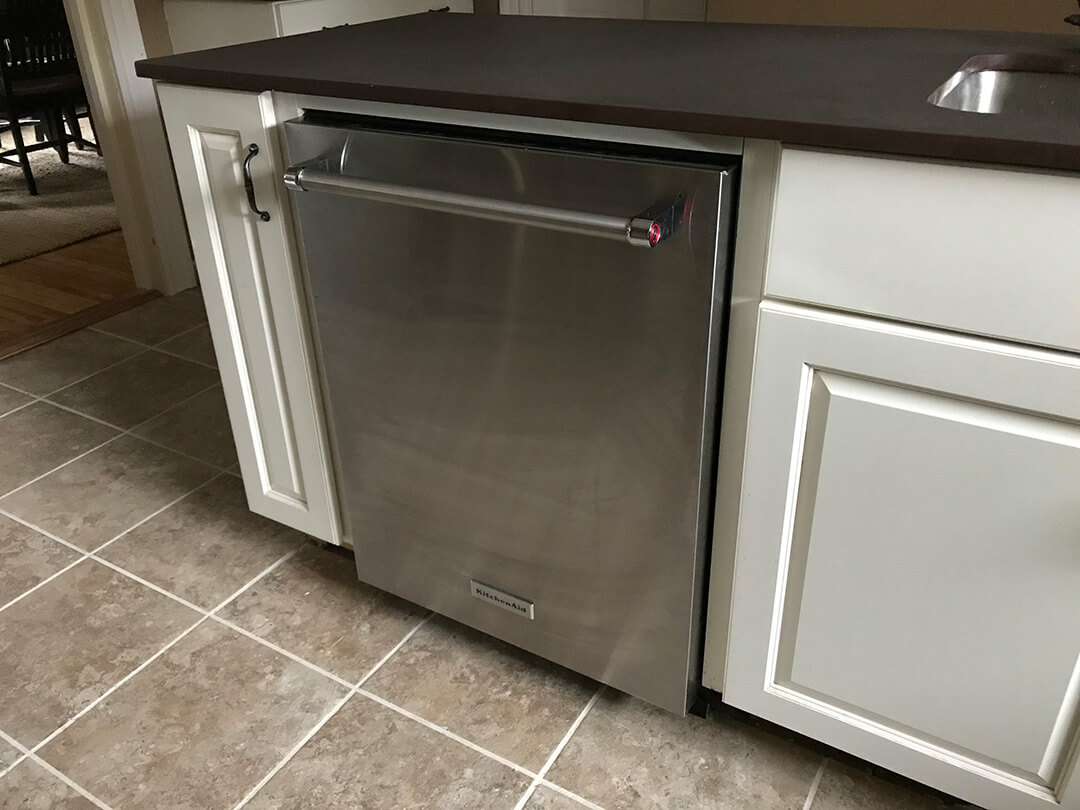
Appliances: $1,005
Pantry organization: $965
Tile & labor: $950
Plumbing supplies: $200
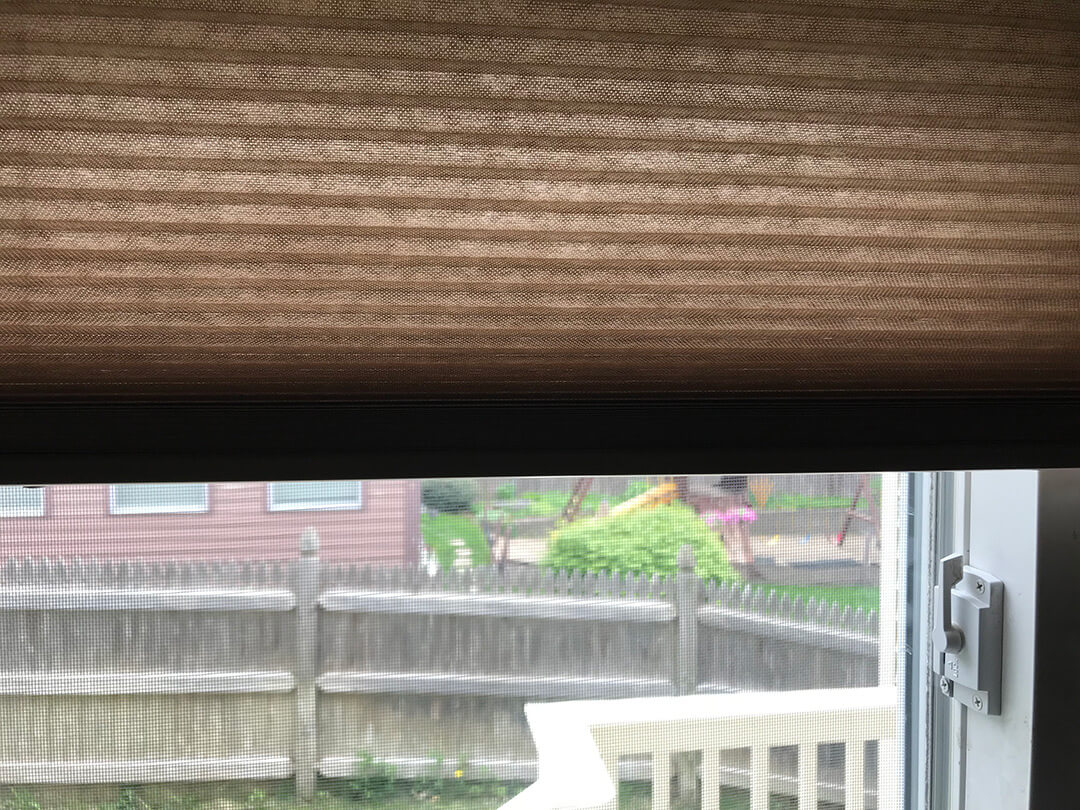
Window Treatment: $54
Wall art: $298
Paint Supplies: $150
TOTAL: $15,553
Money doesn’t grow on trees. So how did we pay for this? Check out my post 6 Ways You Can Finance Your Renovation and I’ll fill you in!
Time to complete: 5 months spread out over almost 1 year Because we could only work on the cabinet installation on the weekends, that stretched out over a couple of months. Then we had to put the installation of the floor on hold for several months while the work on the bathroom and breakfast nook was going on. So there was a lag from the time we finished the bulk of the work until we came back and finished the rest. And there are still a few small items left to finish!
Jun – Jul ’17 Ordered the cabinets; demo’d the old floor and cabinets
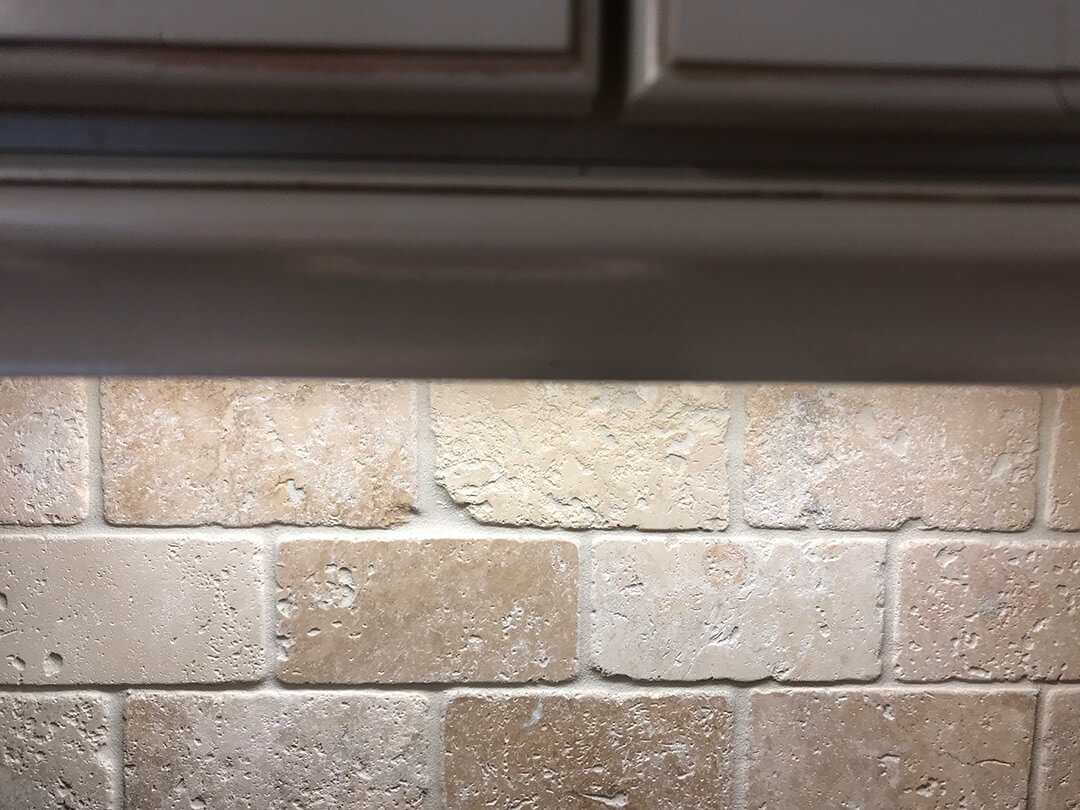
Aug – Oct ’17 Installed the new cabinets and backsplash
Nov ’17 – Apr ’18 Hiatus in this room while we finished work on the breakfast nook & bathroom
Apr ’18 Installed floor tile
The challenges in this room were many. I’m not sure I can remember them all but I’ll try!
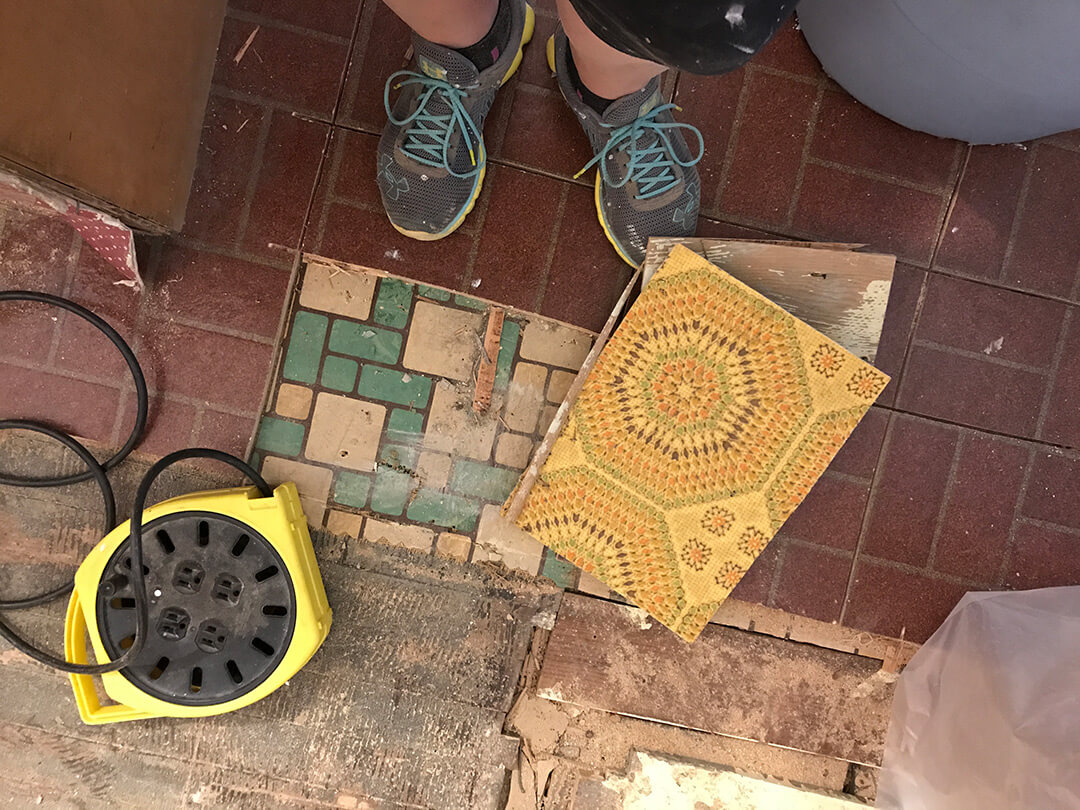
- We knew the floor was going to be a challenge and we weren’t wrong. Read all about it here.
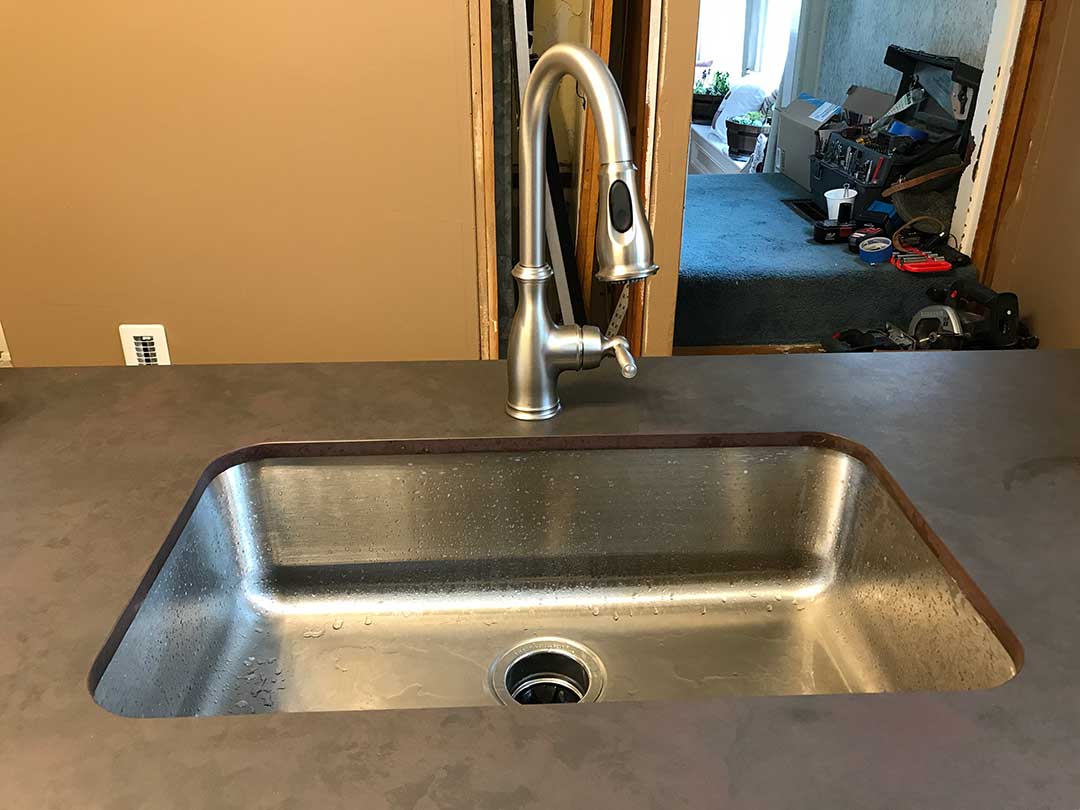
- The kitchen sink I had my heart set on didn’t fit in the cabinet we ordered and I had to go with the standard stainless. See this post for details.
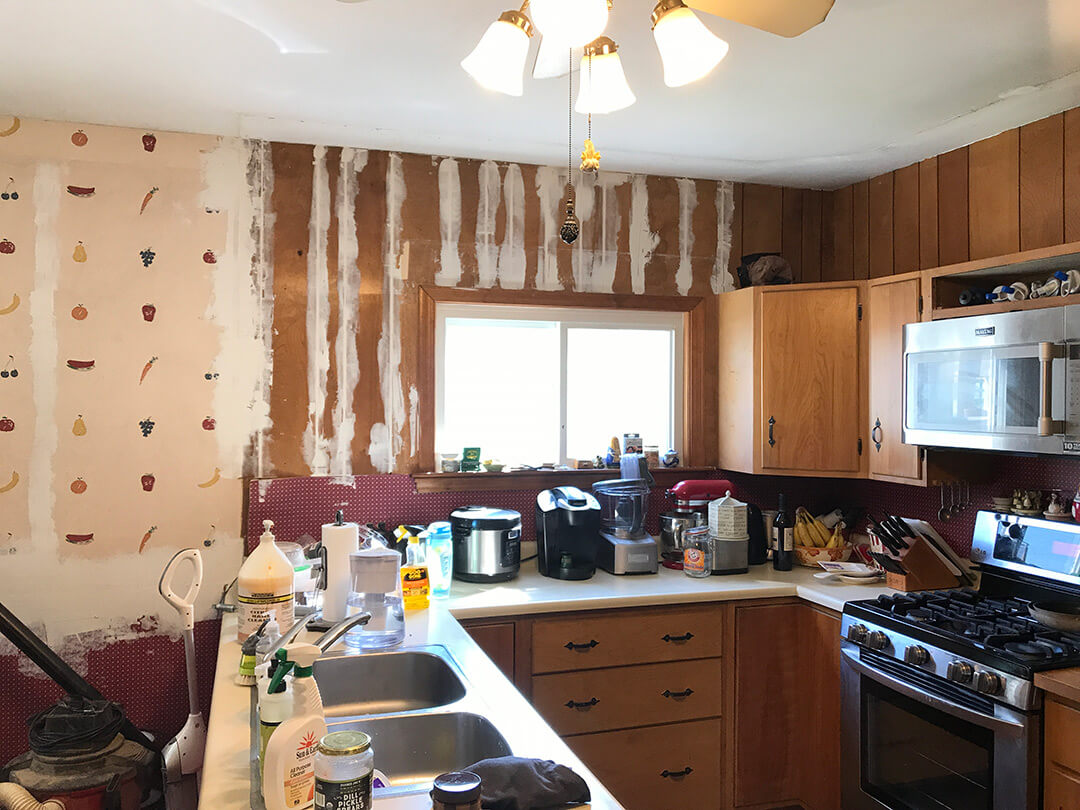
- The walls were full of surprises (like old paneling). No worries, we painted over all of it. See how we did that here.
- I painted the room 3 times (3’s a charm?) before I found the paint color I liked (Behr Distant Land).
- Because we had to work on the weekends installing the cabinets we were basically without a kitchen for months, but we extended things as long as we could and lived without a sink and stove for extended lengths of time. We made it work!
- We had just plywood for a floor in the kitchen for almost 10 months, because we had to put that installation on hold while the downstairs bathroom was being completed.
For (non-affiliate) links to my purchases, see Shopping Links further down this page.
As many challenges as this room presented, renovating it created a lengthy list of life improvements.
When you vastly improve the kitchen, it can’t help but improve your quality of life since it’s a room everyone uses all the time. There were so many improvements, big and small. Here are the most prominent:
- The kitchen counters are level (they never were before). You can place something on the counter and it won’t roll off. Priceless!
- With two new cabinets and top cabinets that reach to the ceiling, there is a lot more space for all the necessary supplies and tools. Things are better organized and closer at hand when I need them.
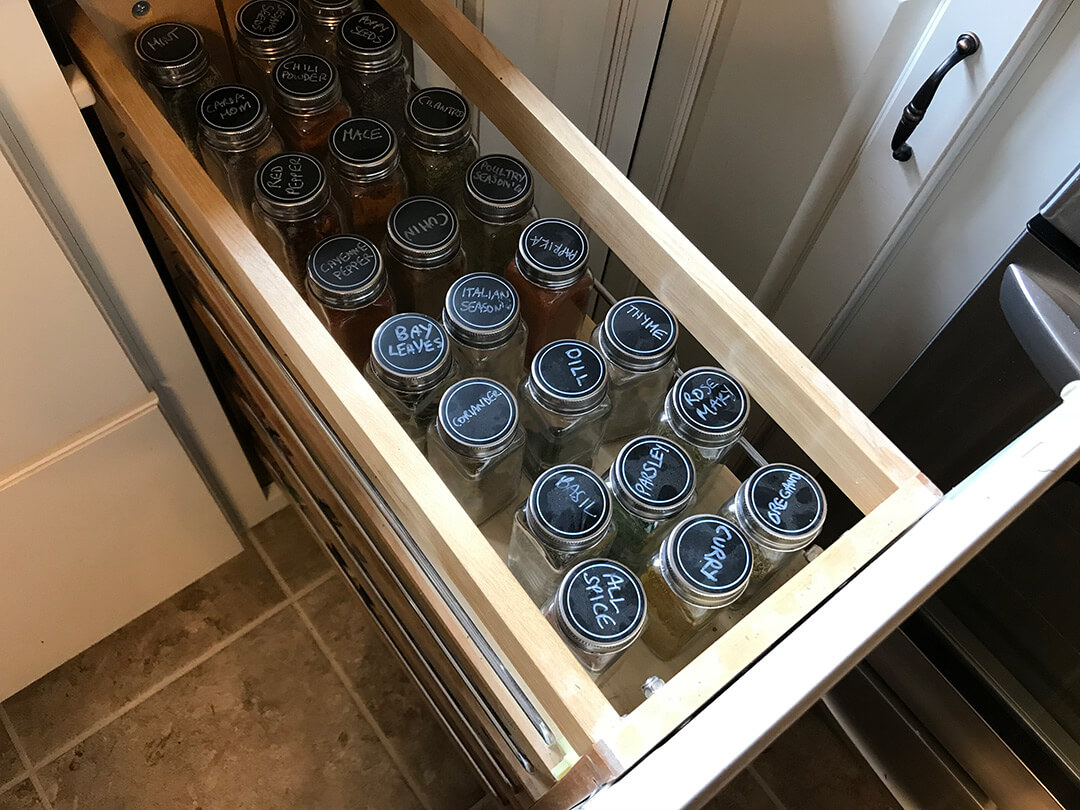
- The layout didn’t change a lot but we did add a number of space-saving and function-enhancing features that made working in the kitchen a lot more efficient: the silverware drawers, pots and pan drawers, a cabinet just for my glass storage jars, spice cabinet, lazy susans in the base corner cabinets, a cabinet just for bakeware.
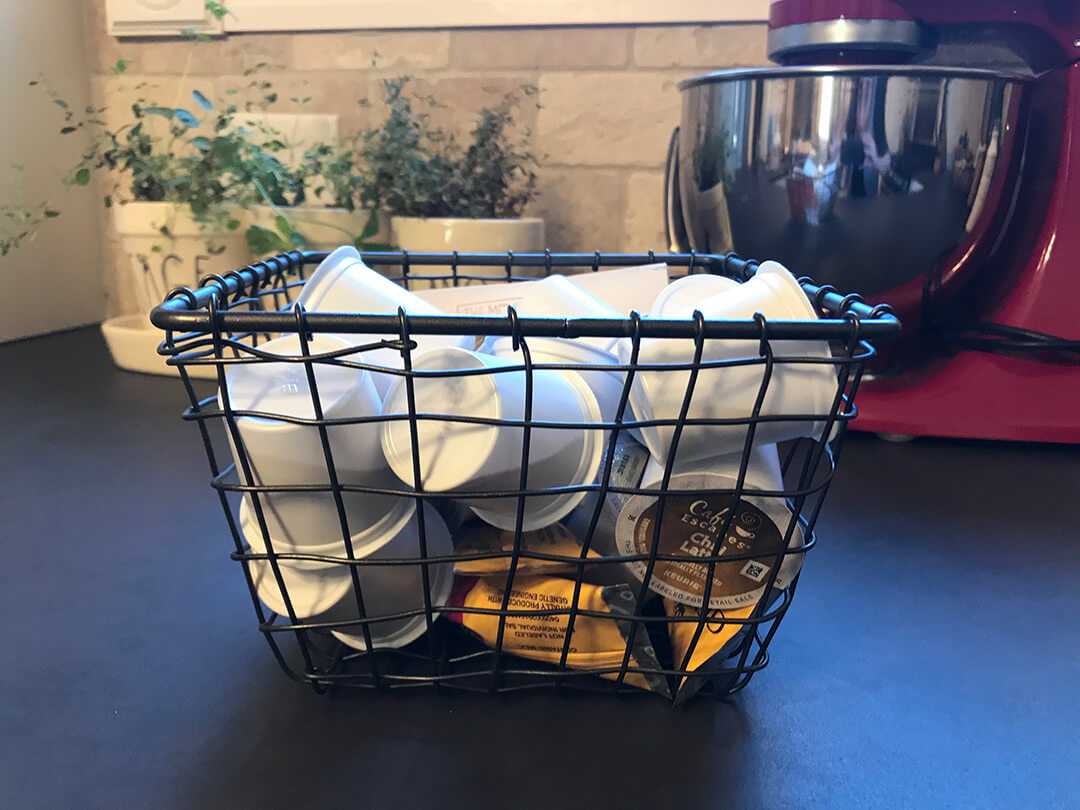
- The new coffee/tea bar is practically life changing.
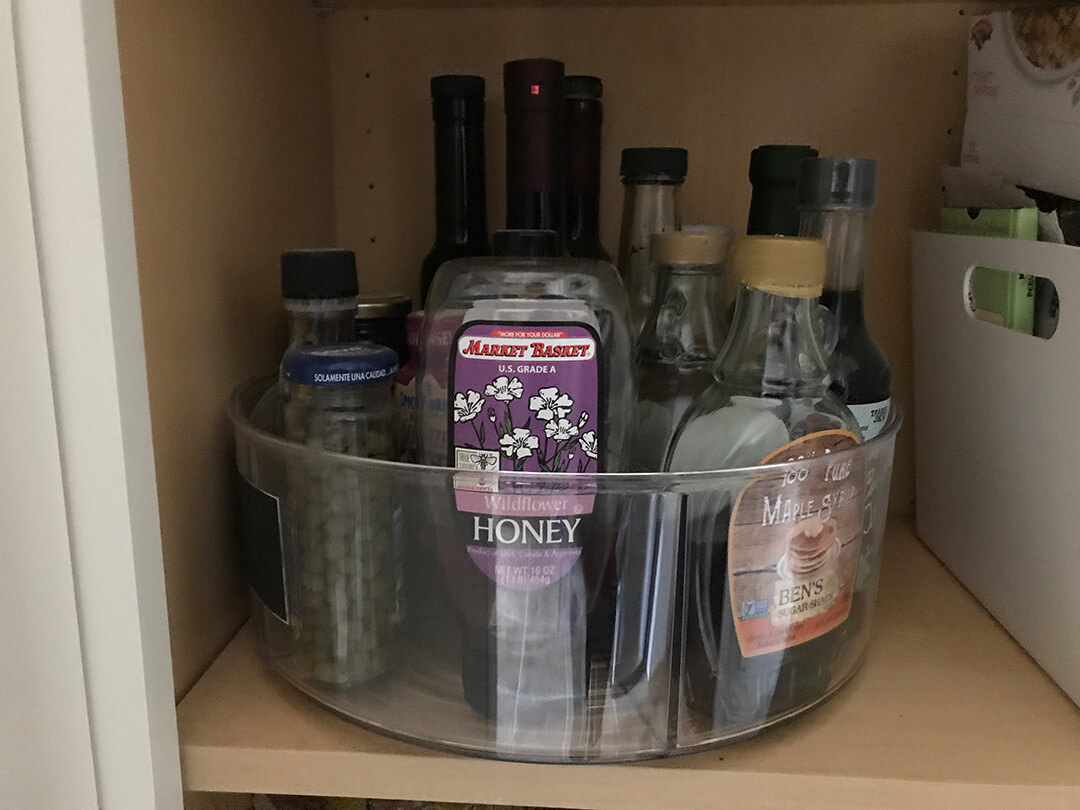
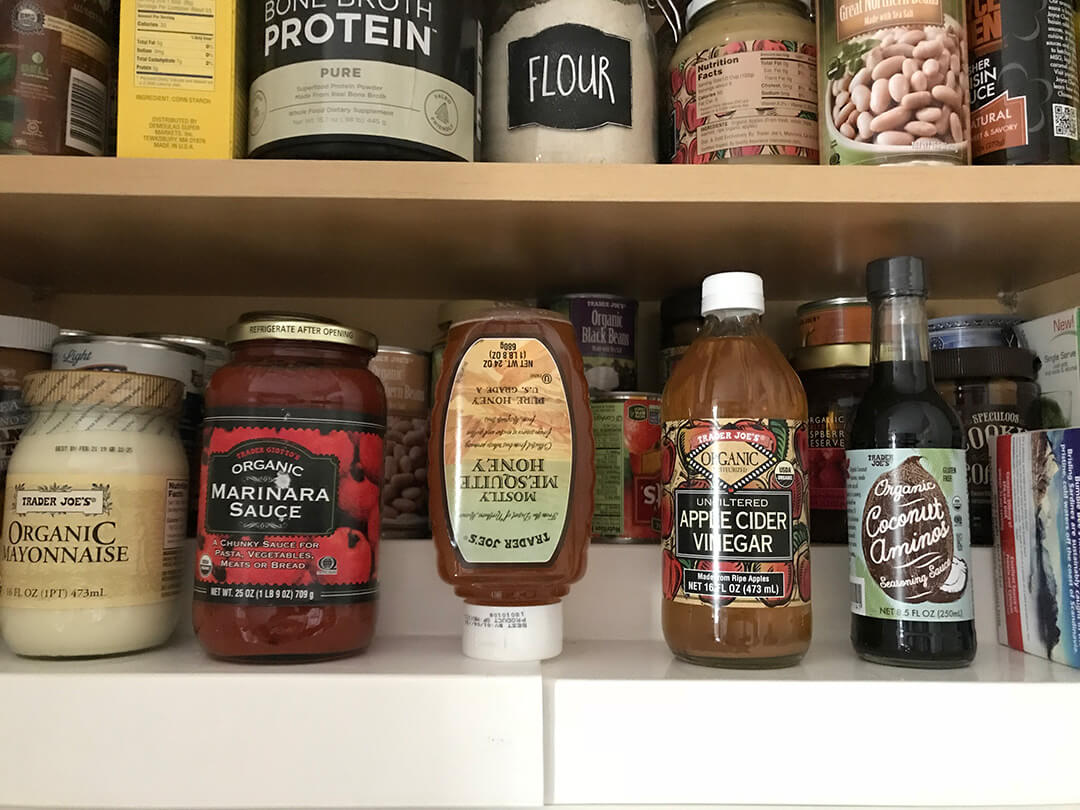
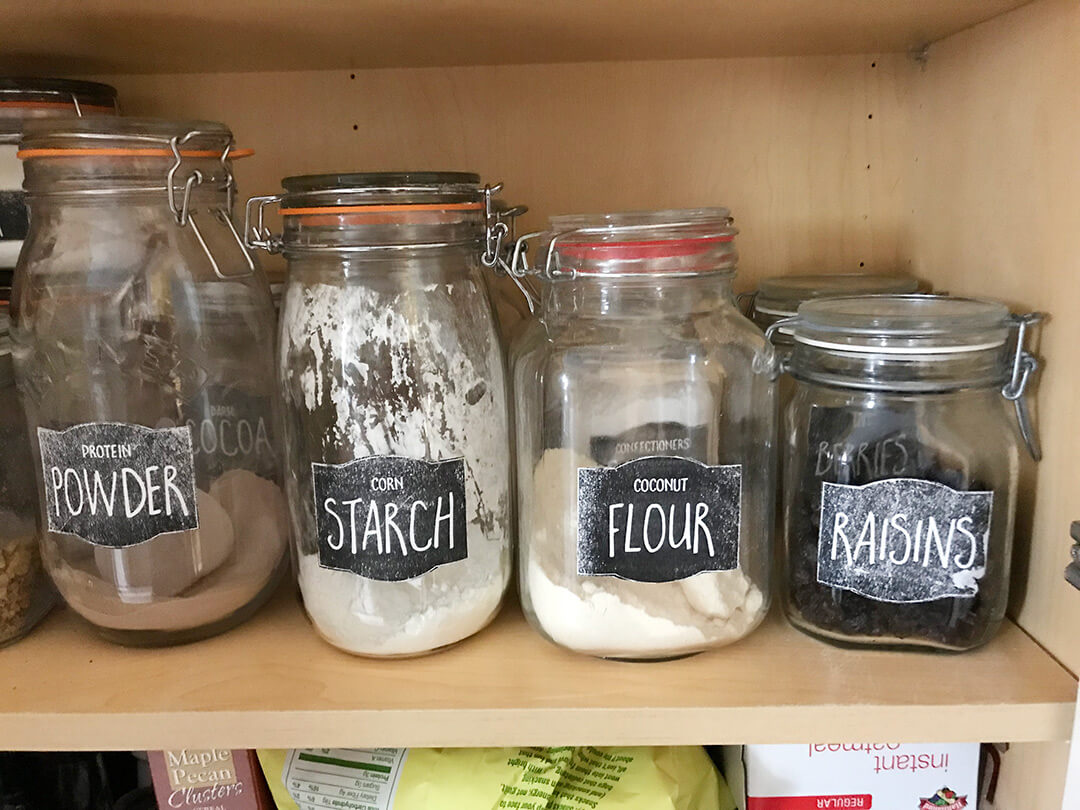
- With the new pantry cabinet, I completely organized that space with new containers and custom labels. I can find anything in there now and putting supplies away after grocery shopping is a breeze – for anyone.
- The kitchen counter is amazing. I can put a hot pan on it, I could almost take a blowtorch to it and it will still clean up like a dream.
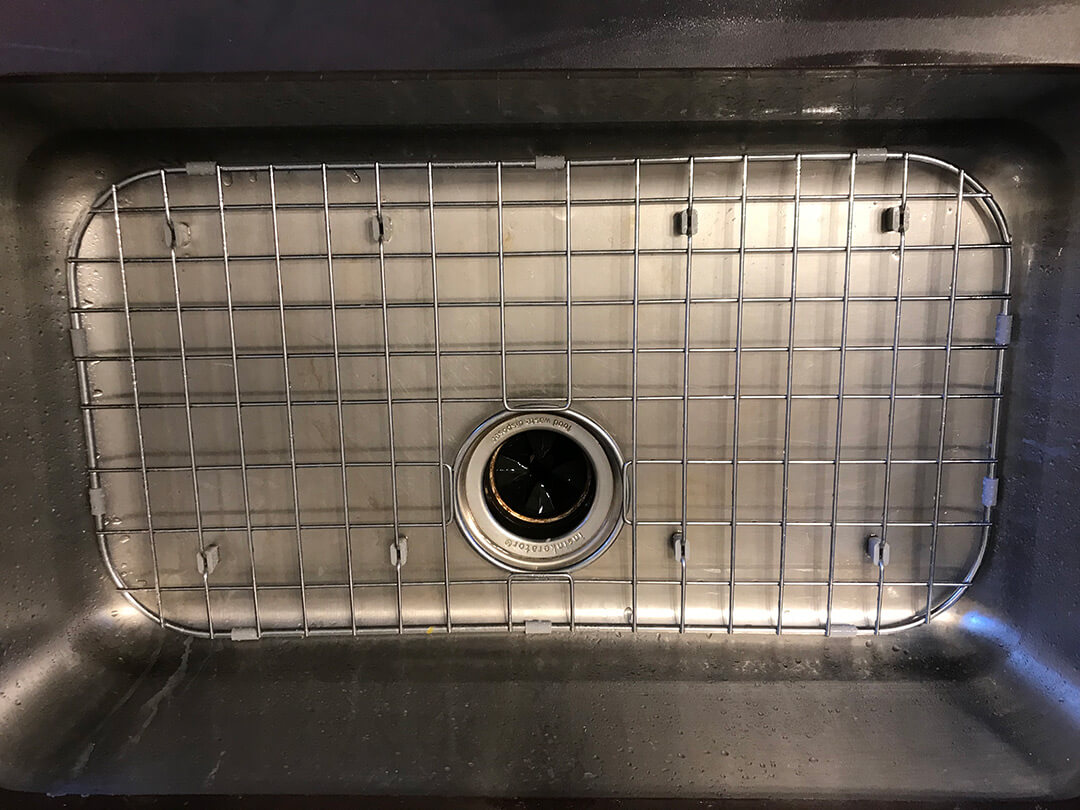
- The sink may not be the exact one I wanted but it’s roomy and shiny new (and the stainless matches all the appliances). The new faucet pulls down and converts to a sprayer and makes it so easy to clean up.
- We combined our recycling/trash into one basket and it’s a pleasure to throw things away now!
- I used to have to stuff my glass containers in a corner base cabinet where they never fit and I could never find what I wanted. The new pull-out storage drawers in the coffee bar cabinet have completely solved that problem.
- I created some very cool custom art for the walls and absolutely love what they add to the room.

Paint

Cost
Clearly, the most expensive renovation in the house, but worth every penny!
Doing all the work ourselves, except tiling the floor (that was a matter of time) saved us a lot of money. We also bought a lower-priced tier kitchen cabinet model (which was still made really well), and we had already purchased the refrigerator, stove and microwave a few years earlier. But everything else added up.
COST BREAKDOWN
Cabinets, countertop: $11,432
Lighting Fixture: $349
Appliances: $1,005
Pantry organization: $965
Tile & labor: $950
Plumbing supplies: $200
Window Treatment: $54
Wall art: $298
Paint Supplies: $150
TOTAL: $15,553
Money doesn’t grow on trees. So how did we pay for this? Check out my post 6 Ways You Can Finance Your Renovation and I’ll fill you in!

Timing
Time to complete: 5 months spread out over almost 1 year
Because we could only work on the cabinet installation on the weekends, that stretched out over a couple of months. Then we had to put the installation of the floor on hold for several months while the work on the bathroom and breakfast nook was going on. So there was a lag from the time we finished the bulk of the work until we came back and finished the rest. And there are still a few small items left to finish!
Jun – Jul ’17 Ordered the cabinets; demo’d the old floor and cabinets
Aug – Oct ’17 Installed the new cabinets and backsplash
Nov ’17 – Apr ’18 Hiatus in this room while we finished work on the breakfast nook & bathroom
Apr ’18 Installed floor tile

Problems
The challenges in this room were many. I’m not sure I can remember them all but I’ll try!
- We knew the floor was going to be a challenge and we weren’t wrong. Read all about it here.
- The kitchen sink I had my heart set on didn’t fit in the cabinet we ordered and I had to go with the standard stainless. See this post for details.
- The walls were full of surprises (like old paneling). No worries, we painted over all of it. See how we did that here.
- I painted the room 3 times (3’s a charm?) before I found the paint color I liked (Behr Distant Land).
- Because we had to work on the weekends installing the cabinets we were basically without a kitchen for months, but we extended things as long as we could and lived without a sink and stove for extended lengths of time. We made it work!
- We had just plywood for a floor in the kitchen for almost 10 months, because we had to put that installation on hold while the downstairs bathroom was being completed.

Shopping
For (non-affiliate) links to my purchases, see Shopping Links further down this page.

Improvements
As many challenges as this room presented, renovating it created a lengthy list of life improvements.
When you vastly improve the kitchen, it can’t help but improve your quality of life since it’s a room everyone uses all the time. There were so many improvements, big and small. Here are the most prominent:
- The kitchen counters are level (they never were before). You can place something on the counter and it won’t roll off. Priceless!
- With two new cabinets and top cabinets that reach to the ceiling, there is a lot more space for all the necessary supplies and tools. Things are better organized and closer at hand when I need them.
- The layout didn’t change a lot but we did add a number of space-saving and function-enhancing features that made working in the kitchen a lot more efficient: the silverware drawers, pots and pan drawers, a cabinet just for my glass storage jars, spice cabinet, lazy susans in the base corner cabinets, a cabinet just for bakeware.
- The new coffee/tea bar is practically life changing.
- With the new pantry cabinet, I completely organized that space with new containers and custom labels. I can find anything in there now and putting supplies away after grocery shopping is a breeze – for anyone.
- The kitchen counter is amazing. I can put a hot pan on it, I could almost take a blowtorch to it and it will still clean up like a dream.
- The sink may not be the exact one I wanted but it’s roomy and shiny new (and the stainless matches all the appliances). The new faucet pulls down and converts to a sprayer and makes it so easy to clean up.
- We combined our recycling/trash into one basket and it’s a pleasure to throw things away now!
- I used to have to stuff my glass containers in a corner base cabinet where they never fit and I could never find what I wanted. The new pull-out storage drawers in the coffee bar cabinet have completely solved that problem.
- I created some very cool custom art for the walls and absolutely love what they add to the room.
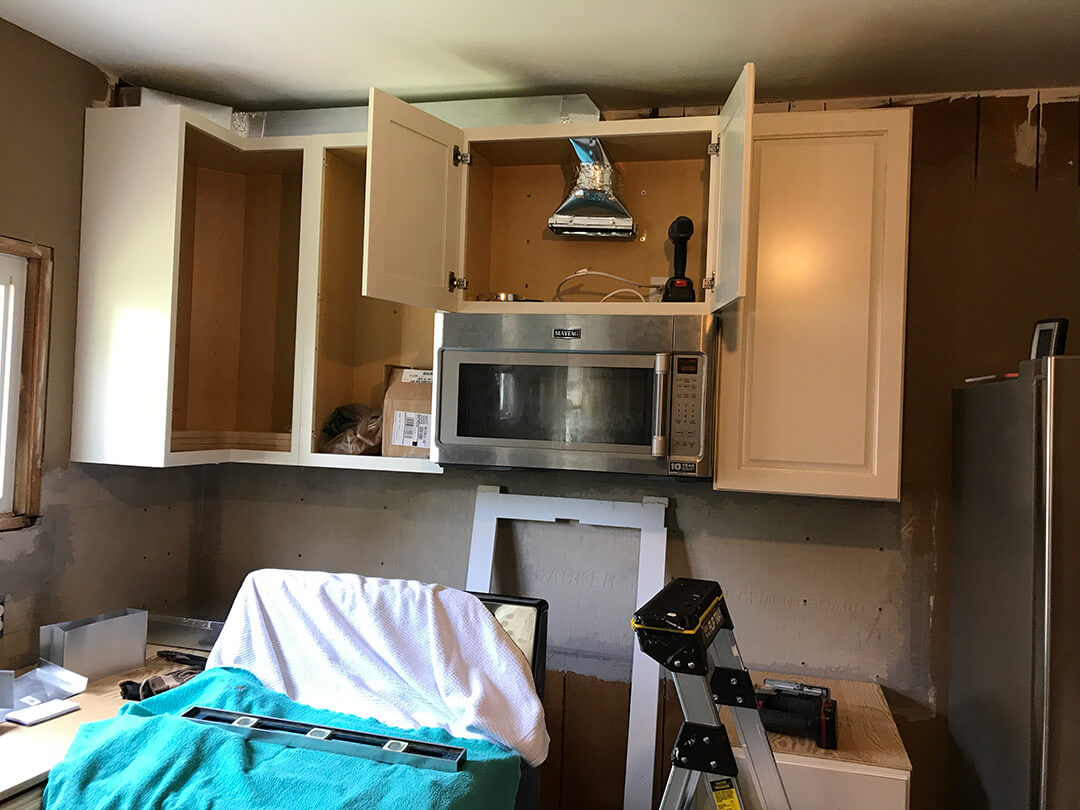
before & AFTERS
What a remarkable difference!
All pictures were taken from the same viewpoint to give you an idea of how each particular area changed. Amazing!
all the DETAILS
WHAT WE DID AND HOW WE DID IT
Painting over wallpaper and paneling is a little involved and a whole lot of work, so I created a separate post about that. Read all about it here.
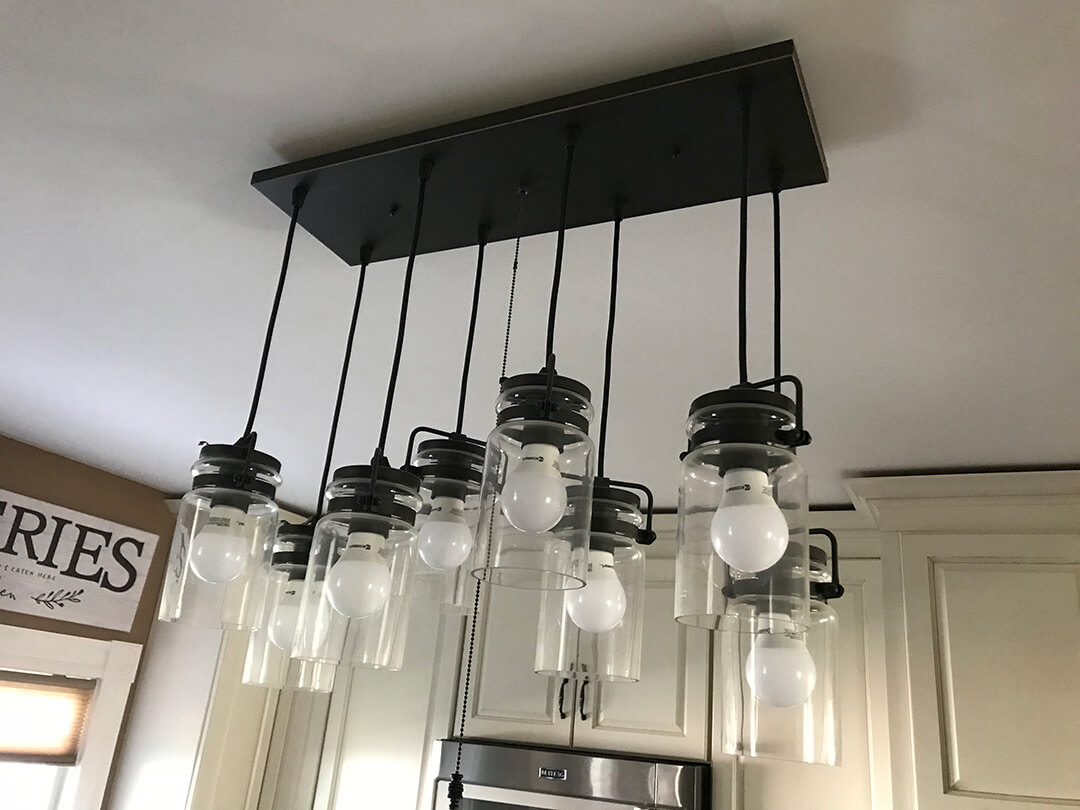
He also installed a new kitchen light. Luckily this one wasn’t as difficult to install as the one in the dining room. And it sure gives off a lot of light!
Ceiling light
See shopping link below
New light switches
These switches were a bear to get installed, they control the cellar lights
Below are pictures from the installation, but if you’re interested in more information on how we tiled other areas, read all about tile installation here.
Tile layout
Tile after grout
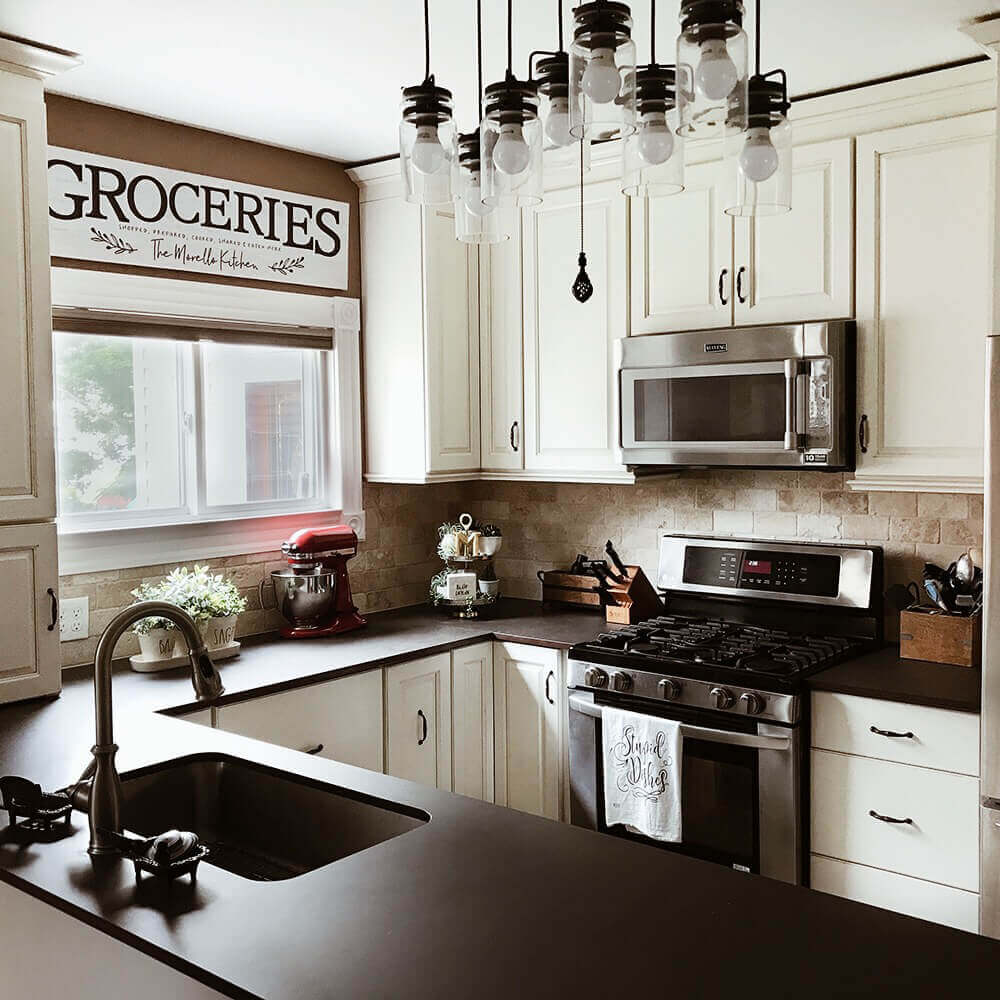
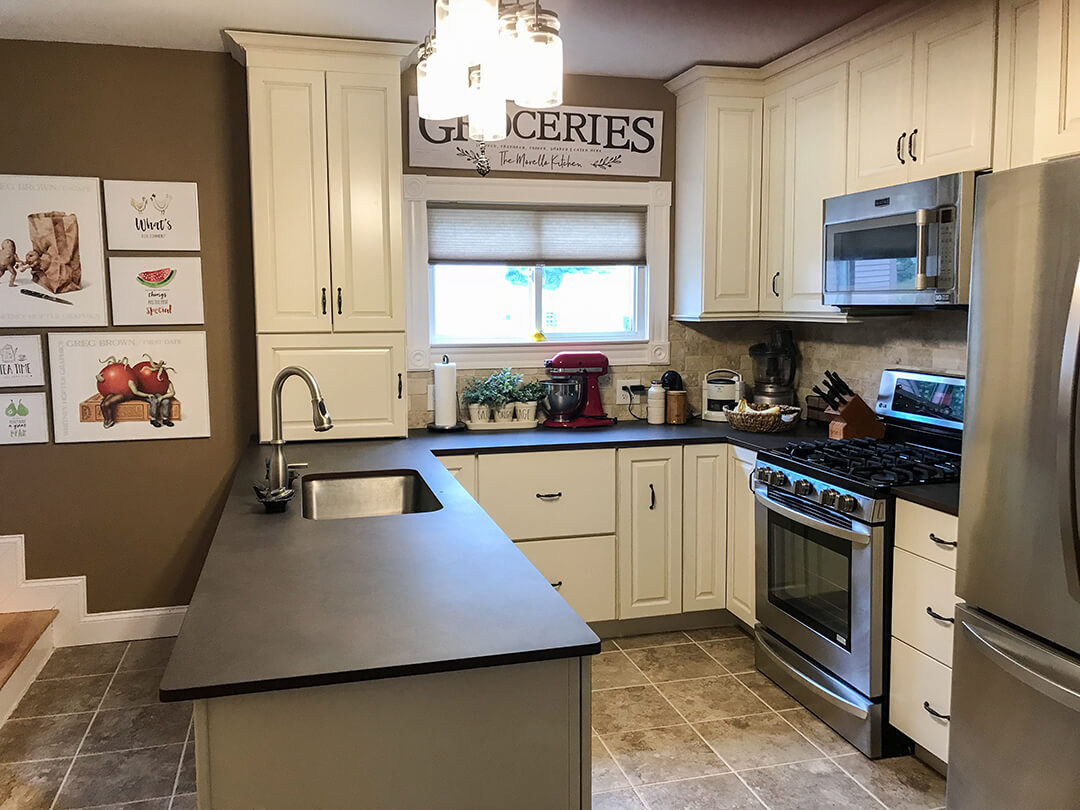
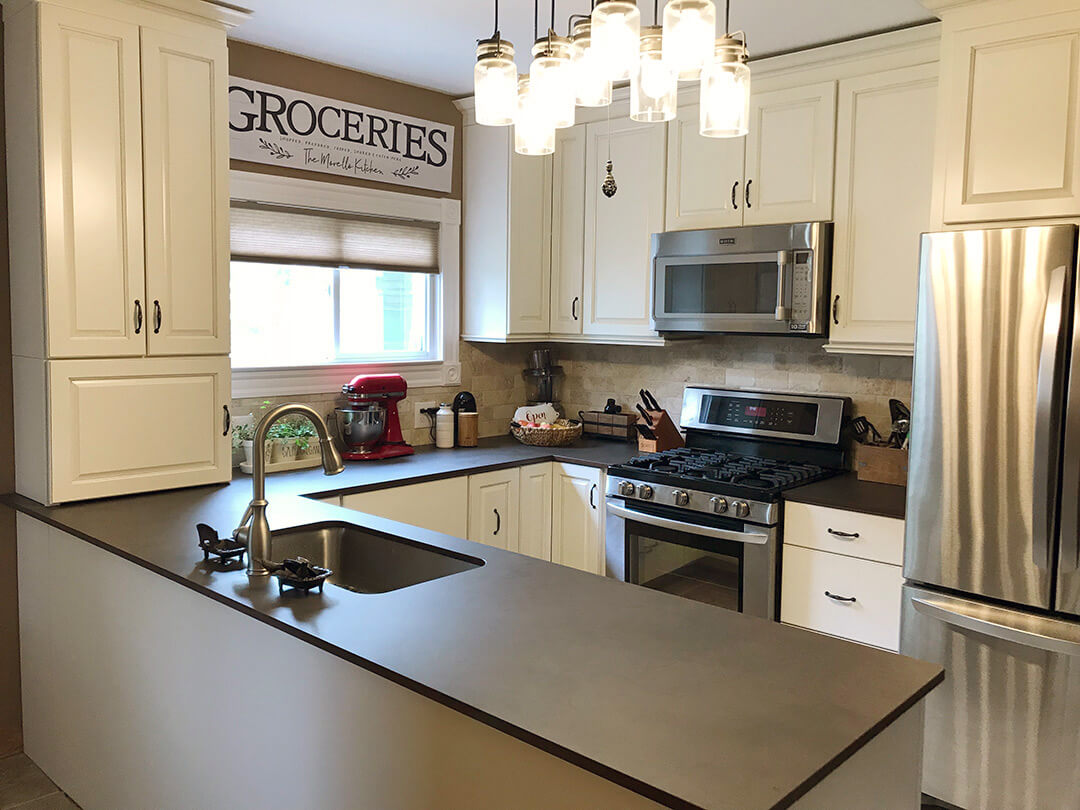
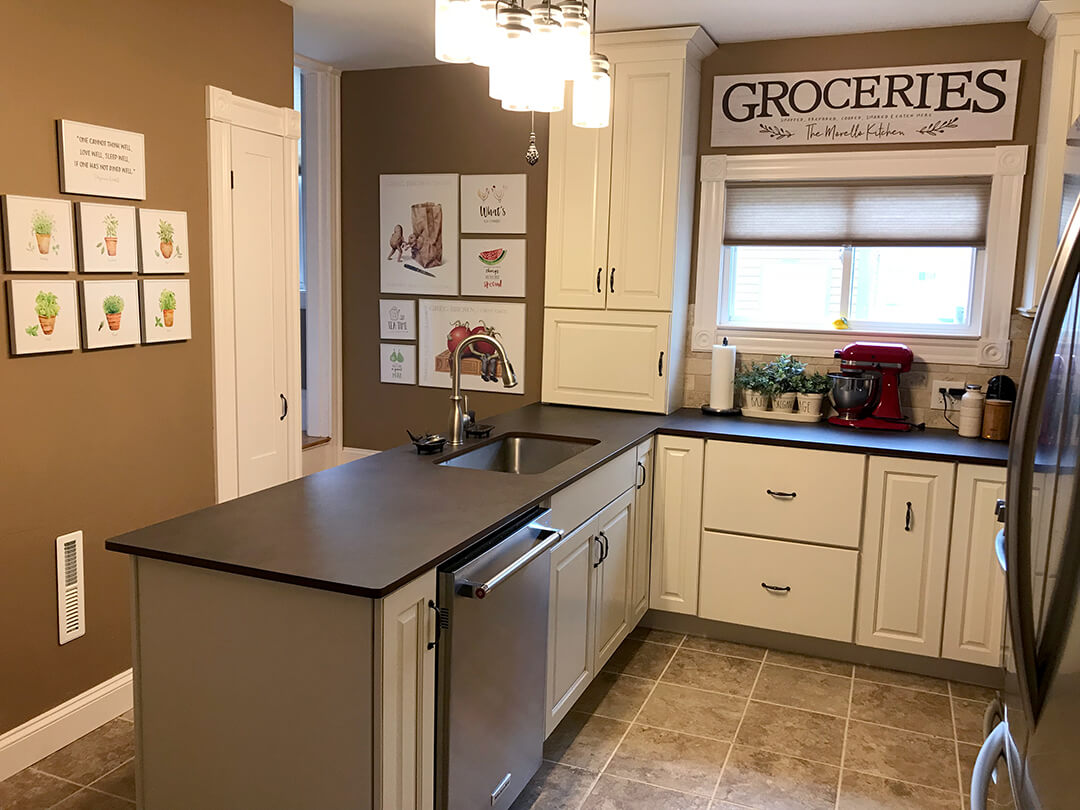
Roomview
Here’s the finished room, from each of its 4 corners.

features I LOVE
Hover over the images for details (unless you’re on mobile, then tap on the image).
Kitchen cabinets
Thomasville Darien cabinets in color cotton with toasted almond glaze
Countertop
Danae Dekton Countertop from Home Depot - love!
Pantry Cabinet
I didn't know I could love a cabinet, but I do. See shopping links below for containers and pantry labels.
New cabinet storage
This is the storage in the base cabinet of the coffee bar, where I now keep my glass storage containers. Love!
Silverware drawer
The double built-in dividers are so handy.
Pots and pans drawers
Pull out drawers are roomy and so handy for more than just the pots and pans.
Spice Cabinet
This became REALLY useful when I purchased spice bottles with labels on the lids.
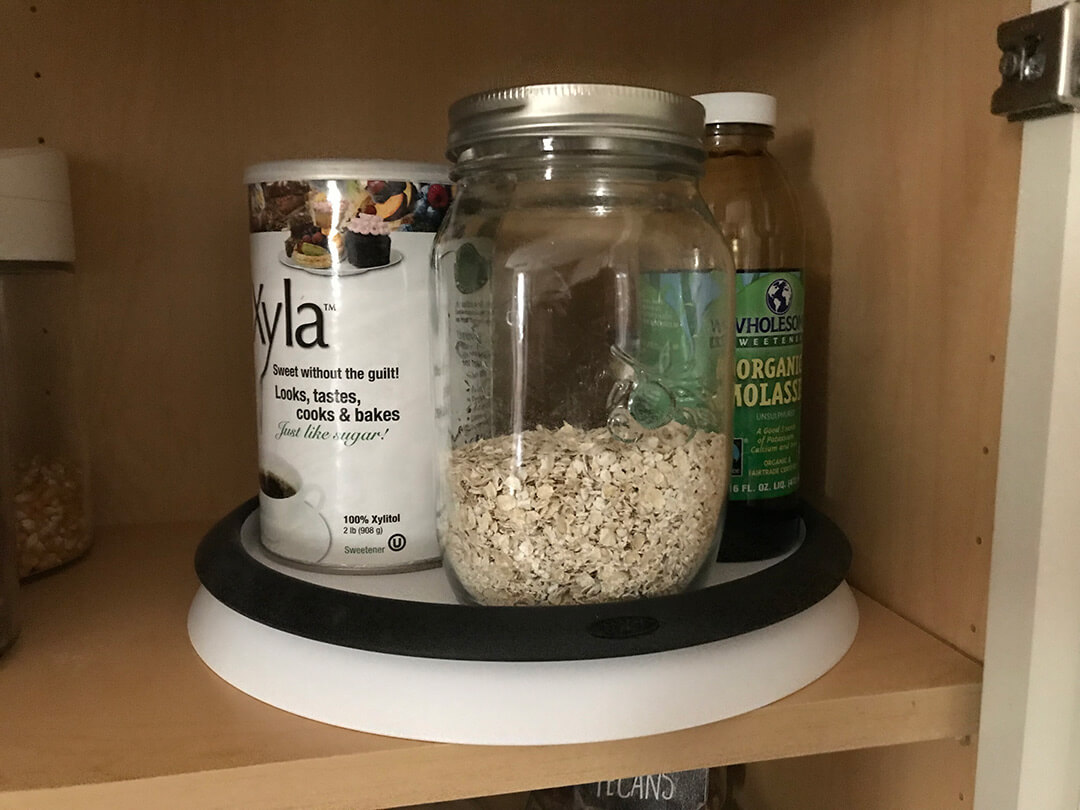
Corner cabinets
Built in Lazy Susans make this incredibly handy.
Appliance garage
Just enough space to hide away a few things.
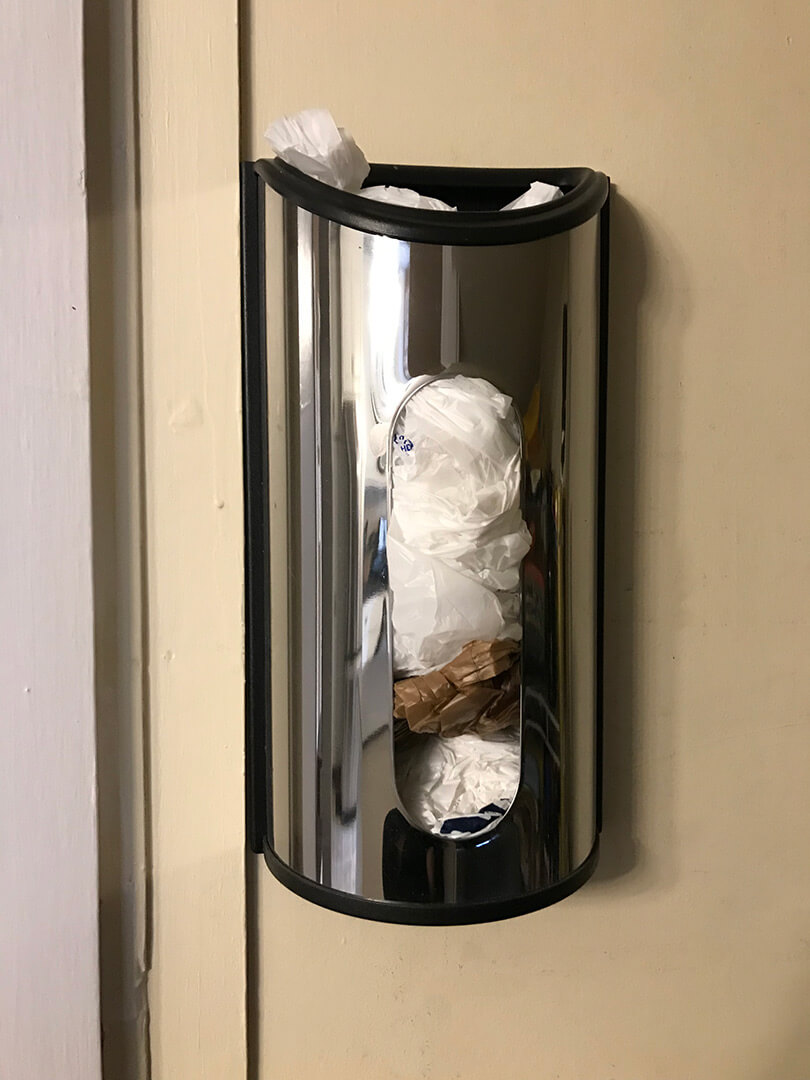
Rack cabinet
I can put all my tall skinny kitchen supplies here
Coffee & tea bar
Adding this to the kitchen was almost life-changing!
Cabinet doors
Doors and drawers are soft close - awesome feature!
Kitchen sink
It may not be copper but it's roomy and the faucet has a built-in sprayer.
Kitchen floor
I totally love this floor. It's pretty, durable, matches everything else and hides the dirt!
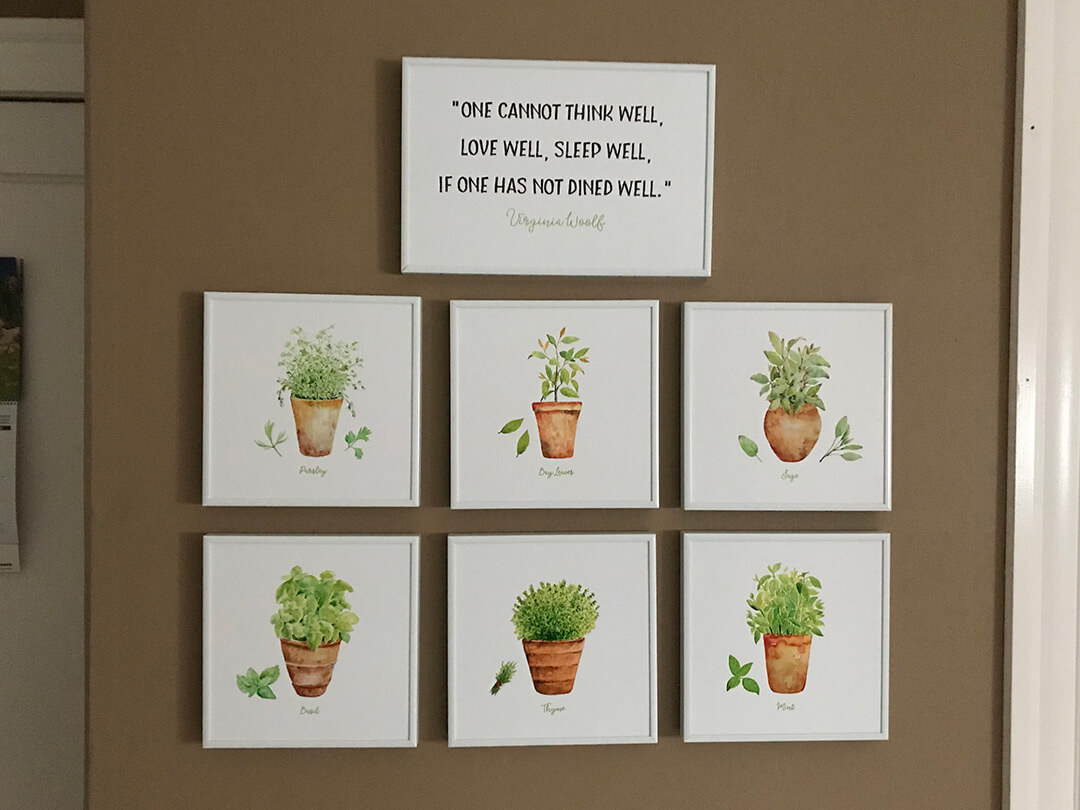
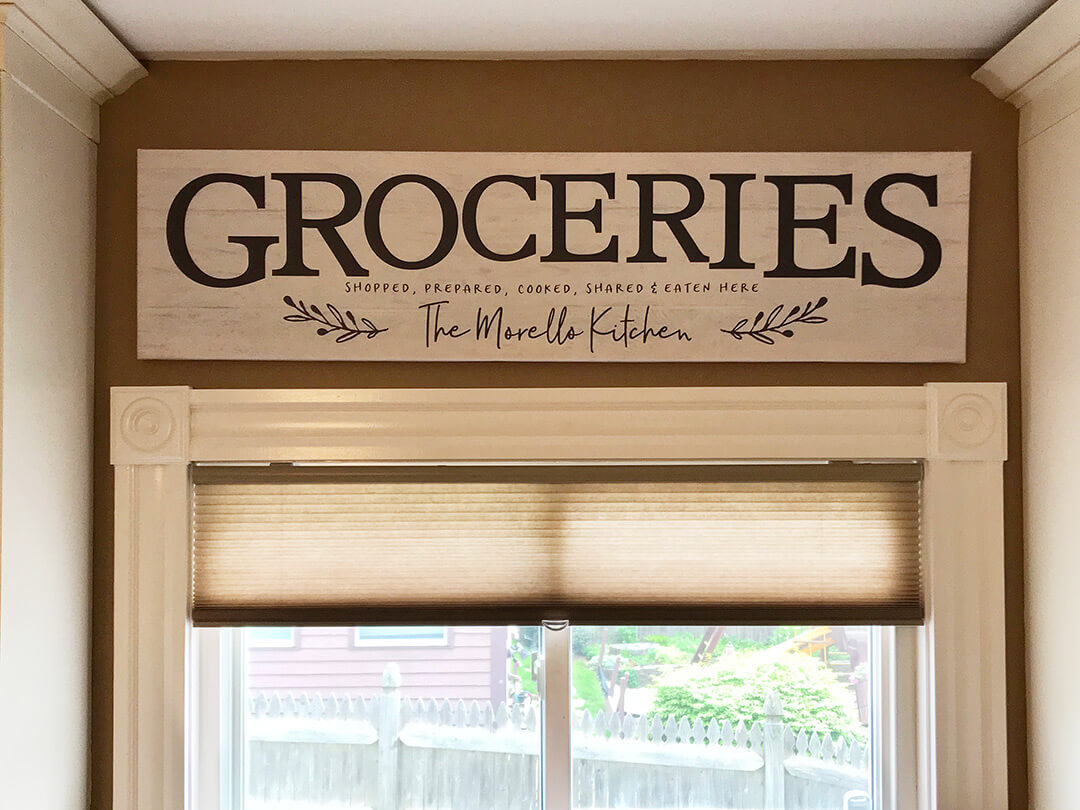
Wall art
I either hand created or hand picked all the art on my walls, and some of it is available for you to download for free - see shopping & other links!
Extra storage
The landing on the other side of the kitchen's cellar door became a great place for extra storage with some shelves and the right containers.
Outside microwave vent
Everything vents directly outside now. It's helpful and it's to code.
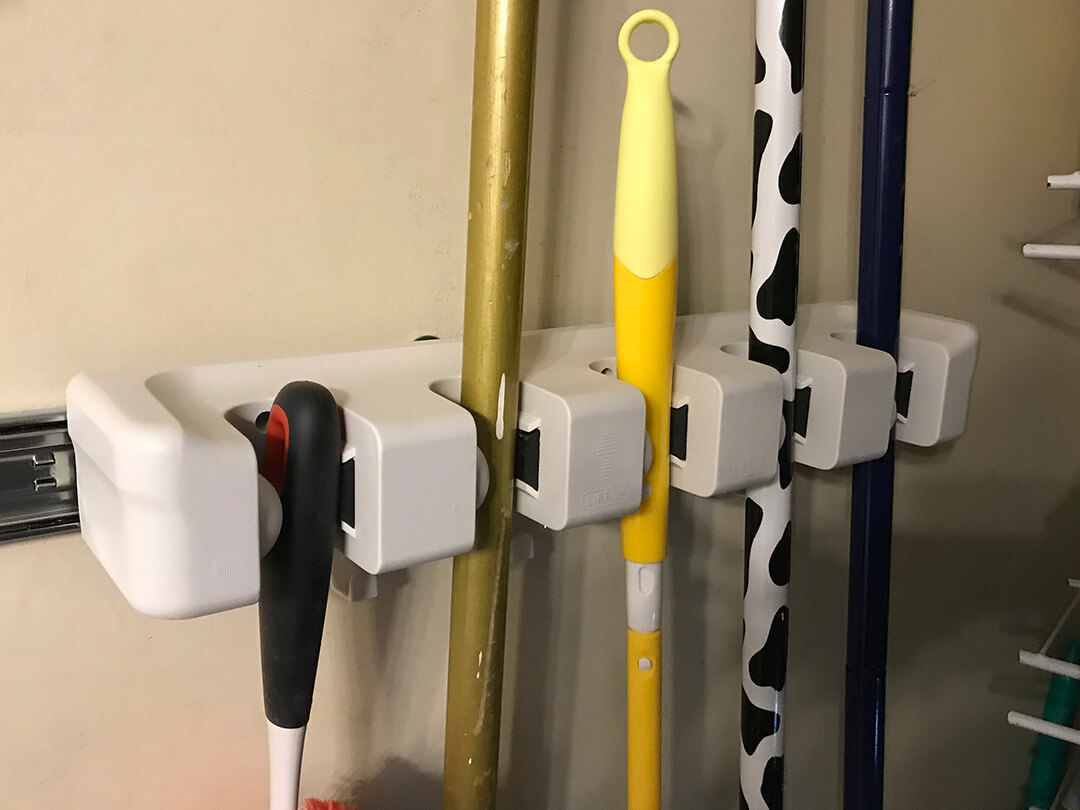
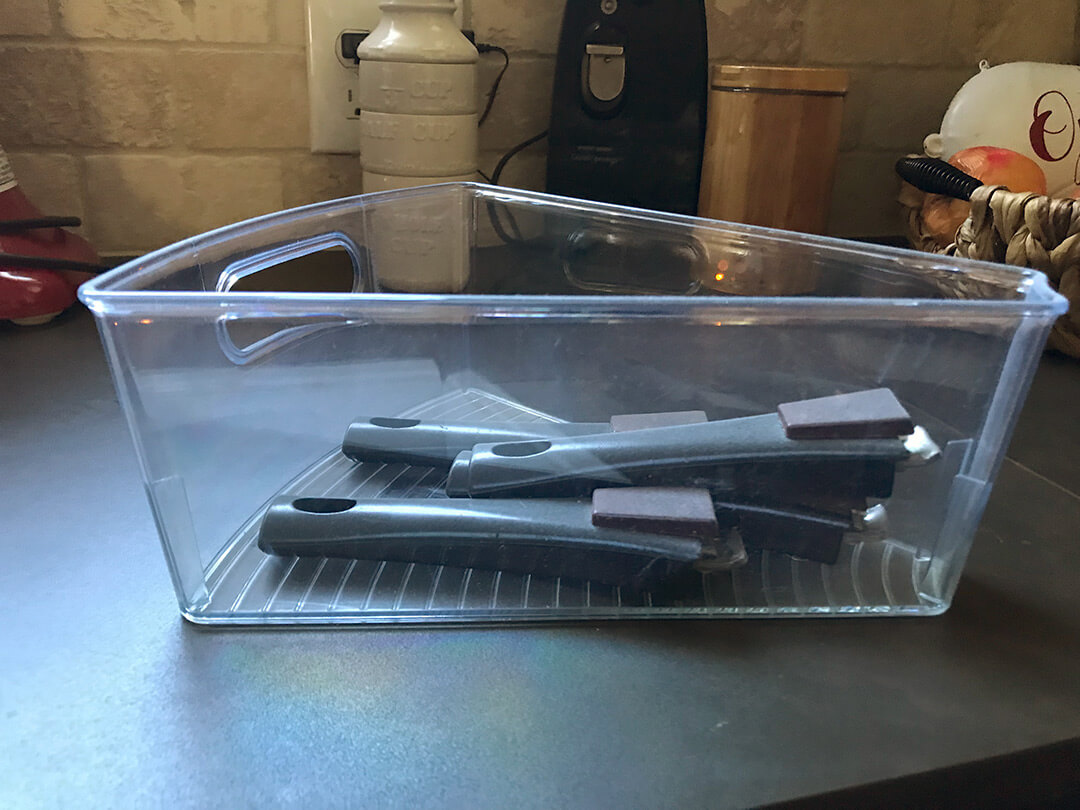
Utensil caddy
I found this one at my local Home Goods. It fit my decor and was the right size.
Window molding
Beautiful corner pieces to match the rest of the house
Decor
It wouldn't be my kitchen without some added decor - see shopping & other links for more info.
SHOPPING (and other) links


For more information
- Read about how we installed our kitchen cabinets ourselves here.
- Read about our floor and (old) cabinet demo here.
- Read about how we painted over wallpaper and paneling here.
- Read about my copper kitchen sink that wasn’t here.
- Read about installing ceramic tile here.
- For our FREE guide, ’10 Secrets to Selecting Kitchen Cabinets you’ll Love’, click here.
How about you?
Do you have a favorite area or room in your house that you’ve renovated? I’d love to hear about it. Please share in the comments below!
Gail, this is really an amazing renovation! It’s even more impressive now that I see how much work you put into all of this! I love the white cabinets! (Our kitchen cabinets are white too, so I might be a bit biased. ;)) And that coffee bar is perfect! (Also, those slider before-and-after photos are a nice touch—very cool!)
Thanks so much Amanda! It took awhile to finish but we’re so happy with the result!